Installing waterproof vinyl plank flooring is not only a practical choice for areas prone to spills and splashes but also a stylish update for any room. As a durable and versatile flooring option, it can effortlessly elevate your home’s aesthetic while providing peace of mind against moisture damage.
Whether you’re renovating your bathroom, kitchen, or basement, understanding the critical steps in laying down waterproof vinyl planks will ensure a successful installation.
In this guide, we’ll walk you through the essential process of installing waterproof vinyl plank flooring, ensuring you achieve that perfect finish.
Measuring and Material Acquisition
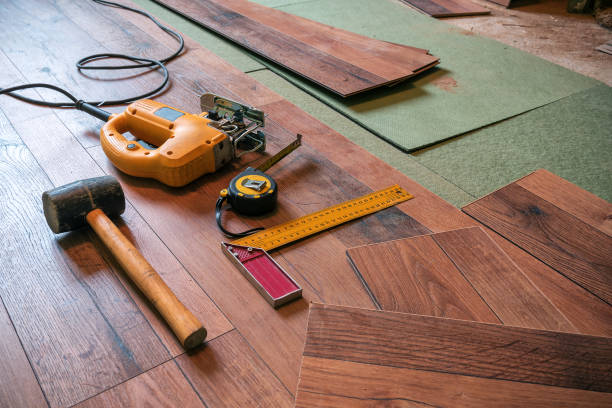
Before starting your installation, it’s essential to measure the room accurately to calculate the amount of flooring needed. Begin by measuring the length and width of the space; then, multiply these figures together to determine the square footage.
Remember to purchase an extra 10-15% more material than your calculations to account for cuts and waste. After determining how much flooring is required, gather all the necessary tools and materials. You’ll need:
- Vinyl planks
- Underlayment (if not already attached to the planks)
- Utility knife
- Spacers
- Tapping block
- Rubber mallet
- Measuring tape
Once you have your materials, focus on preparing the subfloor. Start by cleaning the area thoroughly, and removing any dirt, debris, or existing flooring materials.
It’s crucial to ensure the subfloor is level any high spots can be sanded down while low areas may require filling with a leveling compound.
Finally, make sure the subfloor is completely dry to prevent any potential moisture damage to your new flooring.
Underlayment Installation
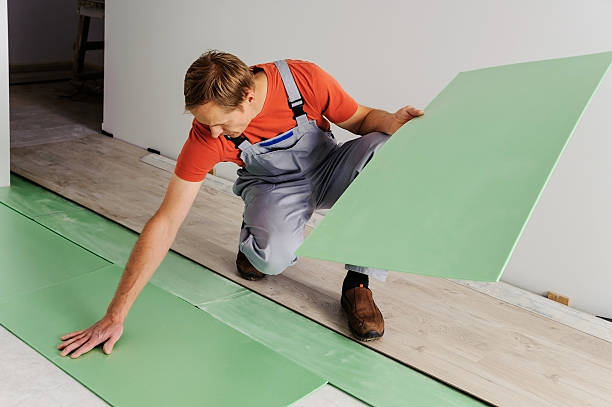
Roll out the Underlayment
If your vinyl planks do not come with a pre-attached underlayment, you will need to roll it out over the clean and level subfloor. It’s essential to align the underlayment properly, ensuring it lies flat without overlaps or wrinkles which can affect the final flooring.
Cut the underlayment to fit the shape of the room with a utility knife, allowing for a slight gap along the walls to accommodate expansion.
Once the underlayment is in place, secure it as directed by the manufacturer’s instructions, typically with an adhesive or special tape along the seams.
Tape Down the Seams for a Secure Fit
After the underlayment is properly aligned and cut to fit the room, it’s important to tape down the seams to create a stable and continuous surface for the vinyl planks.
Use a specialized underlayment tape to bridge the seams, ensuring that there are no gaps between the strips of underlayment.
This step prevents any shifting or bubbling, which can compromise the integrity of the flooring and cause issues after installation. Press down firmly along the taped areas to secure the bond and provide a strong foundation for your new vinyl flooring.
Planning Your Layout
Determine the Direction of the Planks
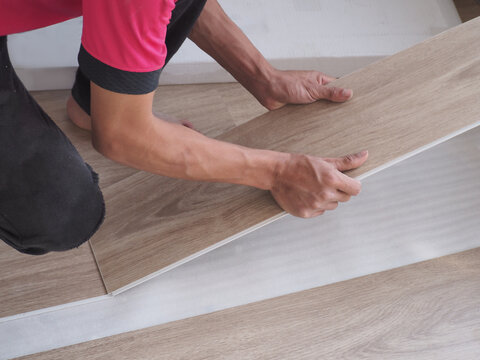
When planning the layout for your vinyl plank flooring, it’s crucial to consider the direction in which the planks will be laid. This can greatly influence the room’s appearance and feel.
Typically, planks are laid parallel to the longest wall to create a sense of flow and space. Or, for optimal natural light reflection, they may be laid toward the primary light source, such as a large window.
Dry-Fitting the Planks for Perfect Placement
Before permanently laying down your vinyl planks, it’s advisable to perform a dry-fit procedure for a few rows to verify aesthetics and practicality. Begin by arranging the planks on the floor without adhesive to get an idea of how they will look and to determine where you may need to make cuts for a proper fit.
This step is essential for achieving a balanced look and will help in identifying potential hurdles such as uneven walls or irregular room shapes.
A dry fit will also allow you to decide on the placement of partial planks so that the cut pieces are less visible, typically at the room’s edges or under furniture.
Cutting and Fitting
Measure and Cut the First Plank
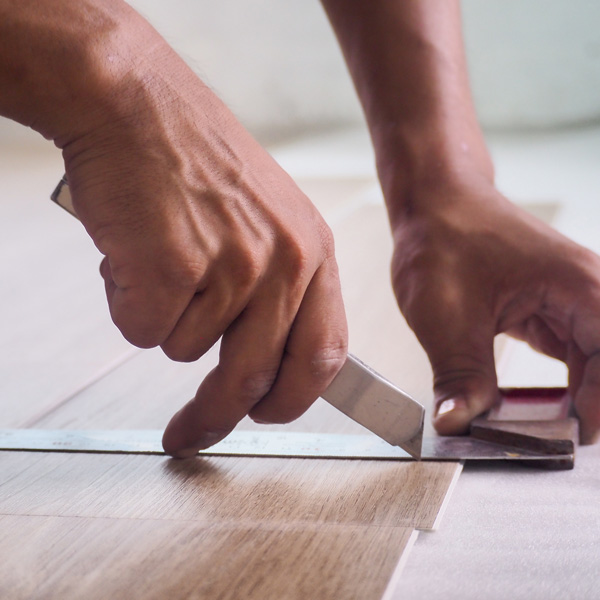
To begin laying your floor, measure and cut the first plank in the first row to the correct length, ensuring that it fits perfectly against the wall. Remember to leave a gap of about 1/4-inch for expansion which will be covered by the baseboard or trim.
When you start the next row, make sure to stagger the seams by at least 6 inches from the previous row to create a natural wood floor appearance and to provide additional structural integrity to the flooring installation.
Use a carpenter’s square and a utility knife to score and snap the planks accurately where needed.
Utilizing the Right Tools for Cutting
When the time comes to cut your vinyl planks, using a utility knife or a fine-tooth saw will ensure clean and precise cuts. For straight cuts, a utility knife scores the plank, after which you can simply bend it to break along the line. Complex cuts around corners or for fitting around door frames may require a saw.
Remember to always cut with the decorative side up if using a saw to prevent chipping the finished surface. It’s recommended to practice on a few scrap pieces to perfect your technique before proceeding to the actual fitting.
Safety should be your priority, so always wear protective gear, such as gloves and goggles, when cutting your vinyl planks.
Installing the First Row
Position the First Plank
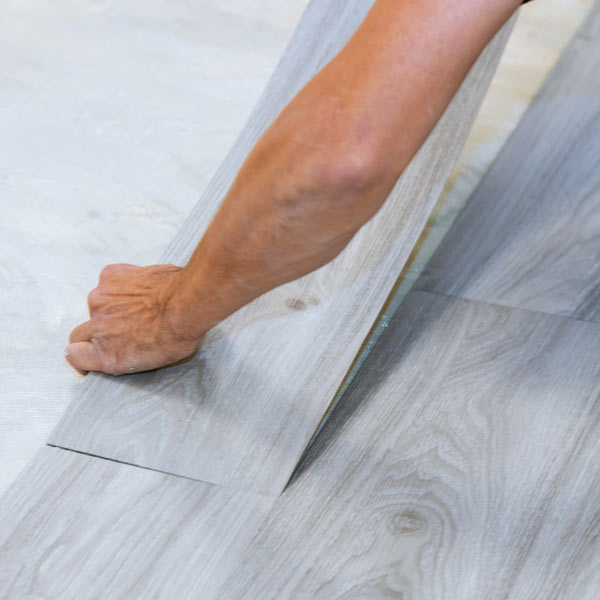
To install the first plank, position it with the groove side facing the wall. Ensure to insert spacers between the plank and the wall to maintain the necessary expansion gap of about 1/4 inch.
This space accommodates the natural expansion and contraction of the flooring material due to temperature and humidity changes, thereby preventing warping or buckling.
Spacers will be removed after the floor is completely installed, and the expansion gap will then be concealed by baseboards or molding.
Connecting Planks
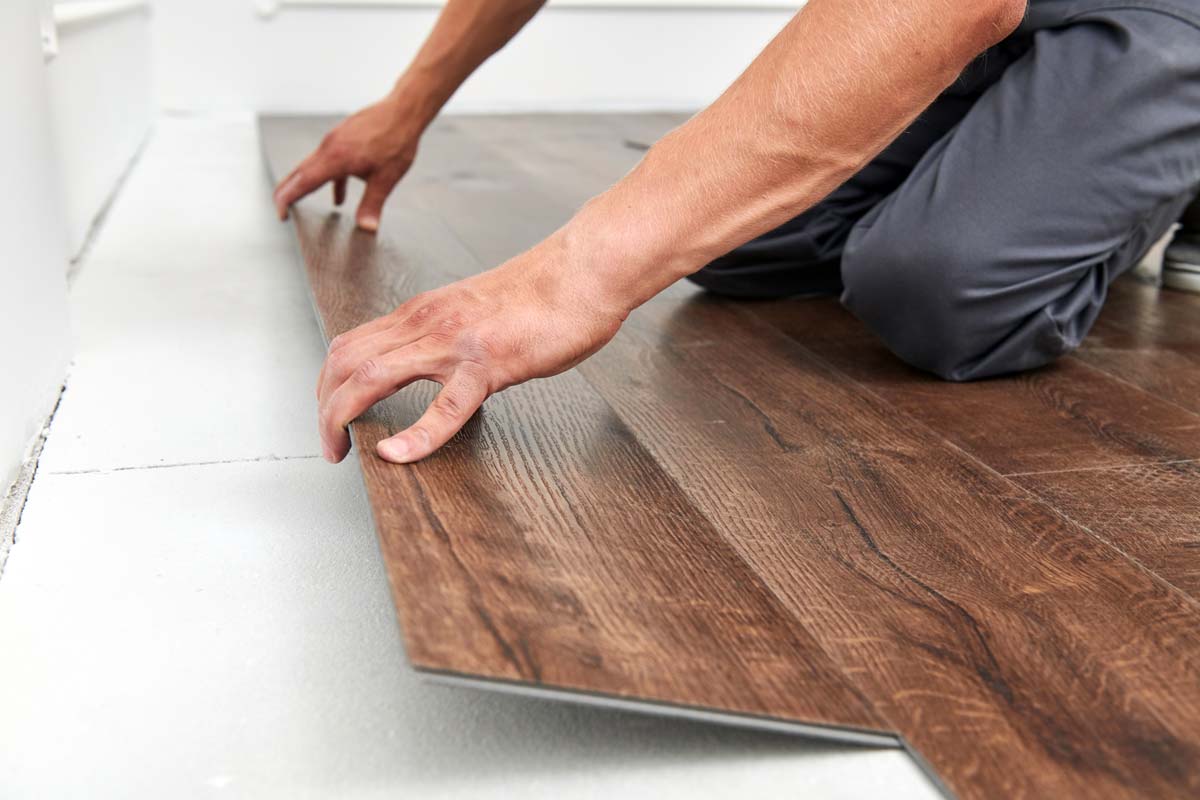
After positioning the first plank, continue by taking the next plank and aligning its tongue to the groove of the already placed plank at approximately a 20-30-degree angle.
Carefully fit the tongue into the groove and then gently lower the plank down to lie flat on the subfloor. You should feel the planks click together, indicating a secure connection.
Press down firmly and slide the plank slightly back and forth to ensure a snug fit. Repeat this process along the row, making sure to stagger the seams for a more natural look and enhanced structural stability.
Continuing the Installation
Starting the Second Row
To begin the second row, take the cut-off end of the last plank from the first row – this should be at least 8 inches long to maintain a staggered seam pattern, which is crucial for both aesthetics and the floor’s structural integrity.
Place this piece at the start of the new row, the groove side facing the wall, and with spacers inserted to preserve the expansion gap.
Engaging Planks End-to-End
Align the end of a new plank with the installed short plank. Like with the first row, angle the new plank and fit its tongue to the groove of the previous one. Lower it gently to make sure the end joints are perfectly aligned.
A tapping block can be particularly helpful here: place it against the plank’s edge and tap gently with a mallet. This will ensure that the planks are tightly engaged end-to-end without causing any damage.
Securing Planks Side-to-Side
Once the end joint is secure, the long side of the plank needs to be connected to the first row. Angle the plank upward and push the side tongue into the groove of the adjoining plank from the first row.
Again, use a tapping block to carefully tap along the long edge, ensuring the plank sits flat and fully engaged without any gaps.
As you continue with this process, remember that the final piece of the second row might need to be cut to fit. Always measure twice and cut once, maintaining proper safety procedures when using cutting tools.
This staggered and secure laying pattern should be continued throughout the installation, resulting in a vinyl plank floor with a professional and polished look.
Fitting Around Obstacles
Measure and Cut Planks for Obstacles
When you approach obstacles such as pipes, columns, or the contours of cabinets and doorways, precision is key. For a pipe, measure the distance from the wall to the center of the pipe and replicate this on your plank.
Use a drill with a hole saw bit sized slightly larger than the pipe’s diameter to create an opening. For cabinets and doorways, create a paper template of the irregular shape, transfer it to the plank, and then use a jigsaw or a utility knife to carefully cut out the shape.
Remember to account for the expansion gap around any obstacle.
Using Saws for Intricate Cuts
When dealing with more intricate cuts, especially those with curves or sharp angles, a jigsaw or coping saw is your best ally. When you’re ready to cut, clamp your plank securely to a workbench or stable surface to prevent any movement.
Start with a pilot hole if using a jigsaw, and then guide the saw carefully following the outline you’ve marked on the plank.
For particularly intricate cuts, a coping saw can provide the precision necessary, with its thin blade making it easier to follow tight curves and complex patterns.
Related Topics:
Completing the Installation
Install the Remaining Rows
To complete your vinyl plank floor installation, install the remaining rows with the same meticulousness you’ve applied throughout the process. Make sure to press each plank firmly into place, ensuring tight seams that will prevent any moisture penetration or debris accumulation.
Check the alignment of each row as you progress to maintain a straight and visually pleasing layout. Using spacers can help preserve the integrity of the expansion gap until the very last plank is secured.
Remember, a consistent approach not only adds to the durability of the floor but also to its aesthetic appeal.
Adding the Finishing Touches
Once all the planks are laid out perfectly, it’s time to install the baseboards, moldings, and transition strips to finalize the installation. These elements will not only mask the expansion gaps around the room’s perimeter but will also provide a polished, professional look.
For transition strips, select the appropriate type to accommodate the change between different flooring materials or heights. When installing baseboards or moldings, nail them to the wall, not the floor, to allow the vinyl to expand and contract freely.
Caulk and paint the baseboards as needed to complement your interior decor and give your new vinyl plank floor a flawless finish.
Post-Installation
Remove All Spacers
Once the baseboards and transition strips are properly installed, turn your attention back to the spacers. These were crucial during the installation, ensuring your floor had the necessary expansion gap.
Carefully remove each spacer from around the room’s perimeter. Disposing of them properly will prevent any tripping hazards and allow your floor to fully settle into its final position, ensuring a neat and professional appearance of your new flooring.
Cleaning and Maintaining vinyl plank flooring
After the installation work is complete, it’s important to clean the newly laid vinyl plank flooring as per the manufacturer’s recommendations. Begin by sweeping or vacuuming to remove any debris or dust that accumulated during the installation process.
Follow this with a damp mop, using a cleaning solution suitable for vinyl flooring; this will often be a mixture of water and a mild detergent. Avoid abrasive cleaners and tools that could damage the surface.
After cleaning, dry the floor with a soft cloth to prevent water spots and to maintain the sheen of your flooring.
Furniture Reintroduction
Once the floor is clean and dry, it’s time to carefully move your furniture back into place. It is important to lift rather than drag furniture to prevent scratching your new vinyl plank flooring.
For heavier items, consider using felt pads or a plywood panel to slide the furniture across the room. Taking these precautions not only protects your floor but also preserves the integrity and appearance of its surface for years to come.
Conclusion
Installing waterproof vinyl plank flooring transforms any room with its functional beauty, providing a cost-effective and long-lasting flooring solution.
This step-by-step guide has demonstrated how to properly install this versatile material, ensuring that each plank lies perfectly and resists moisture effectively, making it ideal for high-humidity areas like kitchens and bathrooms.
From initial measurements and gathering the right tools to laying down the underlayment and fitting each plank, it’s clear that attention to detail is critical for achieving a flawless finish.
With the practical tips and safety precautions outlined here, even beginners can undertake this home improvement project with confidence. As you revel in the new look of your space, remember that proper cleaning and maintenance will keep your waterproof vinyl plank flooring looking pristine for years to come.
FAQs
Can waterproof vinyl plank flooring be installed over an existing tile floor?
Yes, waterproof vinyl plank flooring can be installed directly over existing tile, provided that the tile is flat, even, and in good condition. It’s crucial to fill any grout lines or uneven surfaces to create a smooth base before installation.
How do I clean and maintain my waterproof vinyl plank floor without damaging it?
To maintain your floor, regularly sweep or vacuum to remove dirt and debris. For deep cleaning, use a mild floor cleaner with a pH-neutral formula and avoid abrasive scrubbers or harsh chemicals. Wipe up spills promptly, and place protective pads under furniture legs to prevent scratches.
Is it necessary to acclimate waterproof vinyl plank flooring before installation?
It is recommended to acclimate waterproof vinyl plank flooring to the environment where it will be installed for at least 48 hours before installation. This allows the planks to adjust to the room’s temperature and humidity levels, reducing the risk of expansion or contraction post-installation.

5 thoughts on “Installing Waterproof Vinyl Plank Flooring”