Installing sheet vinyl flooring on concrete can be a rewarding and cost-effective way to transform the look and feel of a space. Whether you’re updating a room in your home or revamping a commercial space, sheet vinyl offers durability, easy maintenance, and a wide range of design options.
The process of installing sheet vinyl on concrete may seem daunting at first, but with the right tools, materials, and a step-by-step approach, you can achieve professional-looking results.
In this guide, we’ll walk you through the essential steps, from preparing the concrete surface to laying and securing the sheet vinyl, ensuring that you can enjoy a beautiful and resilient floor for years to come.
Materials and Tools Needed
Before starting the process of installing sheet vinyl flooring on concrete, you should gather all the necessary materials and tools. These include:
Sheet Vinyl Flooring: Select a high-quality sheet vinyl flooring that suits your aesthetic preference and matches your home’s décor.
Adhesive: You’ll need a durable adhesive specially designed for vinyl flooring to ensure a strong bond to the concrete.
Concrete Primer: A concrete primer helps to prepare the surface, ensuring the adhesive and vinyl flooring adhere properly.
Trowel: This tool is used to spread the adhesive evenly on the concrete.
Utility Knife: A sharp utility knife is crucial for cutting the sheet vinyl to fit your space precisely.
Roller: A floor roller will assist in flattening the vinyl and eliminating any air bubbles after installation.
Tape Measure and Straight Edge: These tools guide to ensure precise measurement and cutting of the vinyl flooring.
Preparing the Subfloor
1. Cleaning the Concrete

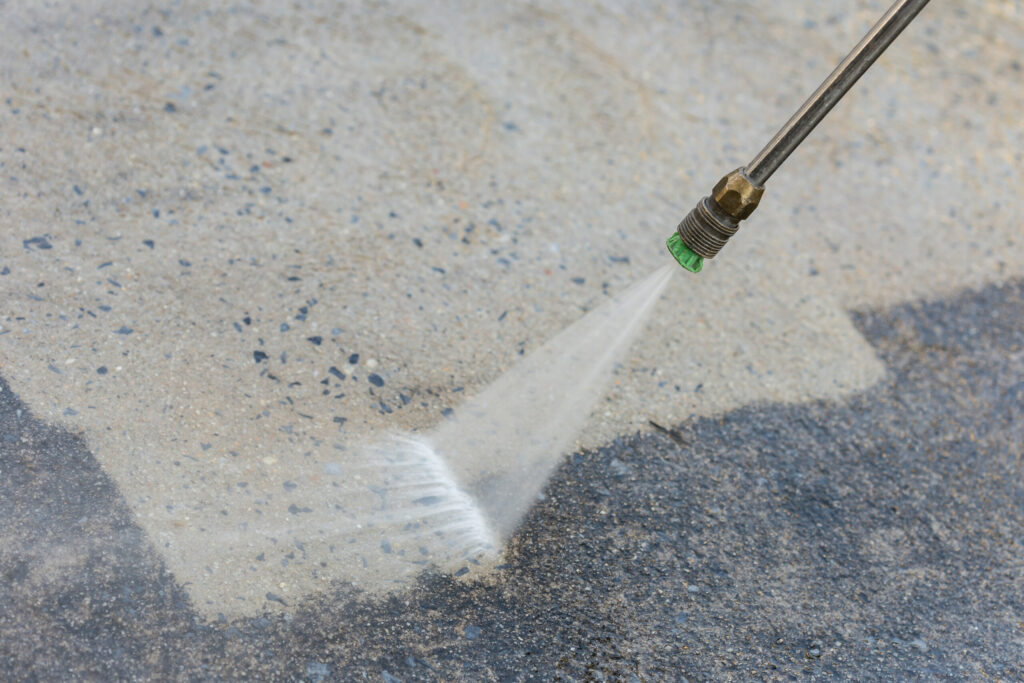
Before you proceed with installing sheet vinyl flooring on concrete, it is paramount to thoroughly clean the concrete. Start by sweeping the floor to remove any dust and debris. Follow up with a vacuum cleaner to ensure you’ve eliminated all the fine particles that sweeping may have missed.
If there are any stains or grease marks on the concrete, use a commercially available concrete cleaner or degreaser to remove them.
Apply the cleaner as per the manufacturer’s instructions, typically by spraying or pouring it onto the concrete, letting it sit for the recommended time, and then scrubbing with a stiff-bristle brush. After scrubbing, rinse the concrete thoroughly with water and let it dry completely.
Remember to check for any cracks or holes in the concrete. If present, these will need to be filled with a concrete patching compound. After filling, allow the compound to cure as per the product’s instructions.
Once fully dry, you can proceed with the installation. A clean, smooth surface is key to ensuring a successful vinyl sheet flooring installation.
2. Leveling the Subfloor
The next crucial step in installing sheet vinyl flooring on concrete is leveling the subfloor. A level floor results in an even and smooth finished surface, reducing the chances of vinyl flooring damage due to bumps or depressions.
Inspecting the Subfloor
Start by inspecting the concrete subfloor for any unevenness. This can be done using a long, straight edge or a laser level. Lay the straight edge on the floor and look for gaps between it and the concrete. Any gaps bigger than 1/8 inch need to be addressed.
Applying a Self-Leveling Compound
To rectify unevenness, use a self-leveling compound. Mix the compound according to the manufacturer’s instructions. It should have a pourable consistency. Pour the mixed compound onto the uneven areas of the concrete. Gravity will naturally help spread the compound into low spots, creating a level floor.
Spreading the Compound
Use a spreader or trowel to help distribute the compound, especially in areas where it doesn’t reach naturally. Work swiftly as these compounds typically set quickly.
Drying the Compound
Allow the compound to dry fully before proceeding. Drying times can vary depending on factors like temperature and humidity, thus always follow the manufacturer’s instructions.
Checking for Levelness
After the compound is completely dry, use your straight edge or laser level again to check the levelness of the floor. If any unevenness persists, repeat the process until you achieve a completely level subfloor.
Now with a clean, smooth, and level subfloor, you’re ready for the next step in installing sheet vinyl flooring on concrete.
3. Laying the Underlayment
Once the subfloor is leveled, the next step is to lay the underlayment. This adds a layer of cushion and noise reduction and provides a smooth surface for the sheet vinyl flooring.
Choosing the Right Underlayment
Start by selecting a suitable underlayment for vinyl flooring. Plywood is often a popular choice. Ensure it is smooth and free from any defects to prevent imperfections from showing through the vinyl.
Measuring and Cutting the Underlayment
Measure the room accurately and cut the underlayment to fit. Remember, precision is key here. You want the underlayment to fit perfectly in your space.
Positioning the Underlayment
Position the underlayment on your leveled concrete floor. Start from one end of the room and work your way across. Ensure that the underlayment pieces are butted tightly against each other with no gaps.
Fastening the Underlayment
Fasten the underlayment to the concrete subfloor. This can be done using an appropriate adhesive. Apply the adhesive to the concrete, then lay the underlayment on top. Ensure a solid bond by applying pressure on the underlayment.
Final Inspection
Once all the underlayment is down, walk over it to check for any loose or squeaky areas. If you find any, secure them with additional adhesive.
Measuring and Cutting the Sheet Vinyl

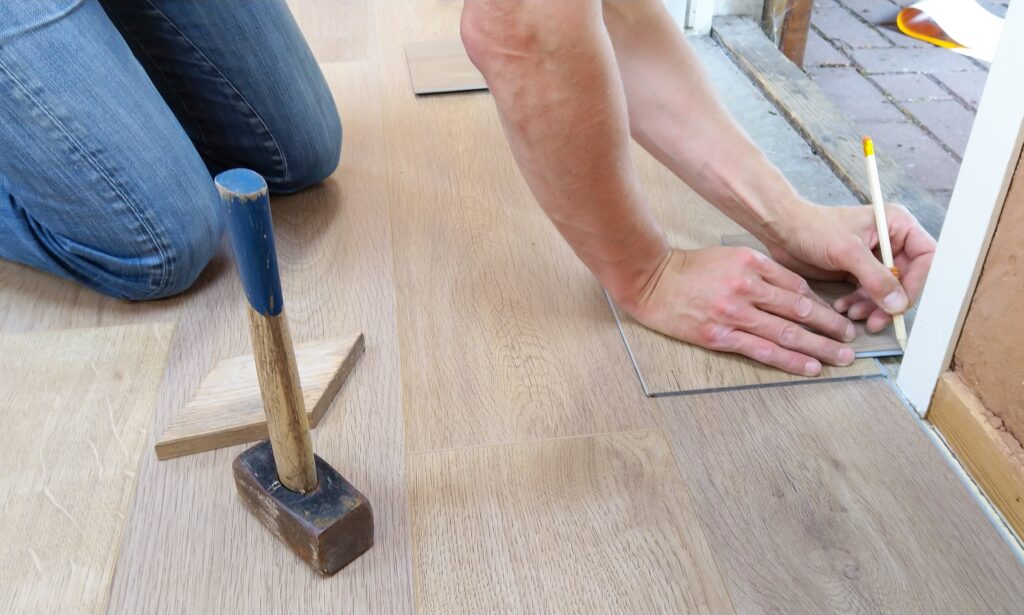
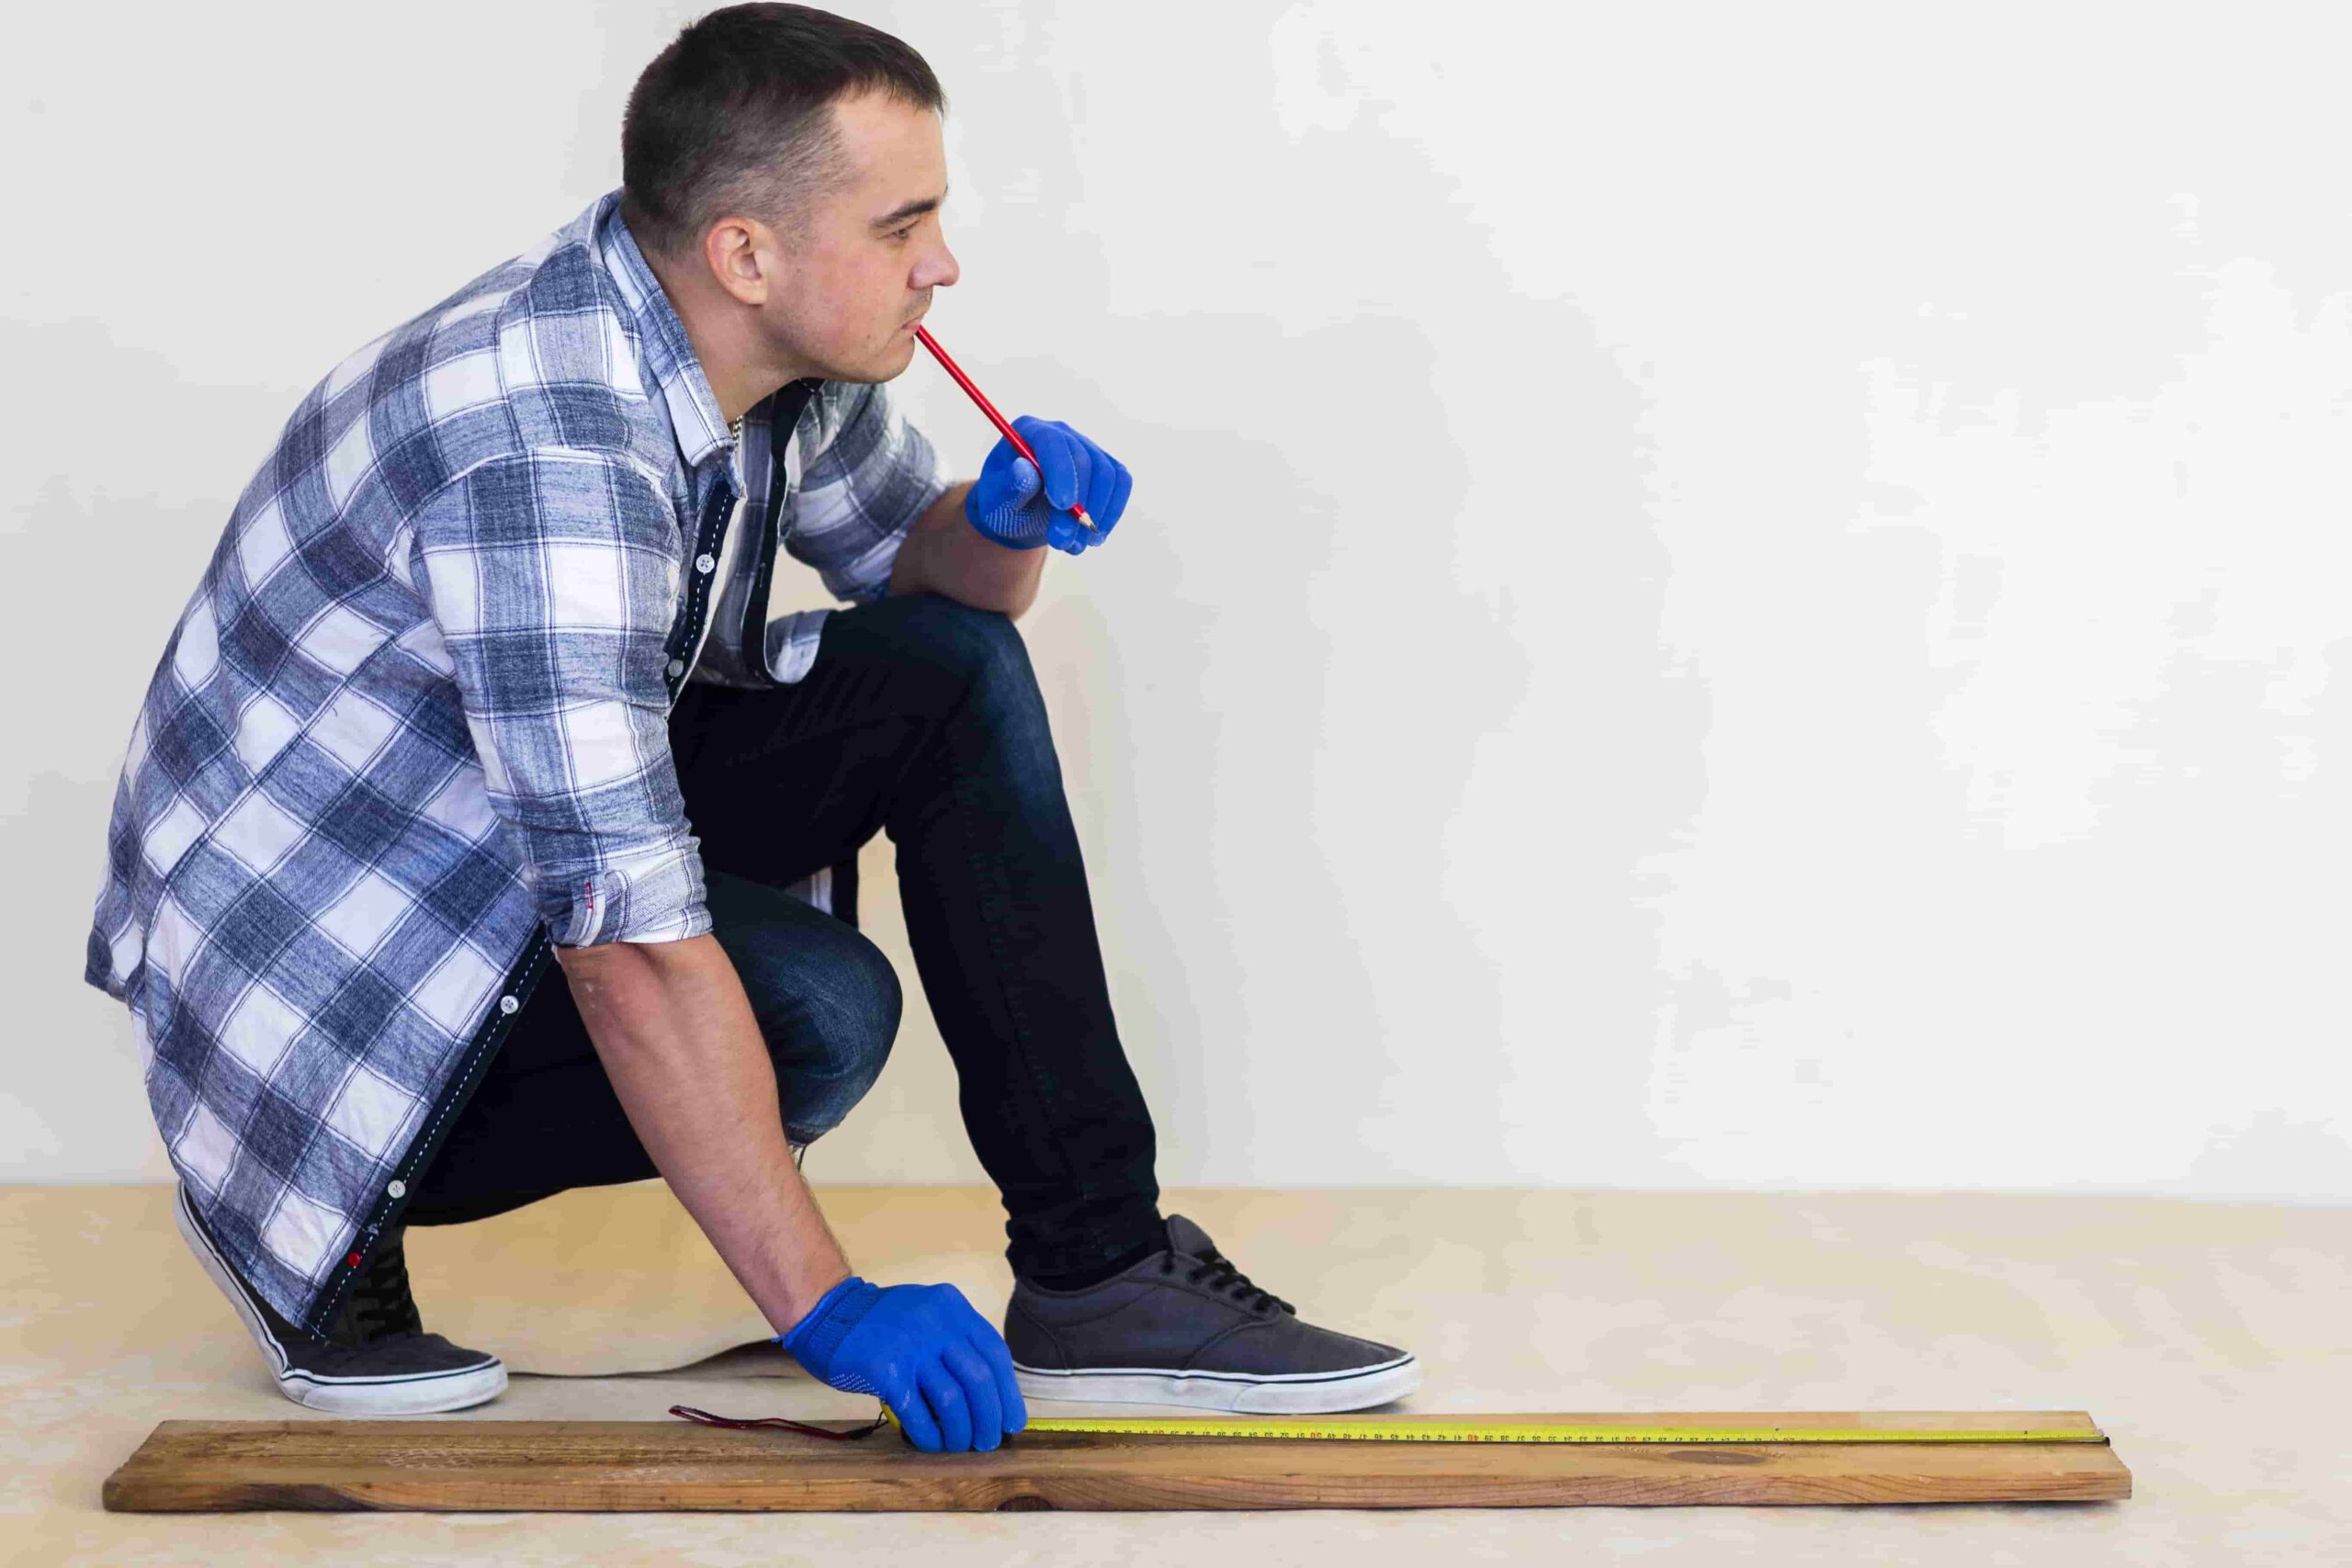
Before you begin installing sheet vinyl flooring on concrete, it’s crucial to measure accurately. Start by measuring the length and width of your room, including any alcoves or offsets. It’s always wise to add a few extra inches to the measurements to allow for any errors or irregularities in the room’s shape.
Once you have your measurements, roll out your sheet vinyl on a flat, clean surface. Larger open spaces such as a garage or outdoor patio can provide plenty of room for this part of the process.
Using a carpenter’s square and a utility knife, carefully transfer your room measurements onto the sheet vinyl. Remember, it’s better to cut a little extra rather than too short – you can always trim excess later.
After marking your measurements, proceed with cutting. Ensure you have a sharp utility knife to create clean, straight lines. It’s advisable to make several lighter passes rather than one heavy cut.
This method provides more control and reduces the chance of accidental miss-cuts.
Applying the Adhesive
Applying the adhesive is a crucial step when installing sheet vinyl flooring on concrete. Begin by first thoroughly cleaning and drying the concrete surface. Any dust, debris, or moisture can negatively impact the adhesive’s ability to bond.
Next, select a high-quality, waterproof adhesive specifically designed for vinyl flooring. The adhesive’s packaging will guide the appropriate amount needed for your square footage.
Keep in mind, that less is often more when it comes to adhesive; too much can cause seepage and spoil the appearance of your new floor.
Start applying the adhesive from one corner of the room. Use a trowel with notches to spread the adhesive evenly onto the concrete. The notches will ensure you’re applying the correct amount of adhesive.
Apply the adhesive in small, manageable sections, rather than all at once. This approach allows the adhesive to remain wet and active as you lay down the vinyl.
Once you’ve applied the adhesive, allow it some time to become tacky before laying down the vinyl. The product instructions will specify the exact time, but it’s typically a short wait. If you lay the vinyl down too soon, it may not stick properly to the adhesive.
Conversely, waiting too long can cause the adhesive to dry out and lose its effectiveness.
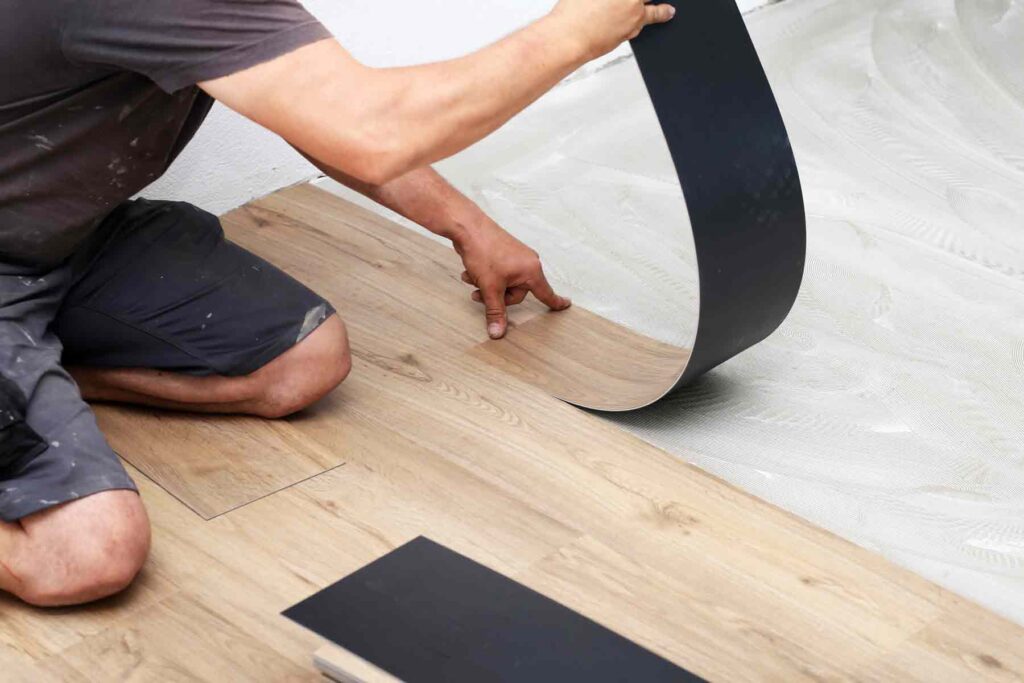
After the adhesive has become tacky, carefully lay your sheet vinyl down. Press down firmly and evenly, ensuring the vinyl is making complete contact with the adhesive. You can use a roller or even just your hands to press down the vinyl.
Finally, clean up any adhesive that seeps out from under the edges of the vinyl. A damp cloth should be sufficient for this. Remember not to walk on the vinyl or move any furniture back into the room until the adhesive has had sufficient time to dry typically 24 hours.
Laying the Sheet Vinyl

When you’re ready to lay the sheet vinyl, start from one end of the room and unroll the vinyl slowly, making sure it lies flat and evenly on the floor. It’s essential to align the vinyl correctly, ensuring that any patterns or lines present match up seamlessly with the room’s dimensions or features.
If the sheet vinyl is cut slightly larger than your room, take extra care while aligning to avoid any unnecessary overlaps.
As you unroll the vinyl, press it down into the adhesive. You can use a floor roller or the back of a push broom to apply even pressure across the vinyl, working from the center out to the edges.
This will help to eliminate any air bubbles and ensure a firm bond between the vinyl and the adhesive.
If you find any excess vinyl along the walls, you can trim it using a utility knife. Remember, always cut a little bit extra to account for any possible errors or last-minute adjustments.
Once the sheet vinyl is laid and adhered, use a seam roller along the edges and seams of the vinyl to create a smooth, flat surface. This step helps to fuse the vinyl into the adhesive and ensures a tight seal.
After completing these steps, you have successfully installed your sheet vinyl flooring on concrete. Remember to allow at least 24 hours for the adhesive to dry before walking on your new floor or moving furniture into the room.
Trimming and Finishing Touches
Finalizing your installation isn’t simply about cutting away the excess; it’s about giving your new floor the perfect finish. After giving the adhesive ample time to dry, start the trimming process.
Use a sharp utility knife to cut away any excess sheet vinyl along the room’s perimeter. It’s always wise to cut a little at a time to ensure precision and avoid removing too much.
Next, apply a matching seam sealer along the edges of the vinyl, especially where the sheets meet if you have used more than one piece.
This step provides a smooth, seamless look and adds an extra layer of protection, preventing water or dirt from getting under the vinyl. Follow the manufacturer’s instructions for the best results.
For a professional finish, reinstall your baseboards or install new ones. Baseboards will cover the edges of the vinyl, creating a clean, finished look.
If your room has pipes or other fixtures, you might need to make additional cuts in the vinyl to fit around them. In this case, consider using caulk around the base of the fixtures for a more polished appearance and to prevent any water intrusion.
Lastly, clean your new floor using a non-abrasive cleaner recommended by the vinyl manufacturer. This cleaning removes any residual adhesive and prepares the floor for use.
Related Topics:
Curing and Maintenance
After successfully installing your sheet vinyl flooring on concrete, you need to let it cure. This process typically takes around 5 to 7 days but may vary according to the manufacturer’s instructions.
During this curing period, avoid placing heavy furniture or appliances on the floor, as this can impede the adhesive bonding process.
Maintenance of the sheet vinyl flooring is straightforward and not as intensive as other flooring types. Regular sweeping or vacuuming helps keep the vinyl surface dust-free.
When mopping, use a damp mop rather than a wet one to prevent water from seeping into the edges. Use cleaners specifically designed for vinyl floors recommended by the manufacturer, and avoid abrasive cleaning tools or harsh chemicals that may damage the floor’s surface.
Yearly inspections of your vinyl flooring are also crucial. Check for any visible signs of wear or damage and attend to them promptly. If you notice a tear or puncture, a small vinyl flooring patch can fix it.
Conclusion
Installing sheet vinyl flooring on concrete is a task that, while slightly labor-intensive, can be accomplished with careful planning and precision. The transformation it brings to the room is well worth the effort, providing a durable, low-maintenance, and visually appealing floor.
Remember, the key to a successful installation lies in proper preparation, precise cutting, and patient curing. With regular care and maintenance, your new vinyl floor can remain attractive and functional for many years.
Remember, should any significant damage occur, professional intervention may be necessary to ensure the floor’s longevity. This guide provides a roadmap for the installation process, but always refer to the specific instructions provided by your vinyl floor manufacturer for best results.
FAQs
Can sheet vinyl flooring be installed on any concrete surface?
Yes, as long as the surface is smooth, clean, and free of any sealants or adhesives that may interfere with the bonding process.
What tools do I need for installing sheet vinyl flooring on concrete?
You will need a utility knife, measuring tape, cutting board, roller, trowel, and a heat gun or hair dryer.
Is it necessary to use adhesive for installing sheet vinyl flooring on concrete?
Yes, adhesive is necessary for proper bonding of the floor to the concrete surface.


1 thought on “Installing Sheet Vinyl Flooring on Concrete Like a Pro: Step-by-Step Guide”