Cutting sheet vinyl flooring can seem a daunting task, especially if you’re not familiar with the process. However, with the right tools and techniques, this task can be accomplished with precision and ease.
This guide will walk you through the process step-by-step, demystifying the task and ensuring you achieve a professional finish in your floor installation. Whether you’re a DIY enthusiast or a seasoned professional, this guide serves as a comprehensive resource for cutting sheet vinyl flooring.
Accurate cuts are crucial while dealing with sheet vinyl flooring. Precision in cutting not only ensures a neat and professional look but also enhances the lifespan of the flooring.
Inaccurate or uneven cuts can lead to problems such as lifting edges or creases, which can adversely affect the durability of the floor.
Furthermore, precise cuts prevent wastage of material, making the process cost-effective. It’s worth noting that accurate cutting is critical for seamless joints and perfect alignment of the flooring, contributing to an overall aesthetic finish.
Necessary Tools and Materials
To carry out the task of cutting sheet vinyl flooring effectively, you’ll require a set of specific tools and materials.
Utility Knife: This is the primary tool for cutting your vinyl sheet. Ensure it has a sharp blade for clean and precise cuts.
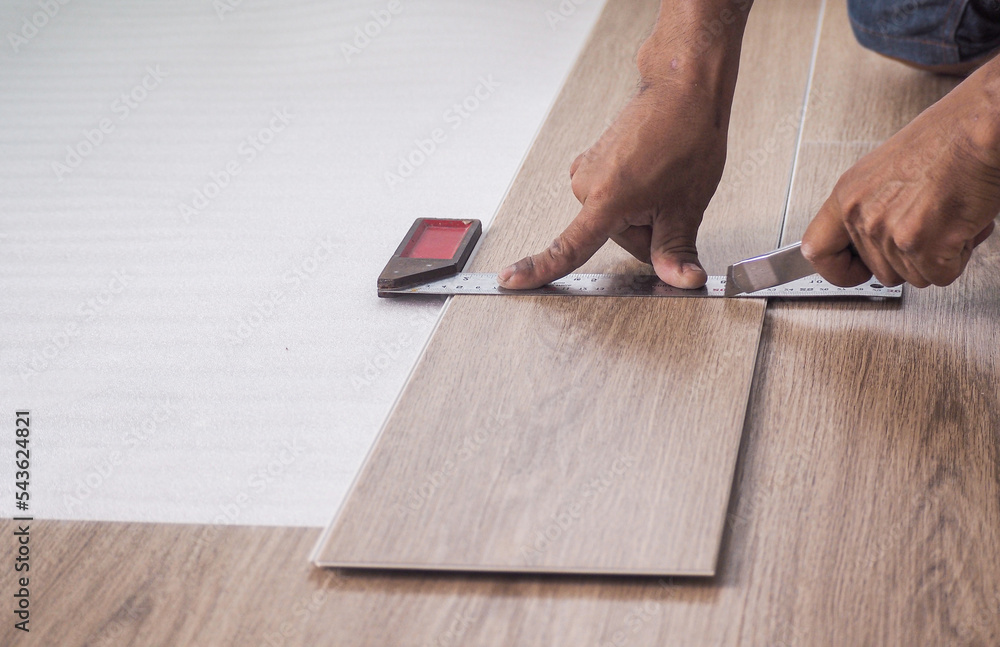
Straight Edge: A metal straight edge or a level will guide your utility knife when making straight cuts. It’s crucial to ensure your cuts are straight and clean.
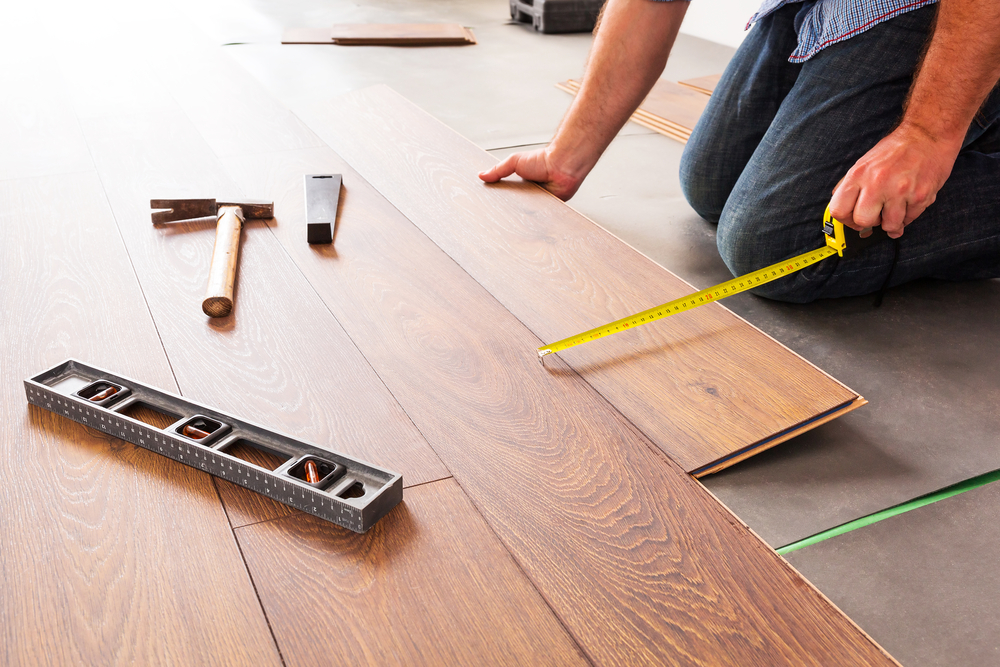
Tape Measure: Measure twice, cut once. This tool is essential for making accurate measurements before making any cuts.
Pencil: A pencil is needed to mark your measurements on the vinyl sheet. This allows you to know exactly where to cut.
Double-Sided Tape: This adhesive is used to secure the vinyl sheet onto the floor once it’s cut to size.
Floor Roller: This tool is used to ensure the vinyl sheet is properly adhered to the floor, removing any air bubbles that may cause lifting or creasing.
1. Preparing Your Workspace

Clear the Area: Remove all furniture and loose items from the area where you’ll be working. This gives you ample space to maneuver the vinyl sheets and eliminates the risk of tripping over clutter.
Clean the Floor: Sweep or vacuum the floor to remove any dust or debris. This helps to prevent dust particles from sticking onto the double-sided tape or under the vinyl, which could cause bumps or lifting.
Cover Surfaces: If you’re working in an area with valuable items or surfaces that could be damaged, consider covering them with a dust sheet for protection against accidental scratches or dust.
Ensure Adequate Lighting: Work in a well-lit area. Good lighting is crucial when cutting the vinyl as it helps to enhance precision.
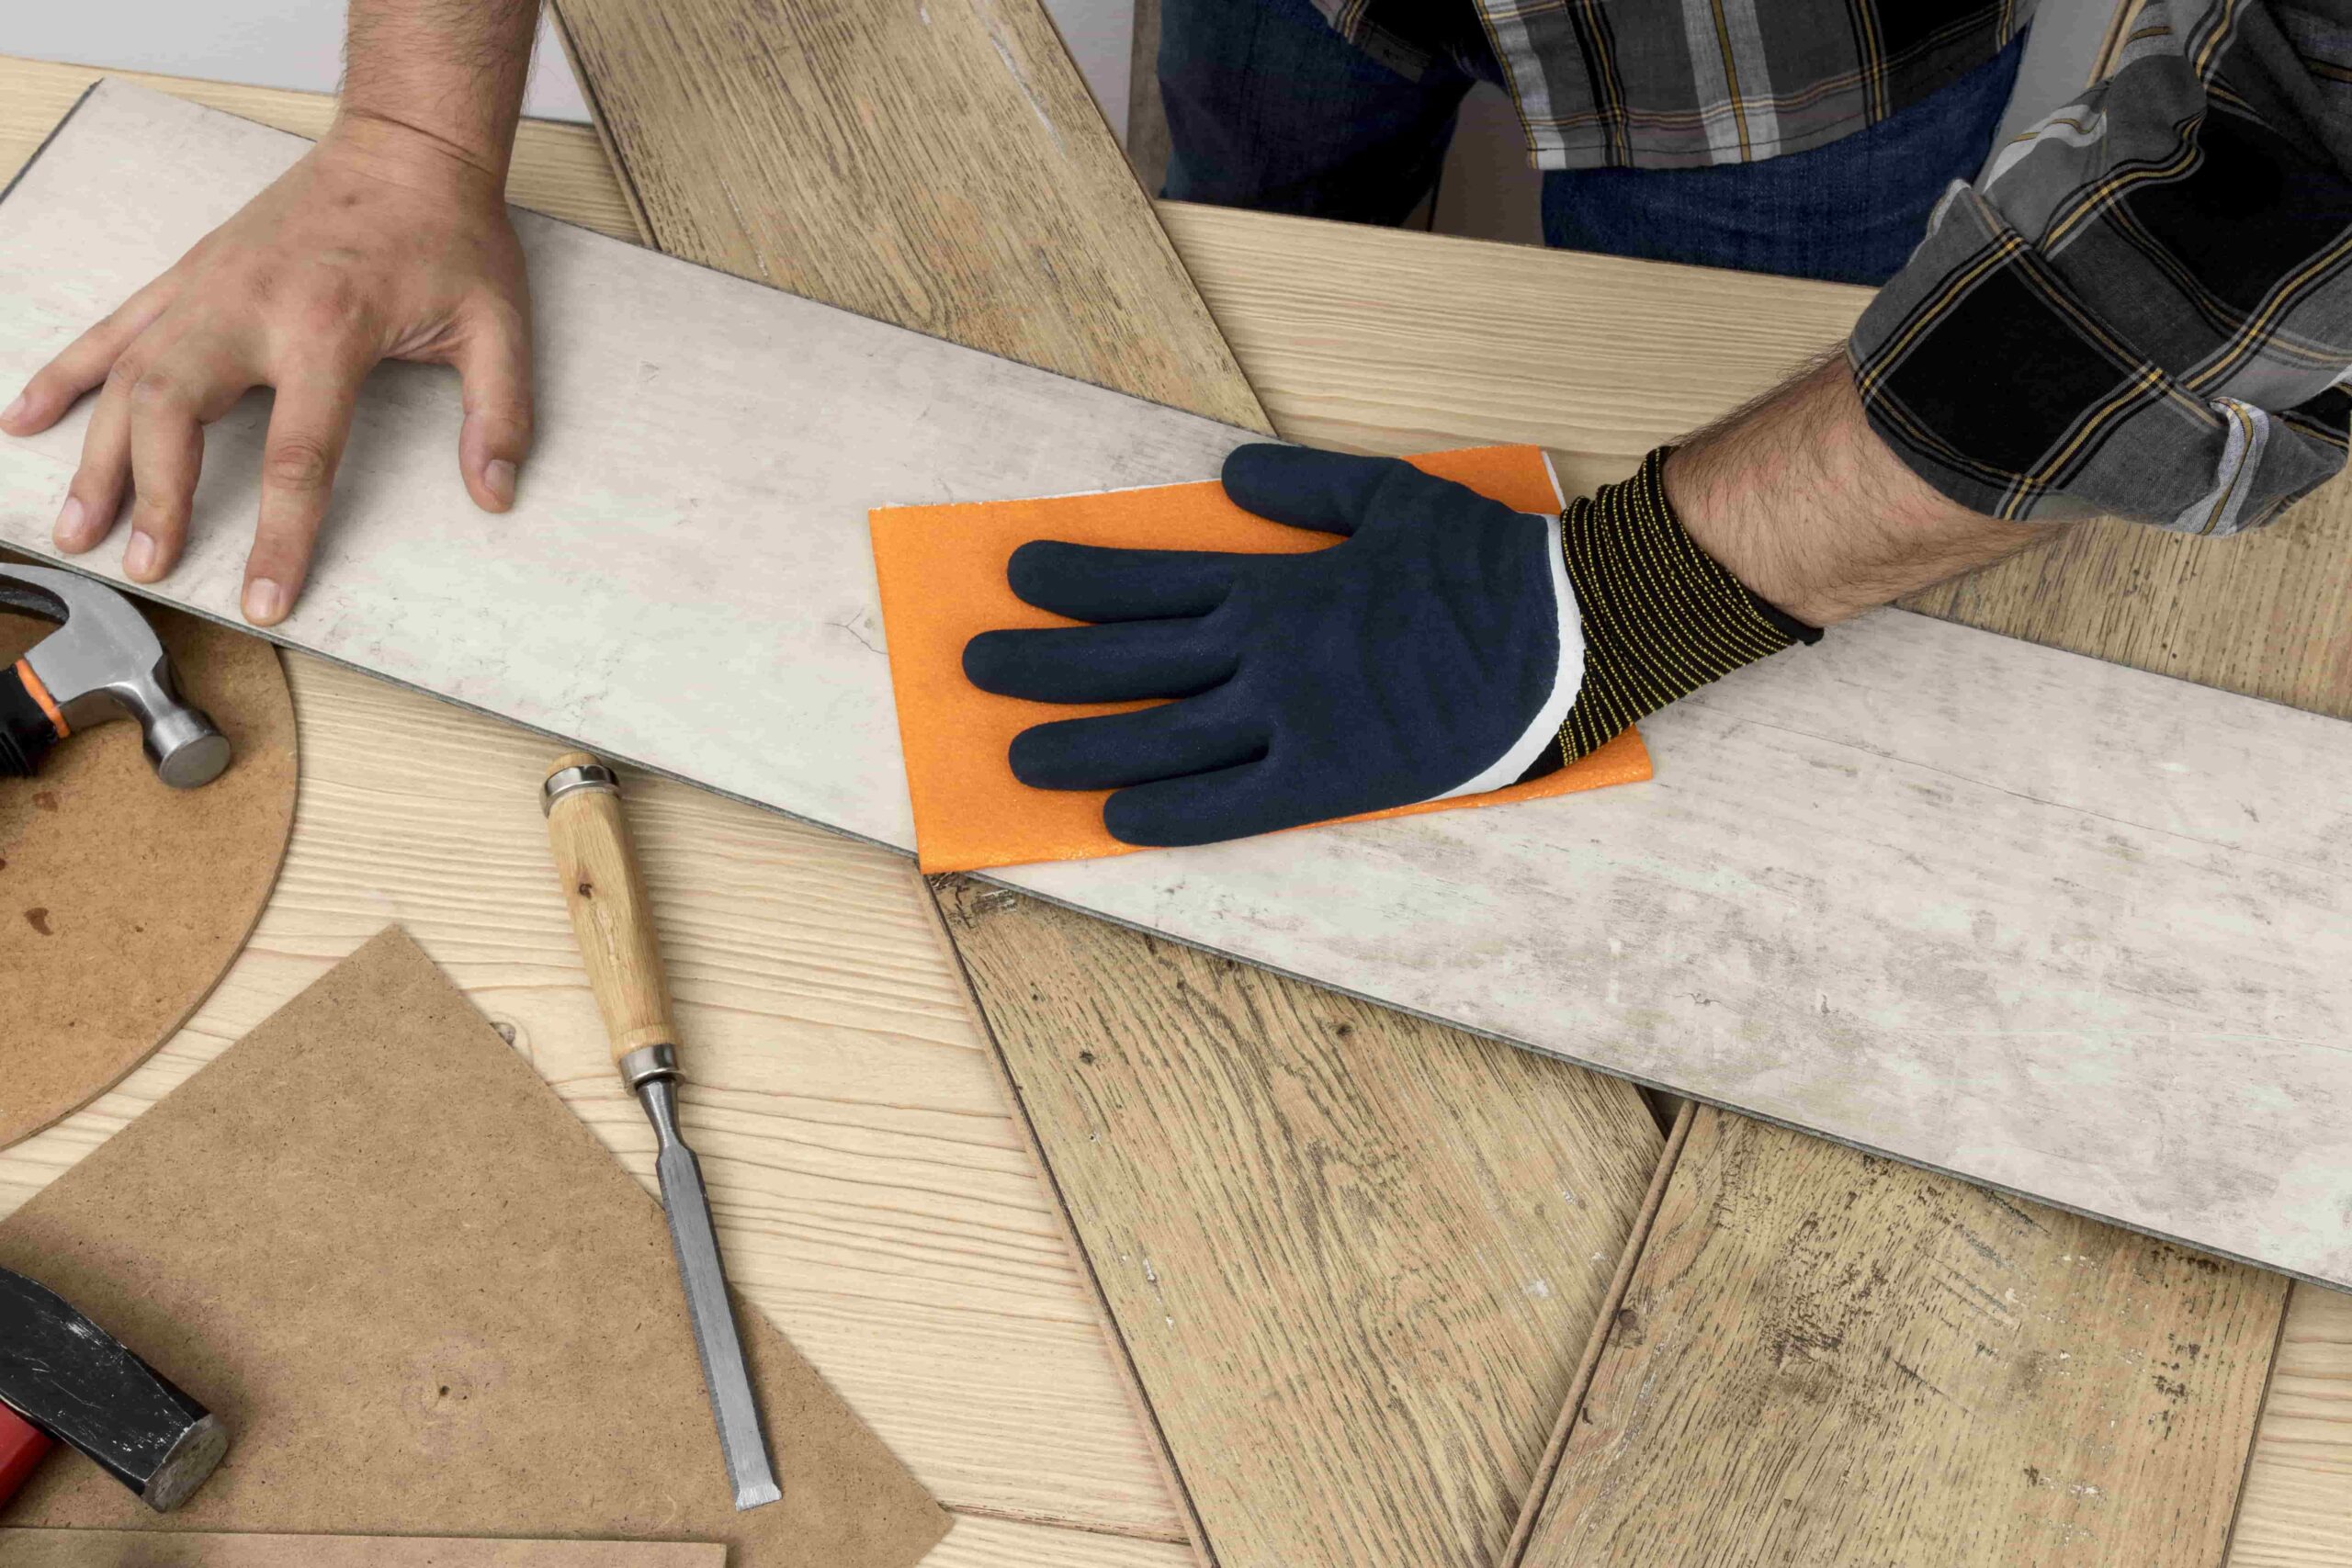
Wear Protective Gear: Safety is paramount. Ensure you’re wearing a pair of sturdy gloves to protect your hands from potential cuts. Safety glasses can also be helpful to prevent any dust or debris from getting into your eyes.
Keep Tools Organized: Keep your tools neatly arranged for easy access. This not only speeds up your work but also minimizes the risk of accidents caused by misplaced tools.
2. Measuring the Vinyl Sheet Flooring

Measure the Length and Width: Start from one end of the room and stretch the tape measure to the opposite end to get the length. Repeat this process for the width. Always remember to measure up to the inside edge of any doorframes or fixed obstacles.
Account for Irregularities: If your room isn’t a perfect rectangle or square, divide it into smaller, rectangular sections and measure each one separately. Add up these measurements to get the total area.
Measure Doorways and Fixed Obstacles: Take measurements of doorways and any fixed obstacles such as kitchen islands that the vinyl will need to fit around.
Extra Allowance: It’s better to have excess vinyl than to fall short. Therefore, add a few extra inches to your measurements. This additional material can be trimmed off once the vinyl is laid down.
Plot a Diagram: Jot down your measurements on a rough sketch of the room. This will serve as a handy reference when it’s time to cut your sheet vinyl flooring.
3. Drawing Your Cut Lines
Transfer Room Diagram to Vinyl: Lay out your vinyl flooring on a flat surface. Take your room diagram with measurements and start transferring them onto the vinyl. Use a washable marker for this purpose to avoid permanent marks on the flooring.
Mark the Length and Width: Start by marking the length and width you had measured earlier. Ensure your marker lines are straight; you can use a straightedge or a chalk line for assistance.
Mark Irregular Areas: Now, move on to the irregular sections of the room. Be careful while transferring these measurements onto the vinyl. Remember to mark the areas around obstacles or doorways.
Indicate Extra Allowance: Don’t forget to mark the extra allowances that you added while measuring your room. These will be useful for adjustments during installation.
Double Check Your Marks: Go over your markings one more time to make sure everything is accurate. Any discrepancies at this stage could lead to problems when fitting.
Label Your Marks: It’s a good idea to label your markings, especially if there are many of them or they are close together. This will help avoid confusion when it’s time to cut the vinyl.
With the vinyl sheet properly marked, you’re ready to proceed to the next step – cutting the vinyl. Always remember, “Measure twice, cut once.”
4. Cutting the Sheet Vinyl Flooring
Secure the Vinyl: Make sure your vinyl is flat and secure. Use weights at the corners to prevent the sheet from moving while you make the cuts.
Use the Right Tools: Use a sharp utility knife for precise cuts. A dull blade can rip the vinyl instead of cutting it smoothly.
Make the Cuts: Start by cutting the vinyl at the straight edges. Follow the lines you’ve drawn carefully. Apply enough pressure to cut through the vinyl but not so much that it tears or stretches.
Cut the Irregular Areas: For irregular areas, cut in small sections to maintain control and avoid mistakes. Remember to leave extra vinyl in areas that will be tucked under baseboards or trim.
Cutting Around Obstacles: When cutting around obstacles like doorways or vents, make relief cuts. These are small cuts that allow the vinyl to stretch and fit around the obstacle.
Safety Precautions: Always cut away from your body to prevent any injury. Keep your fingers away from the path of the knife. Replace the blade if it becomes dull. A dull blade requires more force, increasing the risk of slips.
Final Trimming: After fitting the vinyl to the room, do a final trim to remove any excess material. Use a straightedge to guide your cuts and ensure a neat finish.
Related Topics:
Tips and Tricks for Cutting Sheet Vinyl Flooring
Practice Makes Perfect: If this is your first time working with sheet vinyl flooring, practice your cutting technique on scrap pieces before tackling the actual project. This will help you get a feel for the amount of pressure needed and the way the material behaves under the blade.
Use a Straight Edge: A metal straight edge can be of immense help, especially for long, straight cuts. It guides the knife, ensuring your cuts are straight and precise.
Keep it Warm: Sheet vinyl is much easier to cut and manipulate at room temperature. If the vinyl is too cold, it can become brittle and more difficult to work with.
Double Check Your Measurements: As the old saying goes, “Measure twice, cut once.” It’s worth taking the time to recheck your measurements to avoid costly mistakes.
Clean The Subfloor: Before laying your vinyl, ensure that your subfloor is clean, level, and dry. Any dust, debris, or unevenness can cause problems during installation and lead to an uneven finish.
Plan for Waste: When purchasing your sheet vinyl flooring, account for a bit of waste. This is especially important if your room has a lot of obstacles or irregular areas.
Conclusion
Cutting sheet vinyl flooring may seem daunting initially, but with a bit of practice, precise measurements, and the right tools, it can be a manageable DIY project. Remember, patience is key when undertaking this task.
Take your time to ensure cuts are accurate and smooth, the subfloor is well-prepared, and room temperature is maintained for the vinyl’s flexibility. Harness these tips and tricks, and you will be on your way to a successful sheet vinyl flooring installation.
FAQs
How do I cut sheet vinyl flooring around corners and irregular shapes?
For corners, make a straight cut and then score along the corner using a sharp utility knife. Fold the vinyl along the scored line and trim off any excess material. For irregular shapes, use paper or cardboard to create a template, transfer it onto the vinyl, and then cut along the pattern.
What tools do I need to cut sheet vinyl flooring?
The main tools you will need are a sharp utility knife, measuring tape, a straight-edge ruler or T-square, and a cutting board. You may also benefit from having a jigsaw or hand saw for more intricate cuts.
Can I install sheet vinyl flooring on top of existing flooring?
It is not recommended to install sheet vinyl flooring over existing flooring. The old flooring may have imperfections that can transfer onto the new vinyl, leading to an uneven finish. It is best to remove the old flooring and prepare the subfloor properly before installation.


1 thought on “A Step-by-Step Guide on Cutting Sheet Vinyl Flooring”