Vinyl sheet flooring offers a versatile and cost-effective solution for those looking to upgrade their floors without the hassle of removing existing tiles.
With its remarkable ability to mimic higher-end materials like hardwood and stone, vinyl provides a beautiful finish coupled with unmatched durability and ease of maintenance.
When considering laying “vinyl sheet flooring over tile,” homeowners can not only achieve a swift transformation of their space but also enjoy the benefits of a softer, more forgiving surface underfoot.
Vinyl sheet flooring stands out for its resilience against wear and tear, as well as its resistance to water and stains, making it ideal for areas like kitchens and bathrooms. Unlike tiles that can crack or chip, vinyl’s flexibility ensures it handles heavy foot traffic with ease.
Installation is another area where vinyl sheet flooring shines, as it can be efficiently laid down over existing tiles, saving time and labor costs.
Lastly, vinyl’s cushioned backing delivers a comfortable walking experience, a feature that hard tiles cannot offer, contributing to a warmer, quieter home environment.
Preparation for Installation
Assessing the Existing Tile Condition
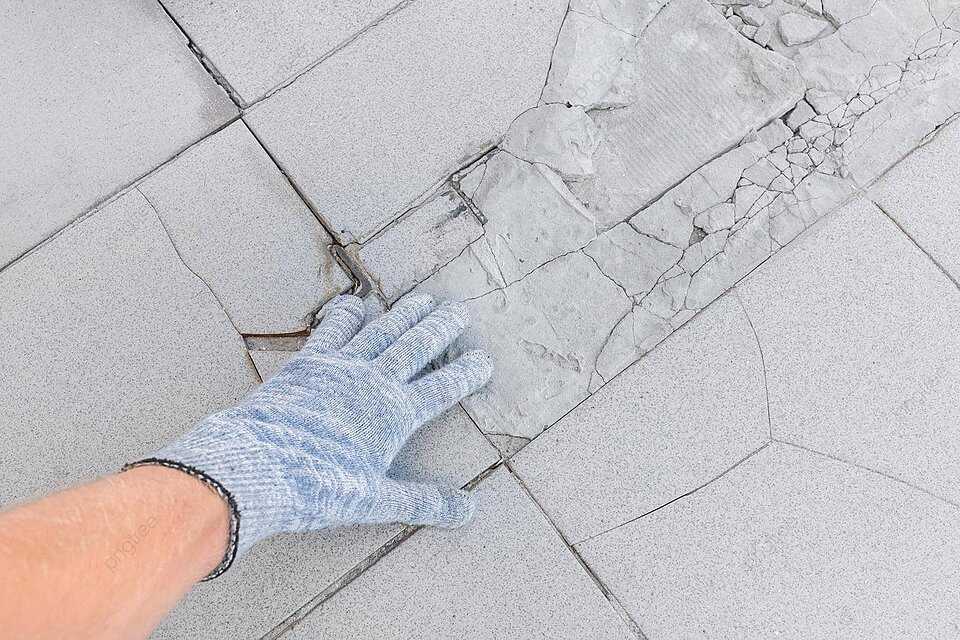
Before proceeding with the installation of vinyl sheet flooring, it is crucial to assess the condition of the existing tile surface. Tiles must be securely attached to the subfloor, with no loose or cracked pieces, as these imperfections can affect the vinyl’s ability to lay flat and smooth.
Check for any significant height variations or deep grout lines as well; these may require filling or leveling to prevent them from telegraphing through to the surface of the vinyl.
A thorough inspection and remediation of these issues will ensure a solid foundation for your new flooring, which is essential for achieving the best possible finish and longevity of your vinyl sheet flooring.
Surface Cleaning and Debris Removal

Before the installation of the new vinyl flooring, it is imperative to thoroughly clean the existing tile surface. Any dirt, dust, or debris can interfere with the adhesive’s ability to bond, leading to a less secure installation.
Begin by sweeping or vacuuming the floor to remove loose particulate matter. Follow with a damp mop, using a mild detergent if necessary, to ensure any residual dirt and grime is eliminated.
Allow the floor to dry completely, as any moisture trapped beneath the vinyl sheet can lead to mold or mildew growth, compromising both the installation and air quality of the space.
This step is foundational and should not be rushed; a pristine starting surface is key to a flawless and enduring vinyl sheet flooring application.
Necessary Tools and Materials for Installation
To ensure a smooth and effective installation of your vinyl sheet flooring, having the right tools and materials at hand is essential. Here is a list of recommended items that you will need:
- Tape measure – For precise measurements of the room and vinyl sheets.
- Utility knife – To trim and cut the vinyl sheet to fit as needed.
- Straightedge – A ruler or a level can act as a guide for cutting straight lines.
- Flooring adhesive – Ensure you have the type recommended for vinyl sheet applications.
- Notched trowel – To spread adhesive evenly across the subfloor.
- Roller – A floor roller will help remove air bubbles and ensure good adhesion.
- Adhesive remover – For cleaning up any excess adhesive that may seep from the edges during installation.
- Chalk line – To mark guidelines for laying the vinyl accurately.
- Spacers – To maintain an expansion gap around the room’s perimeter, if advised by the flooring manufacturer.
- Work gloves – To protect your hands during the installation process.
Remember to gather all these tools before you begin the installation to avoid any interruptions once the process is underway.
Installation Steps
Measuring and Cutting the Vinyl Sheet
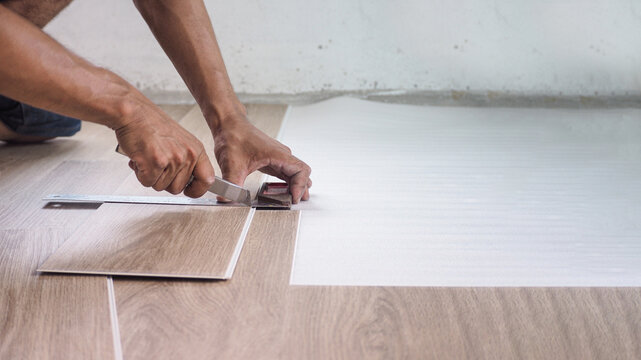
Before commencing the installation, you must measure the room’s dimensions accurately to ensure the vinyl sheet will fit perfectly. Start by using the tape measure to determine the length and width of the space.
Add a few inches to each measurement to allow for excess material that can be trimmed later; this is a safeguard against possible miscalculations or irregularities in the room’s shape.
Once the measurements are noted, roll out the vinyl sheet in a clean, spacious area, preferably on a flat surface larger than the sheet itself. Transfer the room measurements onto the vinyl, marking the dimensions with your chalk line.
When making these guidelines on the vinyl, consider any unique features of the room such as alcoves, protrusions, or built-in furniture, and factor in any necessary allowances.
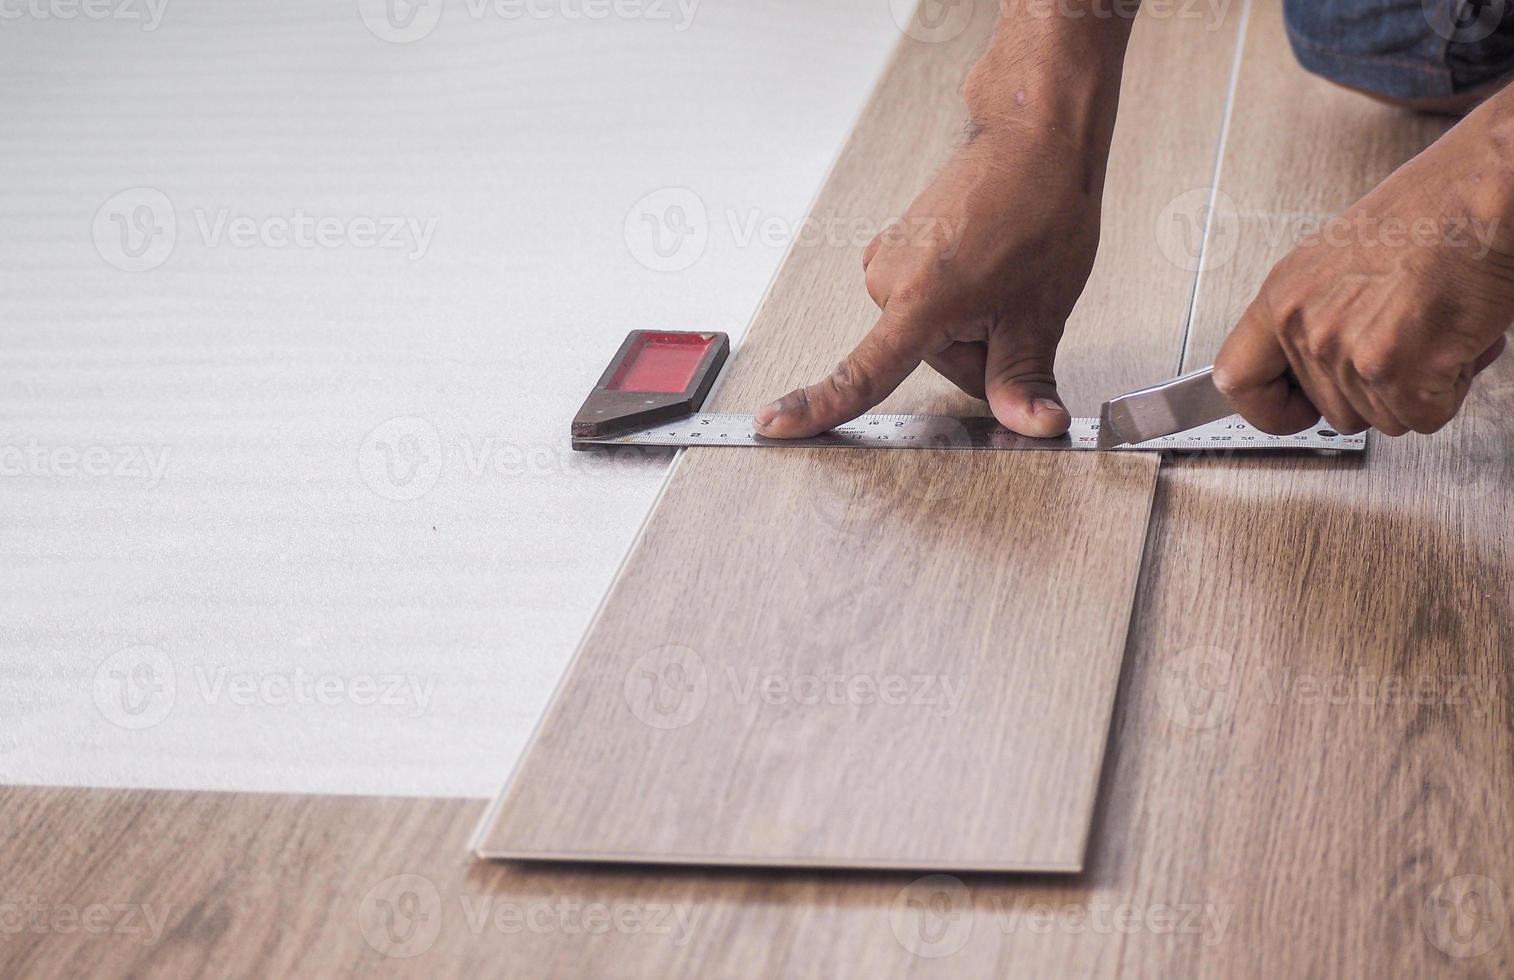
With the measurements marked clearly on the sheet, you’ll need to cut it to size. Place a straightedge along the chalk line as a cutting guide. This ensures that you maintain a straight edge which is crucial for a seamless fit.
Holding the straightedge firmly in place, use the utility knife to score the sheet along the guideline. You may need to pass the knife over the same line multiple times to ensure a clean cut.
Always cut with a fresh blade to minimize tearing and ensure precision.
Once the vinyl sheet is cut to the prescribed dimensions, do a dry fit in the room before applying adhesive. This step is to double-check that the sheet fits as intended and allows you to adjust as necessary without the added complication of wet adhesive.
If additional trimming is needed, mark the areas with the chalk line and repeat the cutting process until the vinyl sheet lies flat and even against all edges of the room.
After confirming the fit, you can move on to securing the sheet in place with adhesive.
Techniques for laying vinyl sheets seamlessly over tile
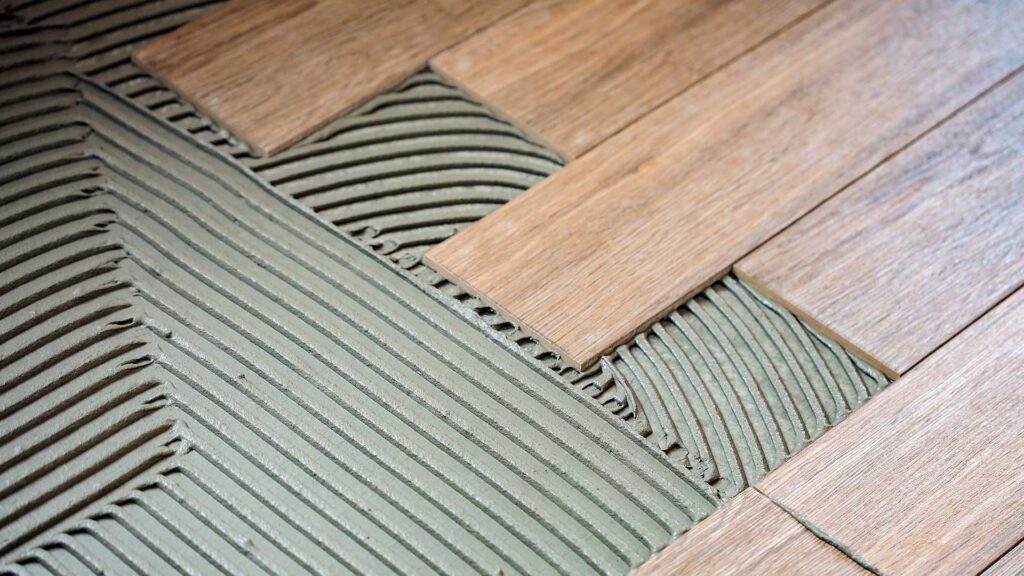
Applying new vinyl flooring over tile requires a meticulous approach to ensure a smooth and seamless finish. Begin by inspecting the tiles for any that are loose, cracked, or uneven.
These imperfections need to be addressed through the application of a leveling compound to create a flat surface. Once the floor has been prepared, you will proceed with the installation of the vinyl sheet.
Opt for a heavy-duty adhesive designed for use over tile, and apply it carefully according to the manufacturer’s instructions.
It is crucial to avoid air bubbles, which can be achieved by working from the center of the sheet towards the edges with a flooring roller, expelling any trapped air and ensuring a firm bond to the substrate.
A key technique to avoid pattern mismatch is to match the vinyl sheet over tiles, paying particular attention to the pattern at the seams. Each edge should be tightly butted against its neighbor, without overlapping, and securely sealed to prevent any edge curling or moisture infiltration.
To accommodate the expansion and contraction of the material due to temperature changes, it is advisable to acclimate the vinyl sheet to room temperature before installation and leave a slight gap around the perimeter, hidden beneath the baseboard or trim, for expansion.
This helps to prevent the sheet from buckling or warping over time.
Heat welding is another technique used for seams in commercial installations or where watertightness is necessary. It involves a specialized tool to melt vinyl to create a seamless bond.
However, this technique requires professional expertise and equipment and is typically beyond the scope of DIY installations.
Finally, ensure the entire floor is clean and free of debris before, during, and after laying the vinyl to prevent any imperfections or bumps on the surface. Properly executed, these techniques will result in a smooth, seamless vinyl floor covering over your existing tile.
Adhesive Application Methods for Vinyl Flooring
The choice of adhesive and its application is a critical step in laying a vinyl floor, as it affects both the ease of installation and the durability of the flooring.
Pressure-sensitive adhesives are commonly used because they allow for repositioning and only achieve full strength once pressure is applied. This adhesive needs to be applied uniformly across the substrate with a notched trowel to ensure even distribution.
Hard-set adhesives, on the other hand, are designed for heavy-duty applications and areas with high foot traffic. They create a stronger bond, making it difficult to remove or reposition the vinyl sheets once placed.
For smaller rooms or temporary installations, double-sided tape or spray adhesives can be used along the perimeter of the room and at the seams. These are less permanent solutions but make DIY projects simpler.
When using adhesive, it’s important to refer to the drying time specified by the manufacturer. Some adhesives require a set period to become tacky before laying down the vinyl, known as open time.
After placing the sheet, applying pressure with a roller ensures the adhesive bonds effectively with the material, anchoring the sheet firmly in place.
Regardless of the method chosen, the underlying floor must be clean, dry, and smooth to prevent interference with the adhesive’s performance and ensure a flawless finish of the vinyl floor.
Related Topics:
Finishing Touches
Sealing the Edges for a Smooth Finish
Once the vinyl flooring is in place, sealing the edges is paramount for a smooth and seamless finish. It’s vital to prevent water infiltration and to secure the vinyl against curling or peeling.
Clear or matching silicone caulk can be applied discreetly along the baseboards and at the edges where the vinyl meets other types of flooring. This step not only ensures longevity but also maintains the aesthetic appeal of the flooring.
Recommendations for Matching Thresholds
To achieve a professional look and safe transition between different flooring types, it is essential to select the appropriate thresholds and transition strips. These should complement both the color and texture of the vinyl flooring.
When choosing thresholds, consider the height difference between the floors to ensure a level transition, minimizing trip hazards and protecting the edges of the flooring materials.
Transition strips are available in a variety of materials, including wood, metal, and vinyl, to suit the specific needs and design of your space.
Maintenance of Vinyl Sheet Flooring
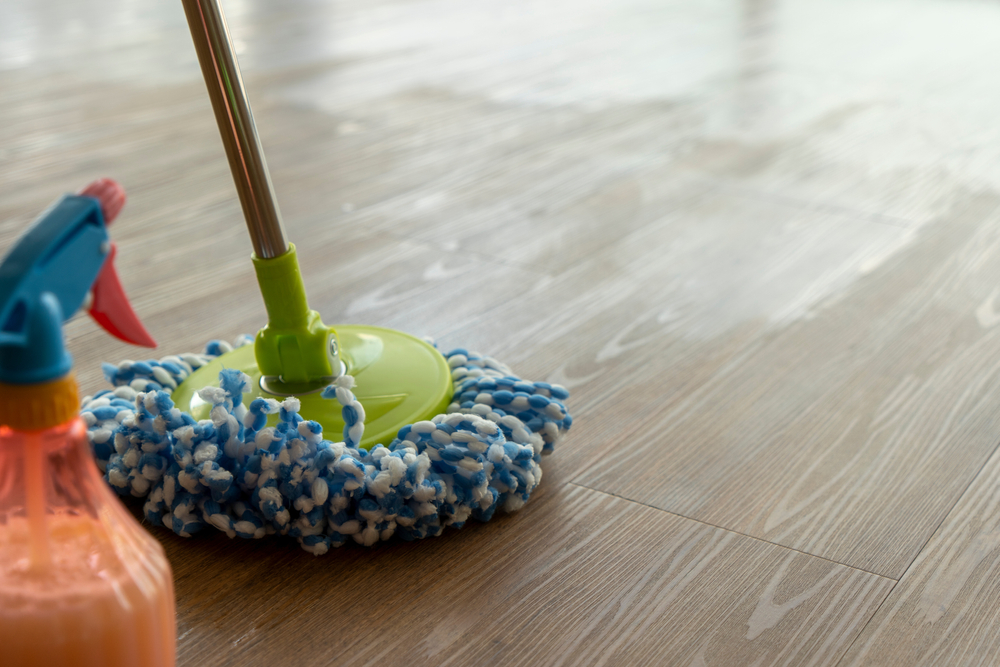
Proper maintenance is crucial for ensuring the durability and longevity of your vinyl sheet flooring. Regular sweeping or vacuuming is necessary to prevent dirt and grit from scratching the surface.
For more thorough cleaning, use a damp mop with a suitable vinyl floor cleaner, steering clear of abrasive chemicals that can damage the flooring. In the event of spills, immediate action is recommended to prevent staining.
Incorporate protective pads under furniture legs to mitigate indentation and refrain from dragging heavy objects across the floor.
Additionally, consider using doormats to control the deposition of dirt and moisture from outdoor shoes. With conscientious care, your vinyl flooring can retain its luster and functionality for years to come.
Conclusion
In summary, vinyl sheet flooring presents a definitive and convenient flooring option, offering versatility, durability, and cost-effectiveness for homeowners. With its ease of installation over existing tiles and minimal maintenance requirements, it stands as a pragmatic choice for a modern household.
The material’s capacity to replicate the aesthetics of more luxurious flooring, combined with its practical advantages of moisture resistance and softness underfoot, makes it an appealing alternative to traditional tile flooring.
By adhering to the proper preparation steps, utilizing the right tools, and following the necessary techniques for laying and sealing, homeowners can ensure that their vinyl sheet flooring over tile not only looks impeccable but also stands the test of time.
Remember, a successful installation and lifetime satisfaction with vinyl flooring emanate from meticulous planning, careful execution, and routine upkeep.
FAQs
Can vinyl sheet flooring be installed over any type of tile?
Yes, vinyl sheet flooring can be installed over most types of tile as long as the surface is even and in good condition. It’s critical to fill any grout lines and make sure the tile is securely attached to the subfloor before laying the vinyl on top.
How long does vinyl sheet flooring typically last?
With proper care and maintenance, vinyl sheet flooring can last anywhere from 10 to 20 years. The longevity will largely depend on the quality of the material and the level of foot traffic it endures.
Is vinyl flooring a good choice for households with pets?
Absolutely, vinyl flooring is an excellent choice for pet owners. It’s resilient to scratches and spills, easy to clean and maintain, and softer underfoot, which is more comfortable for pets.

1 thought on “Vinyl Sheet Flooring Over Tile: Installation Guide”