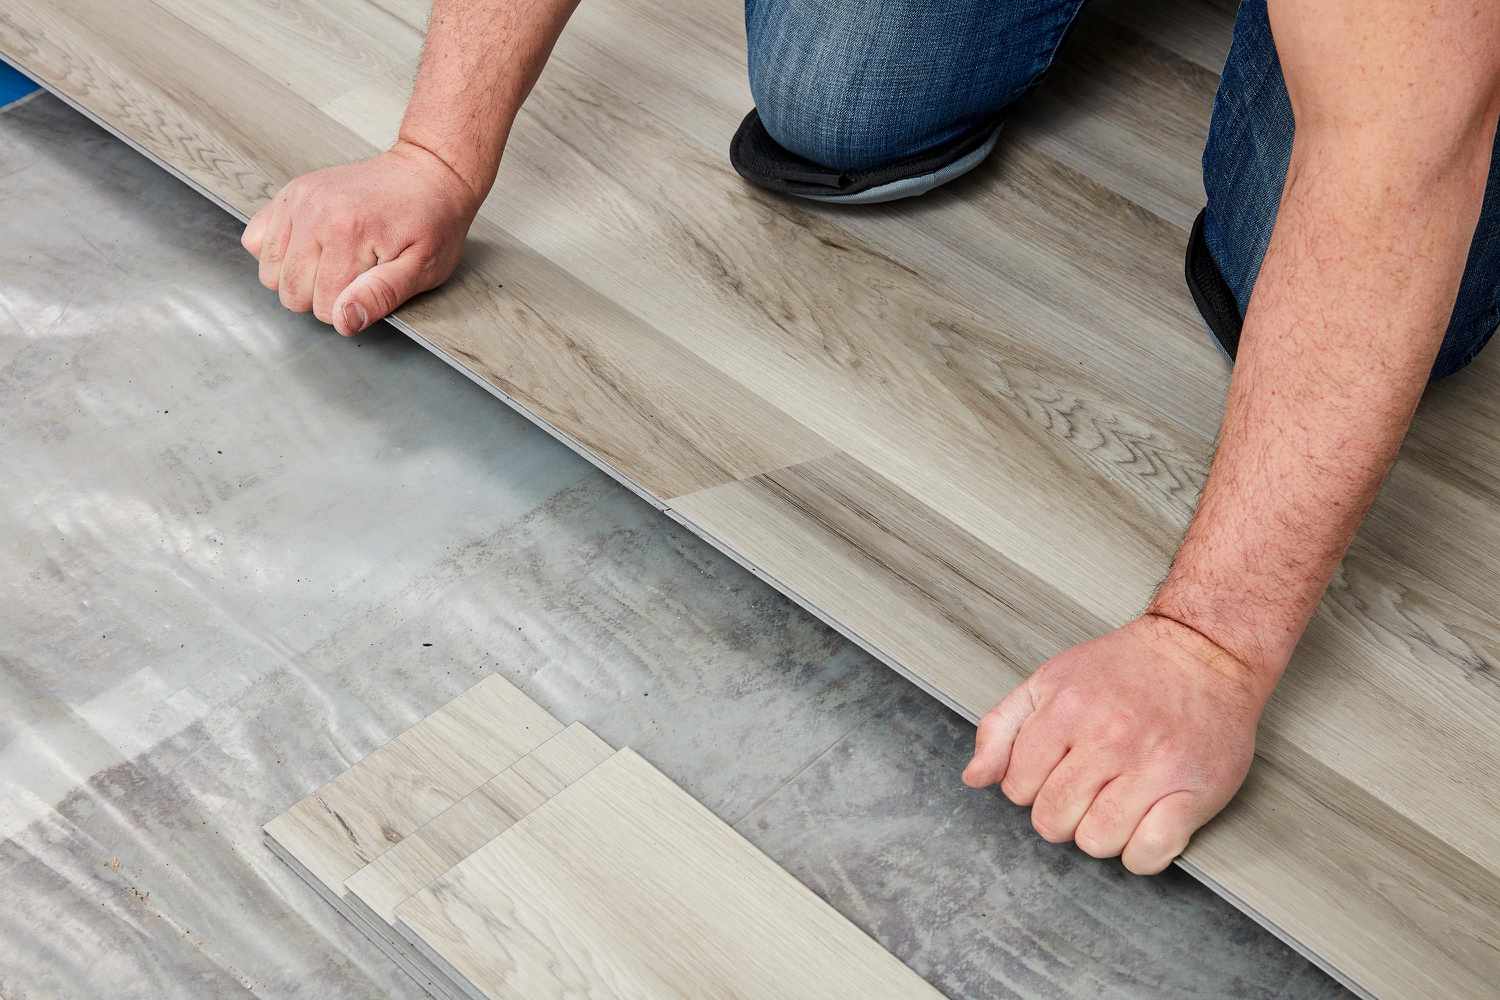
Installing vinyl plank flooring is a popular DIY project thanks to its simplicity and the transformative impact it can have on a space. However, even with its user-friendly design, several common mistakes can arise during installation. These errors can affect the flooring’s durability and overall aesthetic appeal.
In this guide, we will navigate through the common pitfalls, ensuring your vinyl plank flooring is laid seamlessly and stands the test of time.
Whether you are a first-time installer or a seasoned DIY enthusiast, familiarizing yourself with these common mistakes will help you achieve a professional-looking finish.
Proper installation of vinyl plank flooring cannot be overstated; it is the cornerstone for ensuring the longevity and optimal performance of your flooring.
An impeccable install safeguards against issues such as buckling, gaps, and uneven wear that often result from less careful methods.
By paying close attention to detail during each step, and adhering to best practices, you can maintain the integrity of the planks, thereby providing a sturdy and visually pleasing floor that holds up under the rigors of daily use.
Investing the time and effort into doing it right the first time will save you from costly repairs and replacements in the future, ensuring that your floors remain beautiful and functional for years to come.
1. Insufficient Subfloor Preparation
Skipping Subfloor Cleaning and Leveling

One critical step that is often overlooked is the preparation of the subfloor. Before laying down vinyl planks, it is essential to clean the subfloor thoroughly to remove any debris, dust, or residue that could prevent proper adhesion. Moreover, ensuring that the subfloor is perfectly level is non-negotiable.
An uneven subfloor can lead to soft spots, which not only affect the feel of the floor underfoot but can also cause premature wear and tear on the vinyl planks.
Taking the time to address these issues before installation can significantly extend the life and appearance of your flooring.
Neglecting Subfloor Drying Time
Not allowing the subfloor to dry completely after cleaning or any form of wet treatment is another common pitfall. Introducing vinyl planks to a moist subfloor can lead to mold growth and compromise the adhesive properties that keep the flooring secure.
Therefore, it is critical to allow ample drying time a step that should not be accelerated or skipped to ensure the subfloor’s condition is optimal for a successful vinyl plank installation.
2. Inadequate Acclimation of Flooring Material
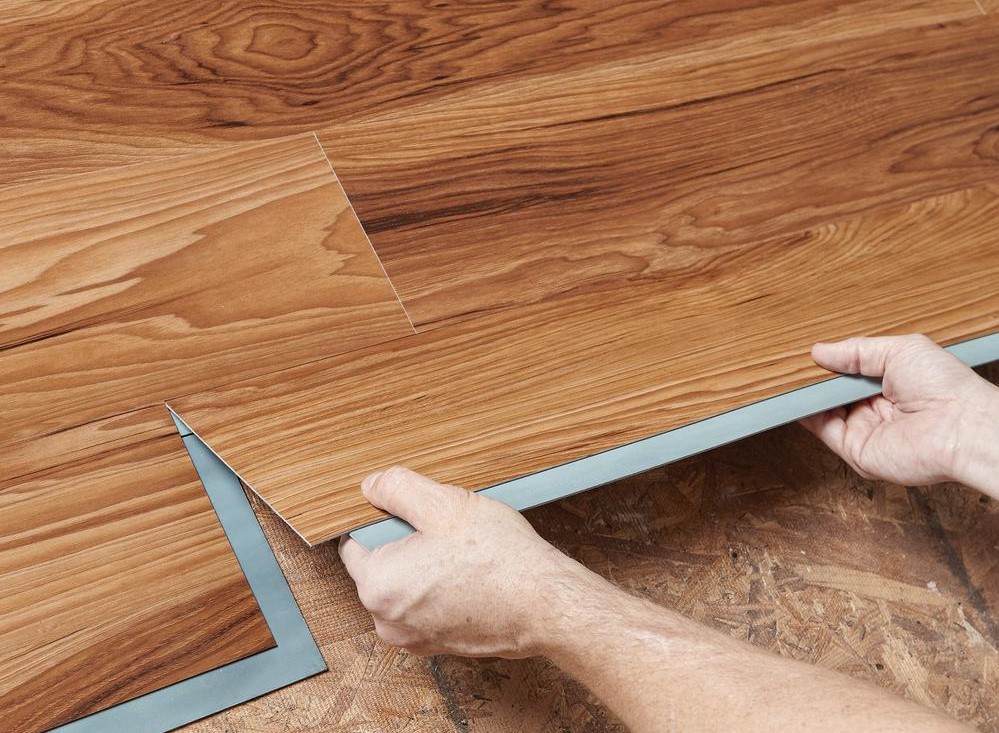
Overlooking the acclimation of vinyl planks to room temperature before installation is a mistake that can lead to significant issues down the line. Vinyl is a temperature-sensitive material; it expands and contracts with fluctuations in the surrounding environment.
This is why it’s crucial to allow the vinyl planks to sit in the room where they will be installed for at least 48 hours before laying them down.
This period of acclimation permits the planks to adjust to the temperature and humidity levels of the room, effectively minimizing the chances of warping or gaps forming between the planks post-installation.
Installation without proper acclimation can result in an uneven floor and reduced lifespan of the product. Always refer to the manufacturer’s guidelines for the recommended acclimation period to ensure a strong and stable vinyl floor.
3. Incorrect Plank Alignment and Spacing
Ignoring Manufacturer’s Guidelines for Plank Alignment
Failing to adhere to the manufacturer’s guidelines for plank alignment can lead to an uneven flooring installation, with visible imperfections and potential long-term problems. Proper alignment is key to not only achieving a visually pleasing result but also ensuring the functional integrity of the floor.
Manufacturers provide instructions on the best practices for aligning planks, including the staggering of seams and appropriate spacing around the room’s perimeter.
Ignoring these guidelines may result in planks that do not properly lock together, leaving weak spots on the floor and increasing the risk of damage over time.
It is essential to follow the detailed installation process provided by the manufacturer to achieve a satisfactory and durable finish.
Overlooking the Need for Expansion Gaps
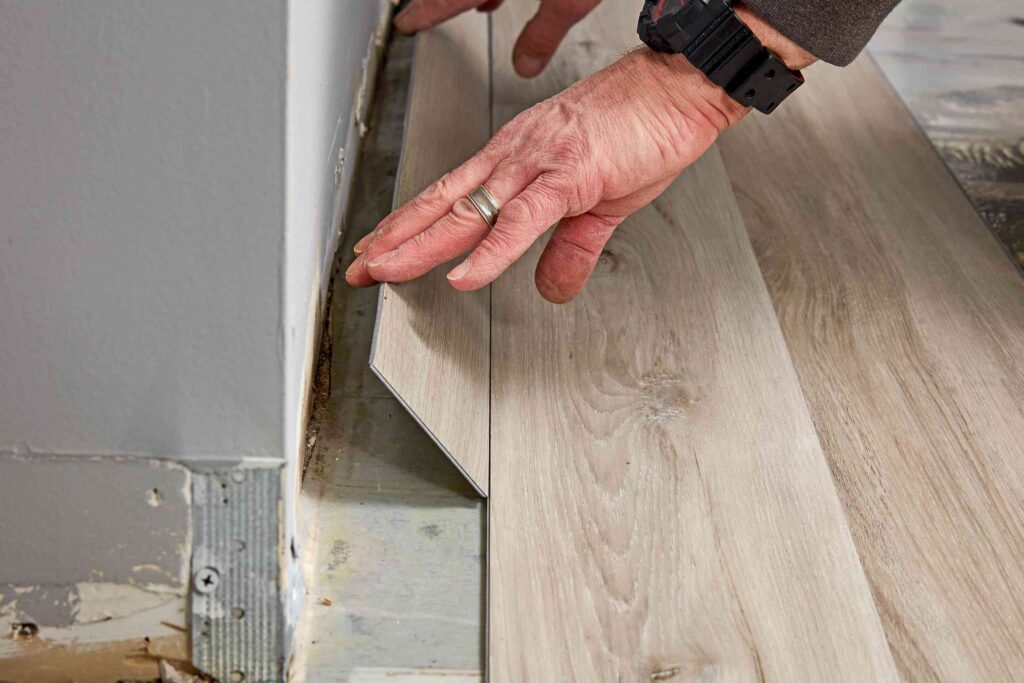
Vinyl plank flooring requires sufficient expansion gaps around the room perimeters to accommodate natural expansion and contraction caused by variations in temperature and humidity.
Neglecting to maintain these gaps can lead to buckling, as the flooring has no space to expand. This can cause the planks to push against each other and lift from the subfloor, creating an uneven and potentially unsafe surface.
It is critical to measure and leave the manufacturer-recommended gap between the flooring and wall to prevent these issues. Expansion gaps are typically concealed by baseboards or molding, ensuring a seamless look while providing the necessary room for movement.
4. Improper Use of Adhesives
Using the Wrong Type of Adhesive for the Subfloor Material
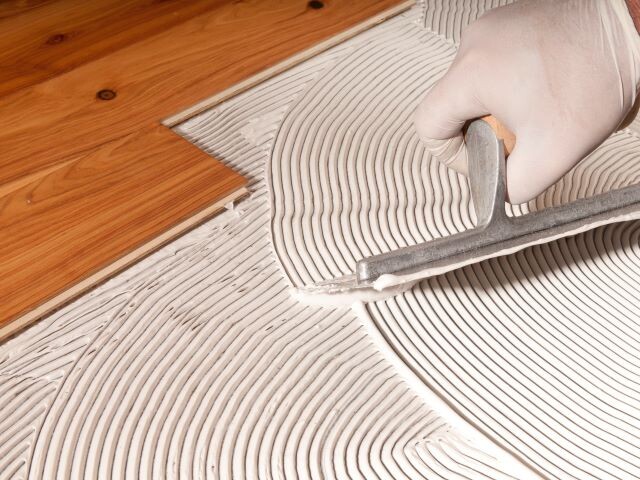
Selecting the wrong adhesive is a common mistake that can adversely affect the longevity and stability of vinyl plank flooring. Each type of subfloor material, whether concrete, plywood, or otherwise, has specific adhesive requirements that ensure a secure and durable bond.
Using an adhesive that is not compatible with the subfloor material can lead to weaker adhesion, causing the planks to shift or come loose.
Furthermore, incompatibility can also result in chemical reactions that may damage the subfloor or the flooring itself. Manufacturers typically recommend a particular type of adhesive in their installation guidelines, which must be adhered to for optimal results.
Applying Too Much or Too Little Adhesive
The amount of adhesive used during the installation of vinyl plank flooring is just as important as choosing the right type. Applying too much adhesive can lead to oozing, which not only makes a mess but can also cause the planks to shift as they are not properly seated.
Excess glue may also seep between the planks, resulting in a residue buildup that attracts dirt and complicates cleaning.
On the other hand, using too little adhesive might not provide sufficient hold, leading to loose planks that can move or detach over time.
Manufacturers often provide instructions regarding the appropriate amount of adhesive to use, and following these guidelines will help maintain the integrity and appearance of the flooring.
5. Hastening the Installation Process
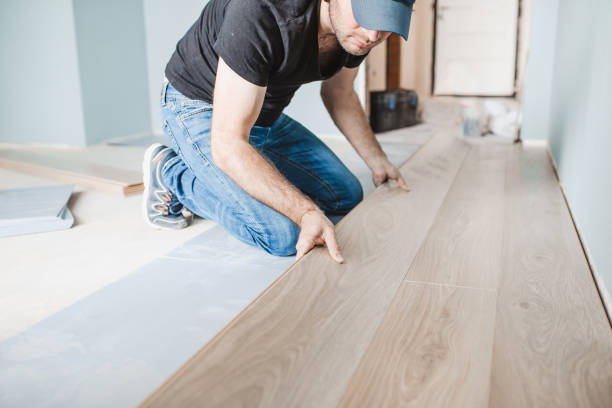
When installing vinyl plank flooring, taking shortcuts or hastening the process can lead to a host of issues that may compromise the quality and longevity of the floor.
Proper placement of vinyl planks is critical to achieving a seamless and stable floor, as it ensures the locking systems click into place correctly and create a uniform and flat surface.
Not allotting sufficient time to carefully position each plank can result in misaligned planks, reducing the effectiveness of their interlocking edges.
This improper alignment can cause gaps to appear between the planks over time as they are subjected to foot traffic and environmental conditions.
Moreover, failing to secure the planks adequately can lead to them shifting or lifting, which not only affects the floor’s aesthetic but may also create tripping hazards.
In the rush to complete the project, installers might overlook the manufacturer’s recommended time to allow the adhesive to cure, thus preventing it from achieving its maximum bonding strength.
It’s crucial to follow the advised wait time before walking on or placing furniture on the new flooring, as premature use might cause the planks to shift from their intended positions.
Adequate time should be devoted not only to the laying of the planks but also to the preparation of the subfloor, which includes cleaning, leveling, and priming if necessary.
Overlooking these preparatory steps in an attempt to save time can exacerbate future problems such as uneven floors that result in an unsatisfactory finished product.
Adhering to a patient, meticulous installation process is essential to ensure a floor that looks professional, remains stable, and endures the test of time.
6. Not Using the Right Tools

Attempting installation without the necessary cutting tools and spacers can severely compromise the quality and appearance of your flooring. The precision required for cutting floor planks to fit varying room dimensions and obstacles such as vents or pillars is significant.
Using improper tools not only risks an imprecise cut but may also damage the material, causing unsightly chips or fraying that can be impossible to conceal once laid down.
Flooring installations require cuts that are straight and clean, something that specialized cutting tools are designed to achieve.
Without these tools, DIY installers might resort to using general-purpose saws that may not provide the control needed to make accurate cuts.
Miscalculations and flawed cuts result in wasted materials and additional costs as extra planks must be purchased to replace the ruined ones.
Furthermore, spacers play a crucial role in ensuring a uniformly spaced floor, accounting for the expansion and contraction that naturally occurs in the flooring materials due to changes in temperature and humidity.
Without the proper use of spacers, planks can end up too tight against the walls, leaving no room for expansion. This can lead to buckling and unsightly bulges on the floor, while gaps can form if the planks are too loose.
These issues not only cause aesthetic defects but may also lead to structural problems, necessitating costly and extensive repairs that could have been avoided with the correct usage of spacers during installation.
7. Ignoring the Layout Patterning
Ignoring the importance of staggered seams when laying out flooring not only diminishes its visual appeal but also compromises the structural integrity of the installation.
When seams are lined up rather than staggered, it can lead to a phenomenon known as ‘H-joints,’ which are visually unappealing and can create weak points on the floor.
Proper staggering of seams helps to distribute weight more evenly, thereby enhancing the floor’s ability to withstand pressure and everyday wear and tear.
Not staggering seams can make the flooring more prone to buckling or separating, especially under the pressure of heavy furniture or high foot traffic. This structural vulnerability arises because continuous seams create a line of weakness where the floorboards are more likely to shift or gap.
Visually, staggered seams mimic the natural randomness of authentic hard floors, adding to the aesthetic beauty of the layout.
It’s a crucial consideration that crafters of flooring must adhere to, ensuring that each piece flows seamlessly into the next, creating a harmonious and durable surface.
For optimal visual and structural results, it is generally recommended that seams be staggered at least 6 inches from the end joints in adjacent rows. Professionals often suggest that a third or a half pattern offset works well for most types of flooring planks.
By adhering to this practice, not only do you achieve a layout that is pleasing to the eye and looks professionally installed, but you also build a foundation that stands the test of time, resisting common issues that arise from poor installation techniques.
Related Topics:
Conclusion
In conclusion, the intricacies of vinyl plank flooring installation cannot be overstated. Common mistakes such as neglecting proper seam staggering can lead to “H-joints,” structural weaknesses, and a diminished aesthetic appeal. It is paramount to approach the task with patience and unwavering attention to detail.
Ensuring that the seams are adequately staggered, not just to avoid potential buckling or separation, but also to capture the true beauty of a well-laid floor, is essential.
As a parting tip, beginners and experienced installers alike are encouraged to consult manufacturer guidelines and consider leveraging online tutorials or workshops that specialize in vinyl flooring techniques.
By harnessing these resources and adhering to industry best practices, your installation will not only look professionally crafted but will also offer durability for years to come. Remember, the foundation you lay is not just a floor it’s an investment in your space that underscores the value of meticulous craftsmanship.
FAQs
Can vinyl plank flooring be installed over existing flooring?
Yes, vinyl plank flooring can be installed over most existing flooring types, provided that the surface is smooth, flat, and properly prepped. However, it’s important to check the manufacturer’s recommendations as some types of flooring may require removal before installation.
Is underlayment necessary for vinyl plank flooring?
While some vinyl plank flooring comes with pre-attached underlayment, others will require a separate underlayment layer. This provides additional cushioning, insulation, and moisture protection. Always consult with the product’s installation guide to determine if an underlayment is needed for your specific flooring choice.
How do you handle cutting vinyl plank flooring to fit around corners and obstacles?
To cut vinyl plank flooring, you’d typically use a utility knife or a vinyl tile cutter to make straight cuts. For complex cuts around corners and obstacles like pipes or cabinetry, creating a template of the area with paper or cardboard can help you trace and cut the planks accurately. Always measure twice before cutting, to ensure a precise fit.

