When installing vinyl plank flooring in your home, the direction in which you lay the planks can dramatically impact the aesthetic and spatial perception of your rooms. Transitioning the flooring direction between rooms can be a design choice that defines and separates different areas, enhancing the overall flow of your living space.
This guide will delve into the considerations and techniques for changing the direction of vinyl plank flooring between rooms, ensuring your flooring project aligns perfectly with your vision and the architectural cues of your home.
Transitioning Between Rooms

Determine the Natural Pathway Through the Rooms
When planning the layout of your vinyl plank flooring, it is crucial to consider the natural flow of movement throughout your home.
Understanding traffic patterns can help you decide the direction of your planks, ensuring they lead seamlessly from one room to another. Take the time to study the routes that are frequently traveled and observe how different areas connect.
This analysis helps in establishing a directional layout that is both aesthetically pleasing and functionally intuitive, encouraging a smooth transition between spaces.
Choosing the Visually Appealing Direction
The choice of plank direction can make a room feel larger or smaller, and it should complement the room’s features. For a visually appealing effect, consider laying the planks parallel to the longest wall to enhance the room’s dimensions. This creates an illusion of a more expansive space.
Additionally, if there are large windows, align the flooring with the incoming light to accentuate the room’s natural beauty. This approach not only works with the room’s physical attributes but also optimizes the visual impact of your flooring.
Measuring and Planning

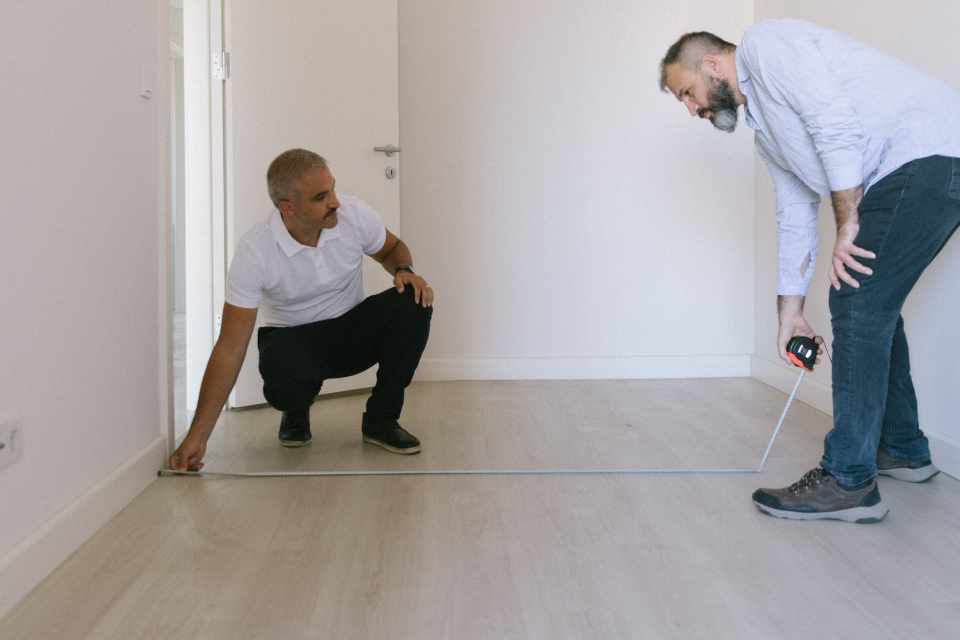
Measure Room Dimensions Accurately
Accurate measurements of the room are essential for a successful vinyl plank flooring installation. Start by measuring the length and width of the room at various points to account for any irregularities in wall shape.
Remember to include closet spaces and doorways in your measurements. Using a chalk line or laser level can assist in ensuring your measurements are level across the room.
Record these dimensions carefully they will dictate how much flooring material is required and help in planning the layout to minimize waste and achieve a balanced look.
It’s also important to consider the expansion gap needed for the vinyl to respond to temperature changes. Always add a little extra to your measurements to accommodate for potential cutting mistakes or last-minute adjustments.
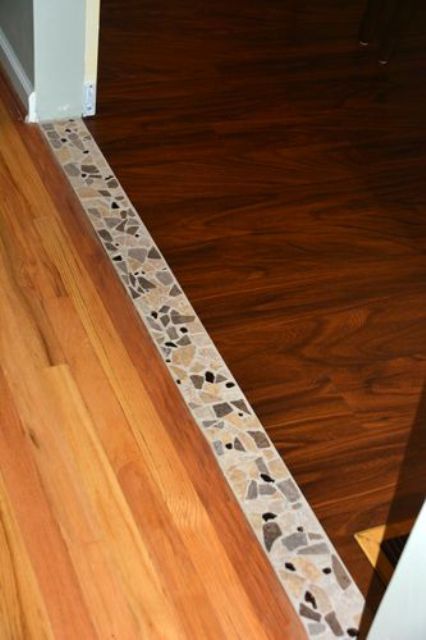
Determining the Transition Point
A crucial aspect of installation is determining the proper transition point between different rooms or flooring types. This should not only ensure a coherent flow but also maintain alignment throughout the space.
Plan the transition point to occur at a natural separation in the architecture, such as a doorway, to provide a discreet yet functional divide.
Precise measurements coupled with a carefully positioned transition strip can result in a seamless appearance, allowing for expansion while simultaneously creating a harmonious linkage between the materials.
Take your time to measure and plan this transition point to achieve a professional finish.
Choosing a Transition Strip

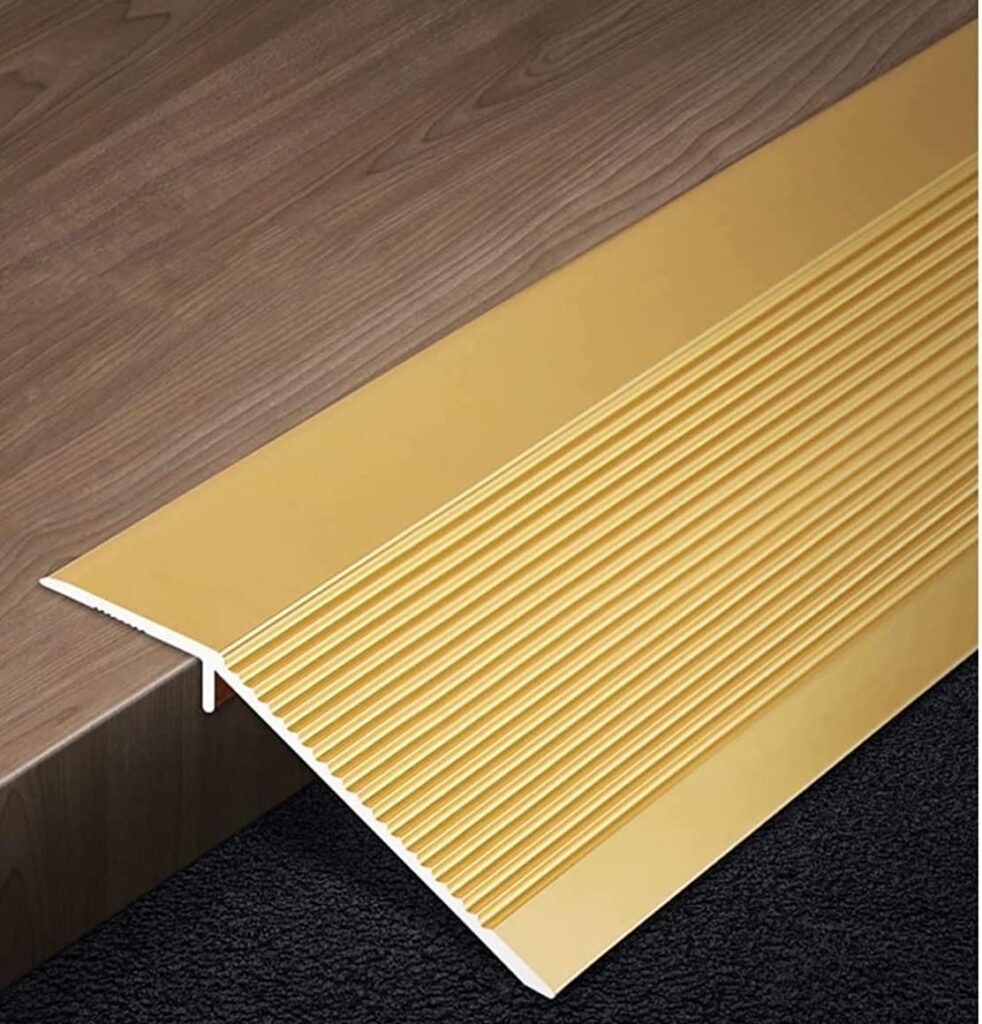
The right transition strip for vinyl plank flooring not only covers and protects the edges where the floor meets another surface but also complements the aesthetic of the room. Common types include T-molding, which is used between areas of similar height, and reducer strips, tailored for transitions to lower surfaces.
For areas prone to moisture, such as bathrooms or kitchens, choosing a waterproof silicone-based transition strip could prevent water damage.
Additionally, for a more natural transition, one could opt for wood or wood-like transition strips that closely match the vinyl planking.
When selecting the best match for your flooring and decor, it’s crucial to consider both function and style. The transition strip should not only serve its purpose effectively by accommodating differing floor heights and potential expansion but also blend seamlessly with the surroundings.
For a cohesive look, select a transition strip that either matches the vinyl plank flooring or complements the color palette and design of both areas it connects.
It’s often advisable to bring a sample of your flooring when shopping for transition strips to ensure the tones and textures align well. This careful selection will contribute to the overall elegance and flow of your living space.
Installation Techniques
Cutting Planks Accurately for a Clean Transition

The precision of cutting vinyl planks is paramount to achieving a clean transition between different flooring surfaces. Begin by measuring the space where the transition strip is to be placed, taking into account both the width of the strip and any additional space for expansion that may be necessary.
Mark these measurements accurately on your plank using a pencil and straight edge.
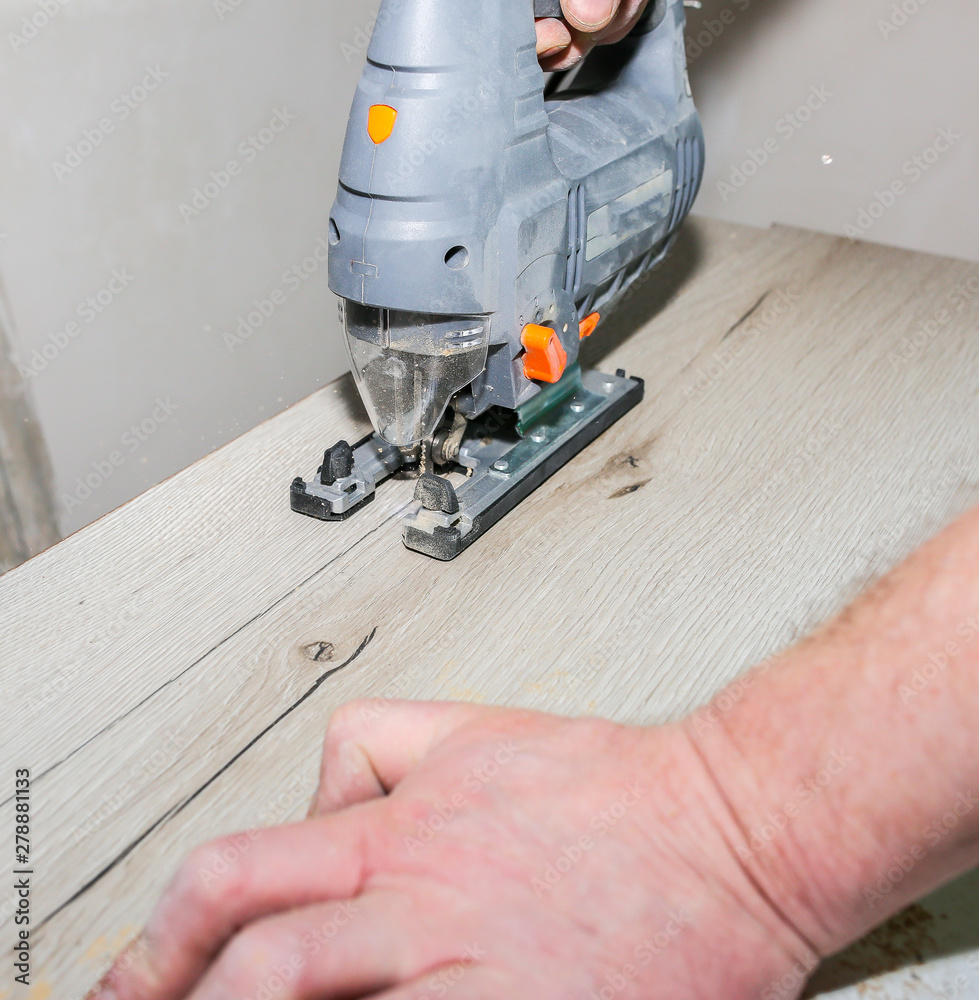
Before cutting, ensure your cutting tool, whether it be a vinyl cutter for straight cuts or a jigsaw for more intricate shapes, is equipped with a blade suitable for vinyl flooring to avoid chipping or rough edges.
Firmly secure the plank to prevent movement and proceed with the cut, following the marked line closely for utmost accuracy.
After the cutting process, it’s advisable to dry-fit the plank into its destined position to ensure a perfect fit. If the transition is to a different flooring material like wood or tile, consider the height discrepancy and plan for an accompanying reducer strip if necessary.
A meticulously cut and installed vinyl plank will provide an aesthetically pleasing and smooth transition that looks professional and deliberate.
Installing a T-Molding for a Smooth Transition
Once you have your accurately cut planks ready, the next step is installing the T-molding to ensure a smooth and visually seamless transition. Begin by confirming the subfloor along the transition line is clean, dry, and level to provide a solid foundation for the T-molding.
If you’re working with a concrete subfloor, you may need to install a track for the T-molding; this is typically done by drilling holes and using concrete anchors.
After preparing the subfloor, place the T-molding into the appropriate position to double-check its fit. Any final adjustments to the length of the T-molding should be made at this stage.
For installation, apply a bead of adhesive recommended by the T-molding manufacturer to the bottom edge of the track or directly onto the subfloor if a track is not required.
Carefully press the T-molding into the adhesive-lined track or onto the floor, making sure that it sits snugly between the two flooring types, allowing for enough clearance to account for floor expansion.
For transitions without a track, you may need to use small finish nails or brads to hold the T-molding in place while the adhesive sets. If you do use nails, be sure to countersink them slightly and fill the nail heads with a color-matched wood filler to give a clean, professional finish.
Allow sufficient time for the adhesive to cure as per the manufacturer’s instructions before walking on or cleaning the transition area.
Properly installed T-molding not only enhances the aesthetic appeal of the floors but also provides a durable and stable structure to accommodate natural floor movements.
Finishing Touches
Sealing Edges to Prevent Water Damage and Wear
Once the T-molding is securely in place, it is crucial to seal the edges to shield against water damage and everyday wear and tear. The sealant acts as a barrier, repelling moisture and debris that can accumulate over time and cause the material to swell or degrade.
Use a silicone-based sealant for its waterproof properties and flexibility, applying it carefully along the edges where the T-molding meets the flooring.
Smooth out the sealant with a tool or your finger, and cover it with a damp cloth for a consistent finish.
Checking for Level and Cleanup
After installing the T-molding, it’s essential to check that the surface is level across the transition. Utilize a carpenter’s level to assess whether the T-molding lies flush with both flooring surfaces. Any significant height difference could be a tripping hazard and should be adjusted accordingly.
Once leveling is confirmed, inspect the area for any excess adhesive. Clean up residual glue promptly using a damp cloth for water-based adhesives or a solvent recommended by the adhesive manufacturer for stronger glues.
This step is vital to prevent any lumps or adhesive stains that might detract from the seamless look of your floor transition.
Related Topics:
Conclusion
So, changing the direction of your vinyl plank flooring between rooms can significantly enhance the visual dynamics and functionality of your living spaces. By integrating thoughtful considerations of room layout, traffic flow, and architectural features, you forge a harmonious blend of practicality and aesthetics.
Measuring rooms carefully, identifying the right transition points, selecting suitable transition strips, and executing precise installation techniques culminate in a flooring project that resonates with your style and the intrinsic character of your home.
Whether you are distinguishing space, directing movement, or amplifying the perception of room dimensions, this definitive guide provides the insights necessary to transition your flooring with confidence and craft.
Remember, the meticulous details in planning and execution will pave the way to a beautifully transformed home with vinyl plank flooring that impresses and endures.
FAQs
Do I need a specific type of T-molding for different flooring materials?
Yes, it’s important to select a T-molding that’s designed to work with the specific types of flooring you are transitioning between. There are T-moldings available for various combinations like vinyl-to-carpet, vinyl-to-tile, etc. Make sure the T-molding you choose can accommodate the thickness and material of both flooring types for a seamless transition.
How do I decide where to place the transition strip in the doorway?
The transition strip should be placed directly under the door when it is closed. This placement ensures the transition is not visible when the door is closed and provides a clean look from either side of the doorway when open. It also typically marks the point where the flooring materials meet.
Can I replace a damaged transition strip without affecting the adjacent flooring?
Yes, a transition strip can usually be replaced without a significant impact on the adjacent flooring. Carefully remove the damaged strip and scrape off any old adhesive from the subfloor. Ensure the new transition strip is the same size and style as the old one to fit properly. Follow the installation instructions for attaching the new strip to ensure a secure and level fit.

