Vinyl plank flooring combines the durability and ease of maintenance that homeowners desire with the sleek appearance of hardwood floors. Despite its resilience, damages such as scratches, dents, or dislodging may occur over time, necessitating effective repair methods.
This guide is designed to provide you with straightforward, step-by-step instructions on repairing vinyl plank flooring, ensuring it continues to enhance your home’s aesthetic while maintaining its functionality.
Whether you’re dealing with minor scratches or replacing entire planks, we’ve got the solutions to keep your vinyl floors looking immaculate.
Common issues with vinyl plank flooring, though infrequent, can manifest in various forms. Scratches are the most common, often resulting from moving furniture or pet claws, and can detract from the floor’s polished appearance.
Dents may also appear, typically caused by heavy objects impacting the floor’s surface. Peeling or lifting is another issue that occurs when the adhesive bond fails, sometimes due to moisture or subfloor irregularities.
Discoloration can happen with prolonged exposure to sunlight or spills that are not cleaned promptly, leading to unsightly stains.
Assessing the Damage
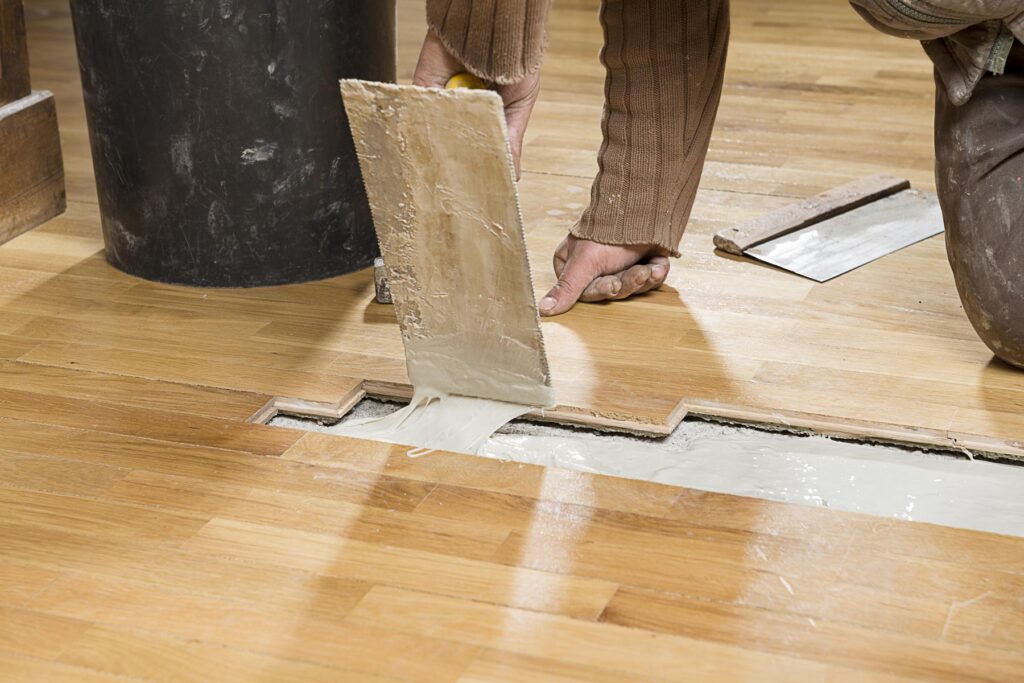
Before attempting any repairs, accurately assessing the extent of the damage to your vinyl plank flooring is crucial. Start by cleaning the affected area thoroughly, removing any debris or dust that could obscure the visibility of the damage. Once the area is clean, inspect the severity of the scratches, dents, or dislodging.
Light scratches that barely penetrate the surface often only require a simple buff and seal approach, whereas deeper gouges might necessitate plank replacement.
For dents, consider whether the material is indented or if it has compromised the structural integrity of the plank.
Check the edges of the planks for peeling or lifting, which indicates adhesive failure, and look for any discoloration that doesn’t disappear after cleaning, as this may require special treatment or plank replacement.
Documenting the damage with photographs can be helpful when seeking advice or during the repair process.
Gathering Materials
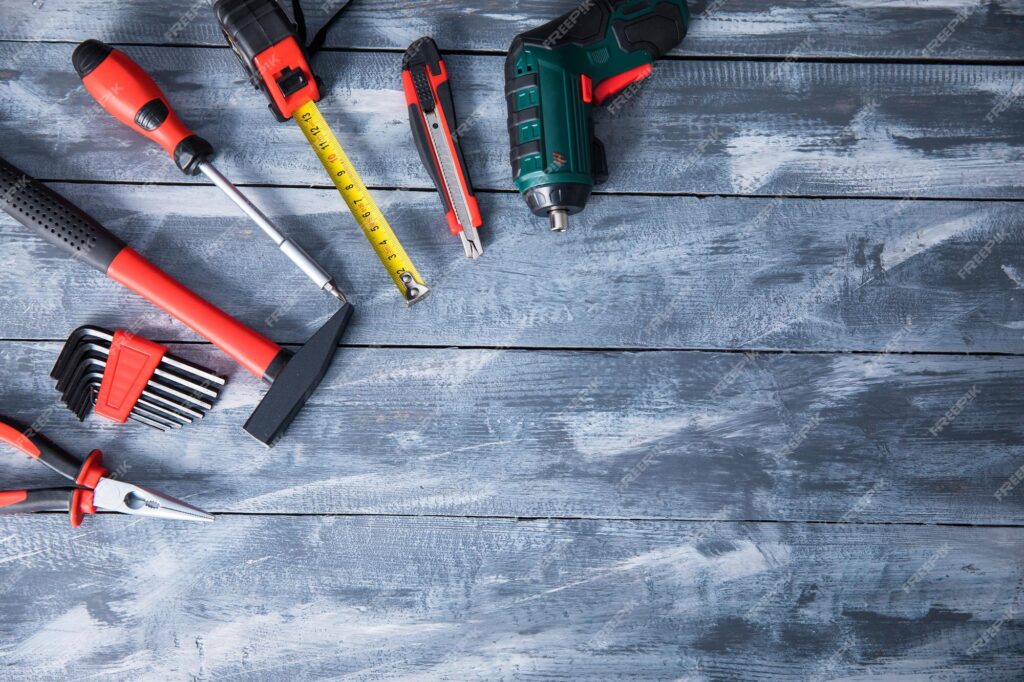
Once you’ve assessed the damage to your vinyl plank flooring, gather the following tools and materials to ensure you are prepared for the repair process:
- Replacement vinyl planks
- Floor adhesive or double-sided tape
- Putty knife
- Fine-grit sandpaper
- Vinyl floor sealant
- Clean clothes or rags
- Utility knife
- Rubber mallet
- Weighted roller
- Matching wood putty (for scratches)
- Floor cleaner
Make sure you have these items on hand before beginning your repair project to ensure a smooth and efficient process.
Preparation for Repair
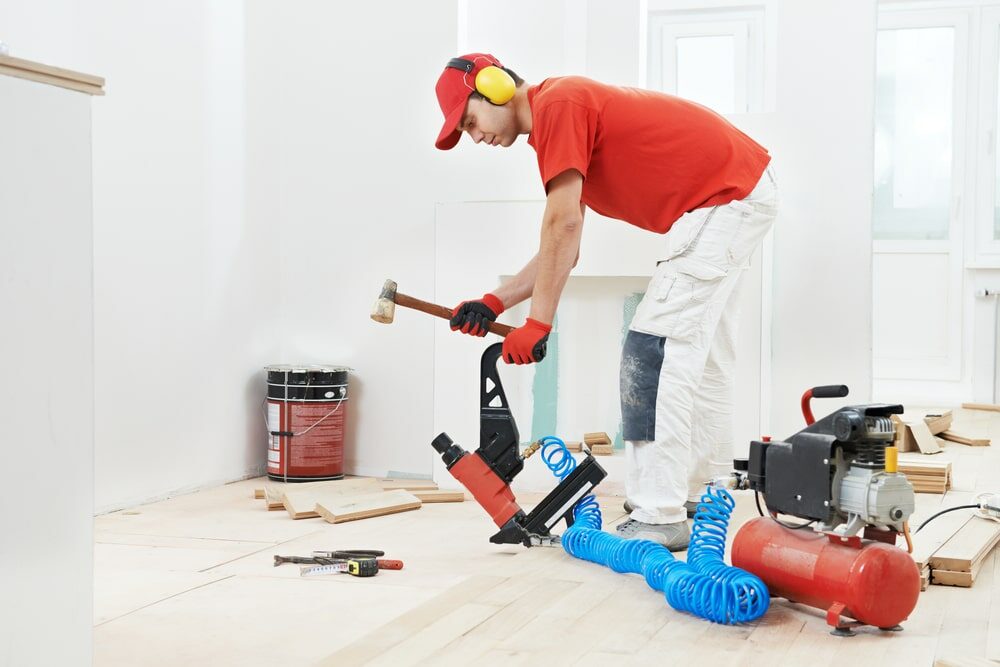
Preparing the work area is essential for a safe and effective repair of your vinyl plank flooring. Follow these steps to set up your space:
- Clear the area of furniture, rugs, and any obstacles to provide unencumbered access to the damaged flooring.
- Ensure proper ventilation by opening windows or using fans to circulate air and disperse any fumes from adhesives or sealants.
- Place safety signage if the area is trafficked, to alert others of the ongoing work.
- Wear appropriate personal protective equipment (PPE) such as gloves, safety glasses, and a mask if dealing with adhesives or sanding.
- Prepare a first aid kit and keep it accessible in case of any minor injuries during the repair process.
- Keep children and pets away from the work area to prevent accidents and distractions.
- Cover adjacent flooring and furniture with drop cloths to protect them from spills or debris.
Removing Damaged Planks
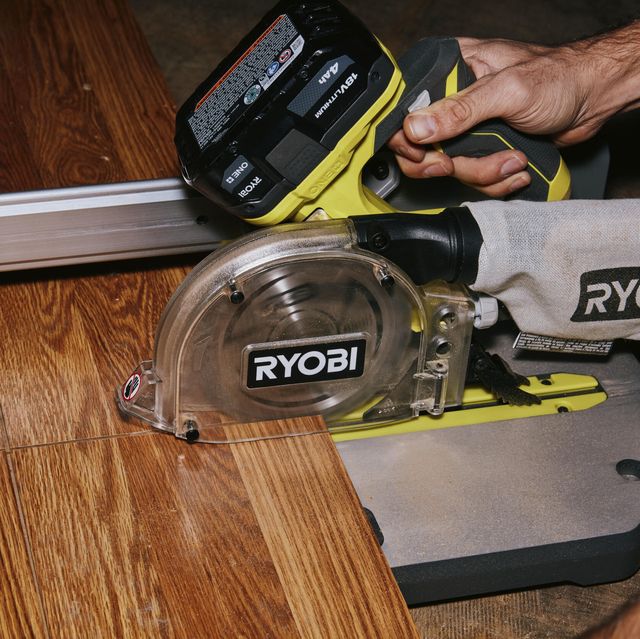
To delicately extract the damaged vinyl planks without harming the surrounding flooring, follow this detailed guide:
Identify the Planks for Removal:
Carefully pinpoint the damaged planks. If a pattern requires continuation, plan the extraction so that replacement planks align flawlessly with the existing design.
Gently Warm the Targeted Plank:
Use a hairdryer on a medium setting to evenly warm the damaged plank’s surface. This can soften the adhesive beneath, making it easier to remove the plank without excessive force.
Create a Starting Point:
Using a utility knife, make a shallow cut in the center of the damaged plank. Be cautious not to cut too deeply, as this could damage the underlayment or adjacent planks.
Prying up the Plank:
Insert the putty knife into the cut and gently pry the plank upwards. Start in the center and carefully work towards the edges. If the plank does not lift easily, apply more heat to assist in softening the adhesive.
Lift the Plank:
Once you have pried the edges up slightly, use your hands to slowly lift the plank from the flooring. Apply a steady, controlled force to avoid snapping the plank or causing damage to neighboring planks.
Remove Excessive Adhesive: After the plank is removed, scrape away any remaining adhesive from the subfloor using the putty knife. If necessary, use fine-grit sandpaper to smooth the underlayment for the new plank’s installation.
Clean the Area:
Wipe the exposed underlayment with a damp cloth using an appropriate floor cleaner to remove any remaining debris or adhesive residue. Allow the area to dry completely before installing the new plank.
Prepping the Subfloor
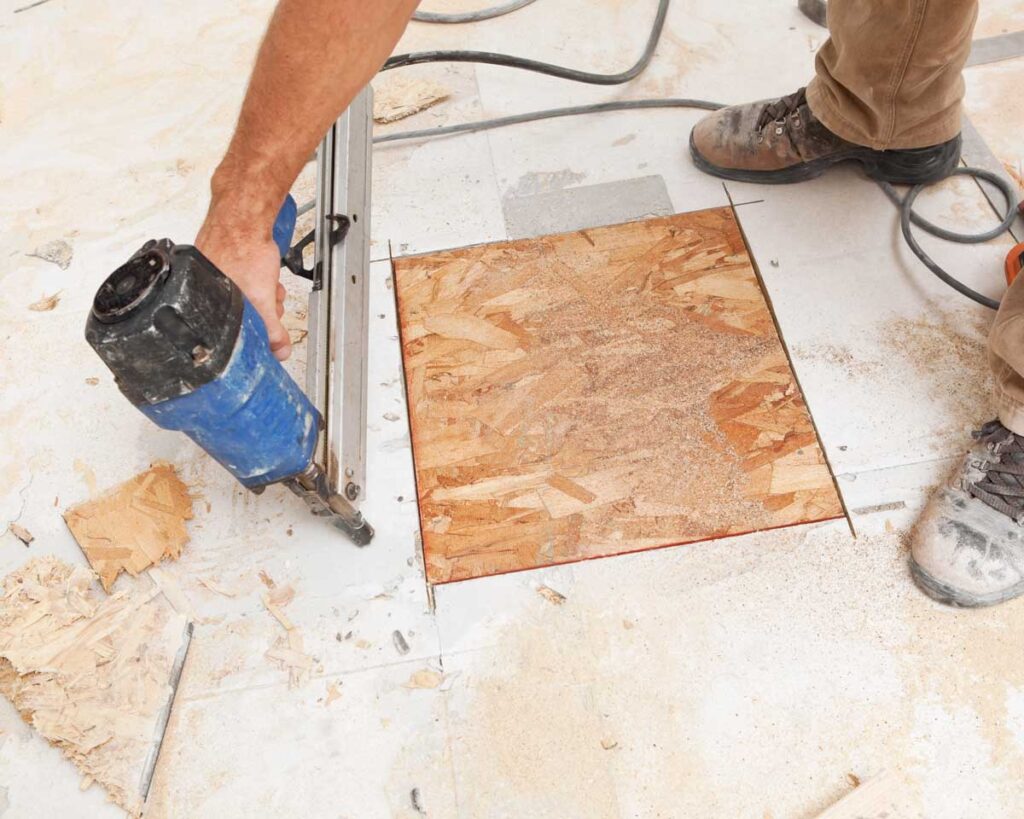
Before the installation of new planks, it’s imperative to ensure that the subfloor is clean and level. Here are some essential tips:
Thorough Cleaning:
Vacuum the entire area to remove dust and particles. Following this, mop with a mixture of water and an appropriate floor cleaner designed for your subfloor type. Allow the area to dry completely.
Check for Level:
Use a long level to check for dips and peaks across the subfloor. These irregularities can cause issues with plank adhesion and the overall look and feel of the finished floor.
Subfloor Repair:
For small dips, apply a floor patching compound, following the manufacturer’s instructions. For larger issues, you may need to replace a portion of the subfloor.
Sand Down High Spots:
If there are high spots, use a belt sander to gently even them out. Avoid over-sanding, which can create new problems.
Final Preparation:
Once the subfloor is clean and even, go over the area again with the vacuum. Any lingering debris can prevent proper plank adhesion and should be removed before proceeding with the installation of new planks.
Installing New Planks
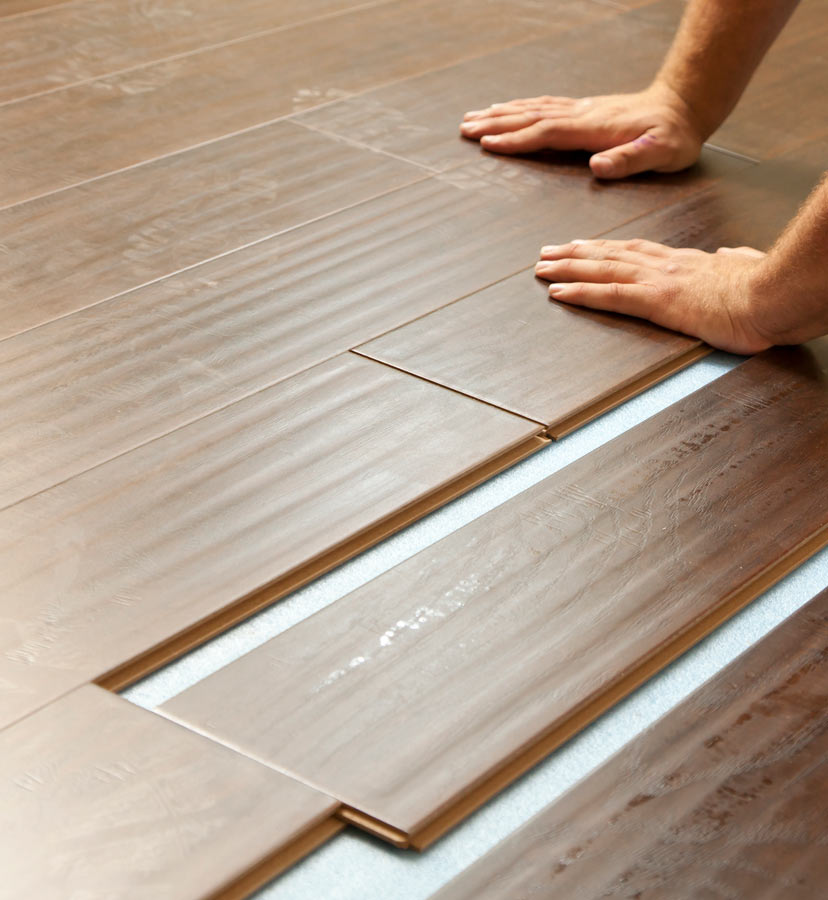
Installing new vinyl planks can be a rewarding DIY project if done with careful planning and precision. Follow these detailed steps to cut, position, and secure your new flooring:
Measure and Mark:
Begin by accurately measuring the space where the new plank will be installed. Measure twice to ensure accuracy and then transfer those measurements to the vinyl plank. Use a straight edge and a utility knife to mark the cut line on the plank.
Cut the Plank:
Securely hold the plank on a stable surface and use a sharp utility knife to score the plank along the marked line. Bend the plank back and forth to snap it along the score line for a clean cut. If necessary, use heavy-duty scissors or a vinyl cutter for more intricate cuts.
Dry Fit the Plank:
Before removing the adhesive backing, place the cut plank into the space to ensure a proper fit. It should sit flush against the adjacent planks without gaps or overlaps.
Remove Adhesive Backing:
Peel off the backing to expose the adhesive layer on the plank. Be careful not to touch the adhesive too much as this can reduce its stickiness.
Position the Plank:
Carefully place the plank into position, aligning it exactly where it needs to be installed. Once down, the adhesive will grab quickly, so it’s important to lay it correctly the first time.
Secure the Plank:
Starting from one end, press the plank down firmly to adhere it to the subfloor. Use a hand roller or a rolling pin to roll over the surface of the plank, working from the center outward to ensure there are no air bubbles and that the plank is fully bonded to the subfloor.
Seal the Edges:
Check the edges for secure adhesion. If needed, apply additional pressure by hand or use a seam roller along the edges to ensure a tight seal, which will prevent any future shifting or peeling.
Clean and Inspect:
Wipe away any adhesive residue from the surface of the plank immediately with a damp cloth. Inspect the plank for fit and adhesion, making sure it’s completely smooth and well-integrated with the rest of the flooring.
Related Topics:
Sealing and Finishing
Once repair work is complete, blending the new sections with the existing flooring is crucial for achieving a uniform appearance. Employ the following techniques to ensure a seamless integration:
Color Matching:
When replacing planks or tiles, it is vital to use products from the same batch as the original installation or a compatible dye lot. This minimizes color variances, which can be jarring to the eye.
Graining and Texturing:
If the flooring has a grain or texture, align the new pieces accordingly. This may involve rotating the replacement until the pattern flows naturally with the surrounding material.
Tapered Edges:
For vinyl or laminate planks, shaving or tapering the edges of the new piece can help it blend into the wear layer of the existing flooring, creating an almost invisible join.
Acclimation:
New wooden planks should be acclimated to the room’s temperature and humidity levels in advance. This helps match the existing floor’s expansion or contraction levels, melding both old and new together more effectively.
Finishing Layers:
If the repair involves wood or bamboo, applying the same finish to the new section as the rest of the floor can enhance uniformity. This may include stains, sealants, or polishes, ensuring the sheen and protective qualities are indistinguishable from the original area.
Transition Strips:
When large sections are repaired, using transition strips can provide a clean, deliberate boundary that takes the eye away from small mismatches that could disrupt the continuity.
Professional Refinishing:
For extensive repairs or when DIY methods aren’t enough, professional refinishing of the entire surface may be required. This will sand down and refinish the floor as a whole, erasing any lines between the old and new.
Maintenance Tips
Preserving vinyl flooring requires consistent upkeep and preventative strategies:
- Regular Cleaning: Sweep, vacuum, or mop your floors regularly to remove dirt and grit that can wear down the surface over time.
- Appropriate Cleaners: Utilize cleaners specifically designed for vinyl flooring to prevent damage from harsh chemicals.
- Protective Mats: Place floor mats at entrances to capture debris and employ protective pads under furniture to reduce scratches.
- Careful Moving: When moving heavy furniture, lift rather than drag to prevent gouging or tearing the material.
- Sunlight Protection: Use curtains or blinds to shield the floor from prolonged sun exposure, which can cause fading and discoloration.
- Spill Management: Clean up spills immediately to prevent staining and potential slipping hazards.
- Weight Distribution: Use floor protectors or plywood when placing exceptionally heavy objects on the floor to distribute the weight and minimize indentation.
- Climate Control: Maintain a stable indoor climate, as extreme temperatures and humidity levels can cause vinyl to expand, contract, or warp.
Conclusion
Ensuring the longevity and aesthetic appeal of your vinyl flooring hinges on proper repair and diligent maintenance. Timely attention to damage and consistent care are crucial in preserving the integrity and beauty of your flooring investment.
Remember, well-maintained vinyl flooring not only enhances the overall appearance of your space but also contributes to a healthy, functional, and safe living environment.
By following the repair techniques and maintenance tips outlined in this guide, homeowners can enjoy long-lasting quality and enduring charm from their vinyl flooring. Remember, when it comes to flooring, an ounce of prevention is worth a pound of cure.
FAQs
Can I use a steam mop to clean my vinyl flooring?
It is generally not recommended to use a steam mop on vinyl flooring as the intense heat can cause warping or damage to the material. Instead, use a damp mop with a gentle, vinyl-specific cleaner to effectively clean the floors without risking damage.
How often should I replace my vinyl flooring?
The lifespan of vinyl flooring typically ranges from 10 to 20 years, depending on the quality of the material and the level of maintenance it receives. If the flooring is well-maintained and not subject to excessive wear and tear, it may last even longer. Indicators for replacement include noticeable fading, persistent stains, or extensive damage that cannot be repaired effectively.
Is vinyl flooring safe for homes with pets and children?
Yes, vinyl flooring is a great option for homes with pets and children due to its durability and resistance to spills and stains. Additionally, many vinyl products are now made without harmful chemicals and are certified to ensure indoor air quality, making them safer for all inhabitants. However, keep in mind to choose a texture that provides traction to prevent slips and falls.

1 thought on “Repairing Vinyl Plank Flooring: DIY Guide”