Welcome to our comprehensive guide on installing sheet vinyl flooring on stairs – the perfect blend of style, durability, and budget-friendly solution for your staircase. This guide will lead you step-by-step through the process and empower you to transform your stairway into a stylish, contemporary part of your home.
We understand that every detail matters when it comes to home improvement. That’s why we’ve tailored this guide specifically to help you navigate the intricacies of installing sheet vinyl flooring on stairs.
Let’s embark on this stairway to style together!
Selecting the right flooring for your stairs is a crucial decision. It’s not just about the visual appeal, but also about safety, durability, and ease of maintenance. Stairs see a great deal of traffic and wear, and hence need a flooring solution that can withstand this over time.
Additionally, given that the staircase is a potential safety hazard, the flooring choice must offer adequate grip to minimize the risk of slips and falls.
This is where sheet vinyl flooring comes into play. With its fine blend of aesthetics, durability, and affordability, sheet vinyl flooring offers an excellent choice for stairs.
Its wide variety of textures and patterns allows you to match it perfectly with your home’s decor, enhancing the overall visual appeal. More than just its looks, it is revered for its resilience and durability.
It can effortlessly withstand heavy traffic, resist scratches and dents, and maintain its luster over time. Moreover, its textured surface reduces slip hazards, making it a safe option for your stairway.
As a bonus, it’s also easy to clean and maintain, making it an ideal, hassle-free flooring solution for your stairs.
Materials and Tools Needed
Before we dive into the installation process, let’s take a quick look at the materials and tools you will need to install sheet vinyl flooring on your stairs.
- Sheet Vinyl Flooring: This is the main material. Ensure you have enough to cover all your stairs, plus some extra for any mishaps or miscalculations.
- Adhesive: A quality adhesive is crucial to secure the vinyl flooring onto your stairs. Look for an adhesive specifically designed for vinyl flooring for best results.
- Trowel: To evenly spread the adhesive on your stairs, you’ll need a trowel. Ensure it has a flat edge for easy application.
- Utility Knife: A sharp utility knife is key to cutting the vinyl sheet accurately according to the stair dimensions.
- Measuring Tape: An essential tool for taking precise measurements of your stairs before cutting the vinyl sheet.
- Pencil or Marker: For marking the cut lines on the vinyl sheet.
- Straight edge/Ruler: To help make straight, accurate cuts on the vinyl sheet.
- Stair Tool: A stair tool or a stair tucking tool is handy for pressing the vinyl sheet into the stair corners, ensuring a snug fit.
1. Preparation of Stairs
Cleaning and Leveling the Stairs

Before you can proceed with the actual installation of the sheet vinyl flooring, it’s paramount that you properly clean and level your stairs. This will ensure a perfect fit and finish for your new flooring.
Cleaning:
Begin by thoroughly sweeping the stairs to remove any dust, dirt, and debris. Make sure to pay special attention to the corners where dust can accumulate.
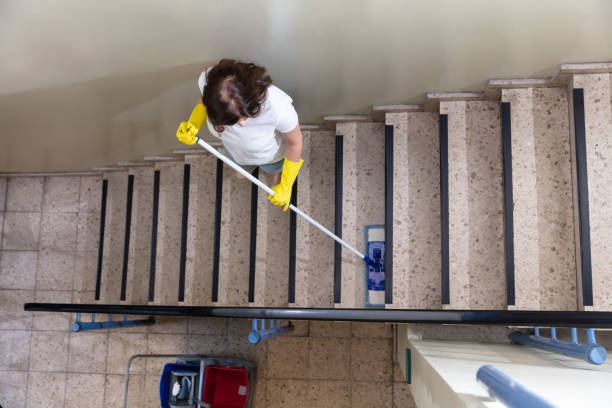
After sweeping, wipe down the stairs with a damp cloth or mop to pick up any remaining fine particles. Ensure that the stairs are completely dry before proceeding to the next step.
Checking for Protrusions:
Examine each stair for any nails, screws, or other protrusions. These can not only cause damage to your vinyl flooring but also prevent it from laying flat. Remove any such protrusions, or if they cannot be removed, ensure they are hammered flat.
Leveling:
The stairs must be level for the sheet vinyl flooring to adhere properly and look its best. Use a level to check each stair. If you notice any uneven spots, it’s time to fill them. Use a leveling compound for this purpose. Follow the instructions on the compound packaging for mixing and application.
Once you’ve filled in the uneven areas, allow the compound to dry completely.
Measuring for the Vinyl Sheets
Measure Each Stair:
Using a tape measure, determine the width and depth of each stair. Don’t forget to include the riser, which is the vertical portion of the stair, and the nose, which is the part of the stair that protrudes out.
Calculate Total Area:
Once you have the measurements for one stair, multiply it by the total number of stairs to get the total area. This is the minimum amount of vinyl sheet flooring you will need. It’s always advisable to purchase a little extra to account for errors and waste.
Record Your Measurements:
Make sure to record your measurements as you go along. This information will be invaluable when you’re ready to cut your vinyl sheets.
2. Installation of Underlay

Why an underlay is necessary
Underlay plays a crucial role in the installation of vinyl flooring on stairs. It’s essentially a thin layer of material that’s placed between the subfloor of the stairs and the vinyl flooring.
There are several reasons why an underlay is necessary. First, it provides a smooth and even surface, ensuring that the vinyl flooring lies flat and looks its best. Second, it offers additional cushioning, which can make walking on the stairs more comfortable.
Third, an underlay can help reduce noise, absorbing sound and preventing it from echoing through the house. Moreover, it serves as a moisture barrier, protecting the vinyl flooring from any dampness in the subfloor.
Steps to Install the Underlay
Acquire the Appropriate Underlay:
First, you need to purchase an underlay that’s specifically designed for use with vinyl flooring. Be sure to buy enough to cover all the stairs, adding a little extra for contingencies.
Cut the Underlay:
Using your recorded measurements cut pieces of the underlay to match the size of each stair. Remember, each piece should cover the tread, the riser, and the nose of each stair.
Apply Adhesive:
Apply a thin layer of adhesive to the back of the underlay. Make sure to cover the entire surface but avoid applying too much. Too much adhesive can seep through the underlay and damage the vinyl flooring.
Install the Underlay:
Starting at the top of the stairs, place each piece of underlay onto the corresponding stair. Press down firmly to ensure that it adheres well. The adhesive should hold the underlay in place, but you can use a roller for a stronger bond.
Allow it to Dry:
Leave the underlay to dry according to the adhesive manufacturer’s instructions. It’s important to ensure the underlay is thoroughly dry before proceeding to the next step.
Check for Smoothness:
Once the underlay has dried, check each stair for smoothness. Any bumps or ridges can be sanded down for a perfectly smooth surface, ready for the vinyl flooring.
3. Vinyl Flooring Installation
Cutting the sheet vinyl

Measure Each Stair:
Before cutting the vinyl, you need to measure each stair meticulously. This includes the width, depth, and height of each step, along with the nose. Be sure to note down these measurements accurately.
Mark the Vinyl:
Roll out your sheet vinyl on a flat surface and use a straight edge or a ruler to mark out the measurements of each stair on the vinyl. Remember to add a little extra to each measurement to account for any potential errors and trimming.
Cut the Vinyl:
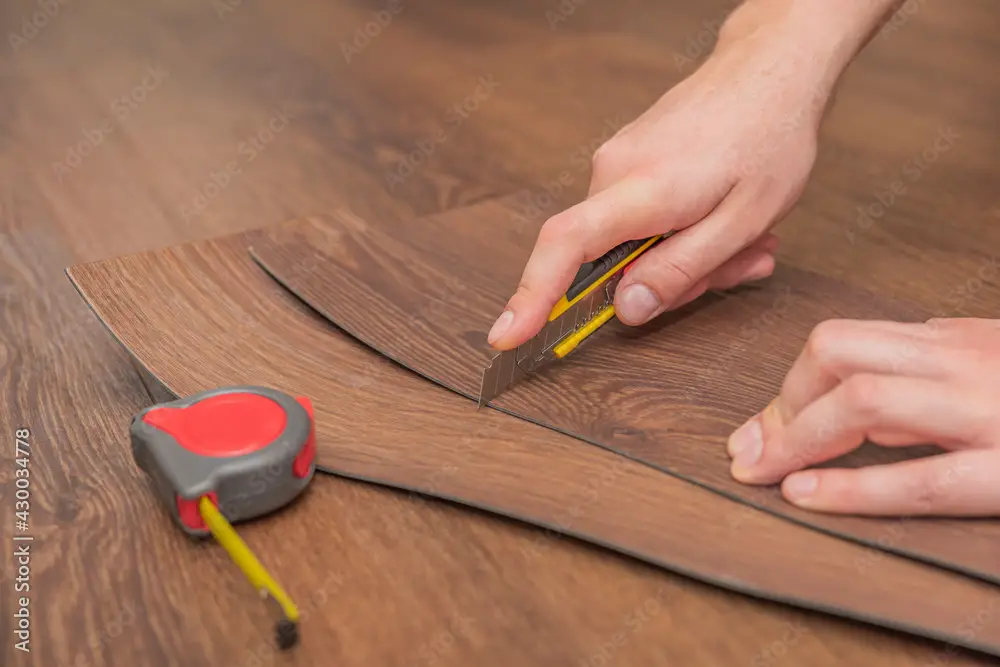
Using a sharp utility knife, carefully cut along your marked lines, keeping the cuts as straight as possible. The precision of this step is significant since it will influence the final look of your stairs.
Dry Fit the Vinyl:
Before applying any adhesive, it’s always a good idea to dry-fit the vinyl pieces onto the stairs. This step can help you identify any issues with the cuts or measurements, which can then be addressed before the final installation.
Applying Adhesive and Laying Down the Vinyl
Apply the Adhesive:
Once you’re certain about the fit of the vinyl, you can start applying the adhesive. Choose a high-quality flooring adhesive and apply a thin, even layer onto the back of the vinyl pieces using a notched trowel. Follow the adhesive manufacturer’s instructions regarding drying or curing time.
Lay Down the Vinyl:
Start from the top of the stairs and work your way down. Carefully place the cut vinyl piece onto the corresponding stair, making sure the fit is tight and accurate. Press down firmly to ensure a strong bond between the vinyl and the stair surface.
Smooth Out the Vinyl:
Use a roller to smooth out the vinyl, working from the center of the stair tread out towards the edges. This process will help remove any air bubbles and ensure a smooth, wrinkle-free finish.
Ensuring Proper Alignment and Fit
Double-check the Alignment:
After laying down each vinyl piece, take a moment to ensure it’s properly aligned with the edges of the stair. The vinyl should fit snugly, with its edges parallel to the sides of the stairs. Misalignment may not only affect the visual appeal but can also create tripping hazards.
Reposition as Needed:
Vinyl flooring offers a degree of installation flexibility. If you notice misalignment, gently peel off the vinyl from the stair surface, readjust its position, and press it back into place. However, try to minimize repositioning to avoid diminishing the adhesive’s effectiveness.
Verify the Fit:
Once the vinyl is aligned, verify its fit. The vinyl should cover the entire stair tread without any overhang, and there should not be any visible gaps or spaces. If required, trim any excess material.
Ensure Consistency Across All Stairs:
Repeat these steps for each stair, ensuring consistency in alignment and fit across all stairs. This step is crucial for a professional and uniform appearance of your vinyl stair covering.
Securing Edges and Corners
Edge Treatment:
An essential aspect of vinyl flooring installation is the secure fastening of the edges. Specifically, the edges are prone to peeling or curling over time.
To prevent this, use a stair edge adhesive to firmly secure the vinyl to the edges of the stairs. Apply a thin layer of adhesive under the edge of the vinyl and press down firmly for a secure bond.
Corner Reinforcement:
Corners are the common areas where loosening can occur due to continuous foot traffic. Reinforce each corner with a dab of heavy-duty adhesive, ensuring the vinyl stays in place. Like on the edges, apply the adhesive under the vinyl and press down.
Use of Stair Nosing:
For added security and a seamless finish, consider using stair nosing. This is a type of molding that covers the front edge of the stairs. It not only provides an attractive finish but also helps to firmly hold the vinyl in place, especially on the often-worn front edge of stair treads.
Cleaning and Maintenance Advice
Maintaining your vinyl stair coverings is essential for their longevity and to keep them looking new. Here are a few tips:
Regular Cleaning:
Regularly sweep or vacuum the stairs to remove dirt and dust. This prevents the dirt from scratching the surface of the vinyl. Avoid using a vacuum with a beater bar as it could damage the vinyl.
Wet Cleaning:
If necessary, mop the stairs using a damp mop and a mild, non-abrasive floor cleaner. Avoid using excessive water, and always dry the stairs promptly to prevent slip hazards and damage to the vinyl.
Spot Cleaning:
To remove stubborn spots or stains, use a soft cloth or sponge dampened with a mild soap and warm water. Avoid using harsh chemicals or abrasive scrubbing tools as they can damage the vinyl surface.
Preventative Measures:
Regularly inspect the stairs for any signs of wear or damage, especially at the edges and corners. Promptly repair any loose or damaged areas to prevent further damage.
Use of Mats:
Consider using mats at the top and bottom of the stairs to trap dirt and moisture, reducing the accumulation of these elements on the stair treads.
Related Topics:
Conclusion
In conclusion, installing sheet vinyl flooring on your stairs is a project well worth considering. Not only does it offer a blend of style, durability, and affordability, but it also adds a layer of safety to your stairway.
With our comprehensive guide, you are now well-equipped to navigate this process, from preparation and measurement to the actual installation and subsequent maintenance.
Remember, every detail matters in home improvement, so take your time, measure carefully, and ensure every step of the process is completed thoroughly and accurately. Your elegant, contemporary, and practical stairway is just a project away!
FAQs
Is it DIY-friendly to install sheet vinyl flooring on stairs?
Yes, installing sheet vinyl flooring on stairs can be a DIY project, especially for those who are handy around the house. However, it does require careful measurement, cutting, and adherence, so patience and attention to detail are essential.
How durable is sheet vinyl flooring for stairs?
Sheet vinyl flooring is known for its durability and longevity. With proper installation and maintenance, it can withstand heavy foot traffic and resist wear for many years.
Can I use any type of vinyl flooring on the stairs?
While you can technically use any type of vinyl flooring on stairs, sheet vinyl is often preferred due to its seamless nature and ease of cleaning.


1 thought on “Guide on Installing Sheet Vinyl Flooring on Stairs: Stairway to Style”