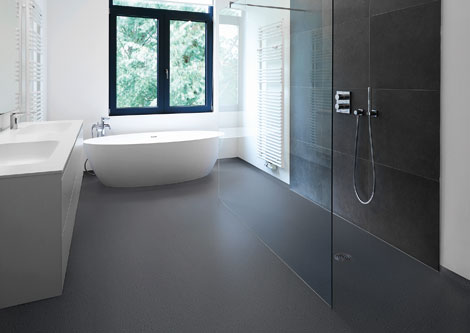
The decision to install vinyl sheet flooring in a bathroom brings forth a blend of practicality and aesthetic appeal, creating a resilient and visually pleasing foundation for your daily routines.
In this comprehensive guide, we will explore the step-by-step process of installing vinyl sheet flooring in a bathroom, empowering you to take charge of your home improvement project with confidence.
From selecting the right materials to mastering the techniques for seamless installation, this guide is designed to make the process accessible and rewarding, ensuring that your bathroom not only exudes charm but also stands up to the demands of everyday life. Get ready to elevate your bathroom space with our DIY expertise, transforming it into a haven of both comfort and style.
Why install vinyl sheet flooring in the bathroom?
Vinyl sheet flooring is a popular choice for bathroom renovations due to several key advantages.
Firstly, vinyl is water-resistant and perfect for a high-moisture environment like the bathroom. It provides an excellent defense against water seepage, protecting the underlying structures from potential water damage.
Secondly, vinyl flooring is durable and low maintenance. It’s resistant to stains, dents, and scratches, making it an ideal option for heavily trafficked areas. Plus, cleaning is a breeze; all it needs is regular sweeping and mopping to keep it looking fresh and clean.
Thirdly, vinyl sheet flooring is comfortable underfoot, providing a softer, warmer touch compared to tile or stone. This makes for a pleasant experience when you’re padding around barefoot in the mornings or during the cold winter months.
Moreover, vinyl sheet flooring offers cost-effectiveness and aesthetic versatility. It comes in a wide range of designs, from mimicking natural stone to wood-look patterns, allowing you to tailor the bathroom’s aesthetic to your taste without breaking the bank.
Preparation for Installation
Tools and Materials Needed
Vinyl Sheet: Purchase a high-quality vinyl sheet that suits your taste and bathroom decor. Make sure to buy extra to account for any mistakes and pattern matching.
- Plywood Underlayment: This provides a smooth, clean surface for the vinyl sheet to adhere to.
- Adhesive: A full-spread adhesive is typically used for vinyl sheet flooring installation.
- Utility Knife: This will be used to cut the vinyl sheet to the appropriate size.
- Tape Measure and Straightedge: For accurately measuring and marking the vinyl sheet.
- Notched Trowel: To evenly spread the adhesive on the underlayment.
- Roller: To press the vinyl sheet onto the adhesive, ensuring a strong bond.
- Safety Gear: Gloves, knee pads, and safety glasses for personal protection during the installation process.
Preparing Your Bathroom for Vinyl Sheet Flooring Installation
Before you begin the process of installing your vinyl sheet flooring, it is crucial to prepare your bathroom to ensure a smooth and successful installation.
Clear the Room: Start by removing all items from your bathroom. This includes small items such as mats, toilet brushes, and bins, as well as larger items like the toilet itself.
For items that can’t be moved, like the bathtub or built-in sink, you will need to cut the vinyl to fit around these.
Check the Floor: A flat and clean surface is key to a successful vinyl sheet flooring installation. Inspect the current floor for any cracks, bumps, or uneven areas.
If there are any, they need to be fixed before proceeding. If the existing floor is tile or stone, consider applying a thin layer of self-leveling compound to create a smooth surface.
Clean the Floor: Vacuum or sweep the bathroom floor to remove any dust or debris. Afterward, wash the floor with a mild detergent and allow it to dry completely. This will ensure that the adhesive bonds properly with the surface.
Measure and Mark: Using a tape measure and straightedge, determine the layout of the vinyl sheet on the bathroom floor. It’s best to allow for an extra few inches on all sides – this can be trimmed later for a precise fit.
Take note of the spots where you will need to cut the vinyl to fit around obstructions like the bathtub or sink.
Cut and Fit Underlayment: If you’re using a plywood underlayment, cut it according to your measurements and fit it onto the bathroom floor. Secure it with nails or screws, ensuring it is flat and secure.
Step-By-Step Guide to Install Vinyl Sheet Flooring in Bathroom

1. Measure and Cut the Vinyl Sheet:
Measurement and cutting are critical steps when installing vinyl sheet flooring in a bathroom. Start by rolling out the vinyl sheet in a larger room or space. Trace the dimensions of your bathroom onto the vinyl sheet, including any cutouts for immovable fixtures like the bathtub or sink.
To ensure a perfect fit, use the template method for intricate cutouts. This involves making a paper or cardboard template of the area where the vinyl will be installed.
Place the template over the vinyl sheet and trace the cutout shapes. For the best results, always double-check your measurements before cutting the vinyl as mistakes can be costly.
When cutting, use a sharp utility knife and a straight edge, like a metal ruler, to guarantee straight and clean cuts. Remember, it’s better to cut a bit larger than smaller, as you can always trim excess later.
Once your vinyl sheet is cut to the right size, roll it up and take it back into the bathroom. Carefully unroll it and check the fit. All fixtures should align correctly with your cutouts, and the edges should lay flat against the walls and corners.
This careful measurement and cutting process is key to successfully installing vinyl sheet flooring in a bathroom, providing a seamless and professional-looking finish.
2. Apply Adhesive:
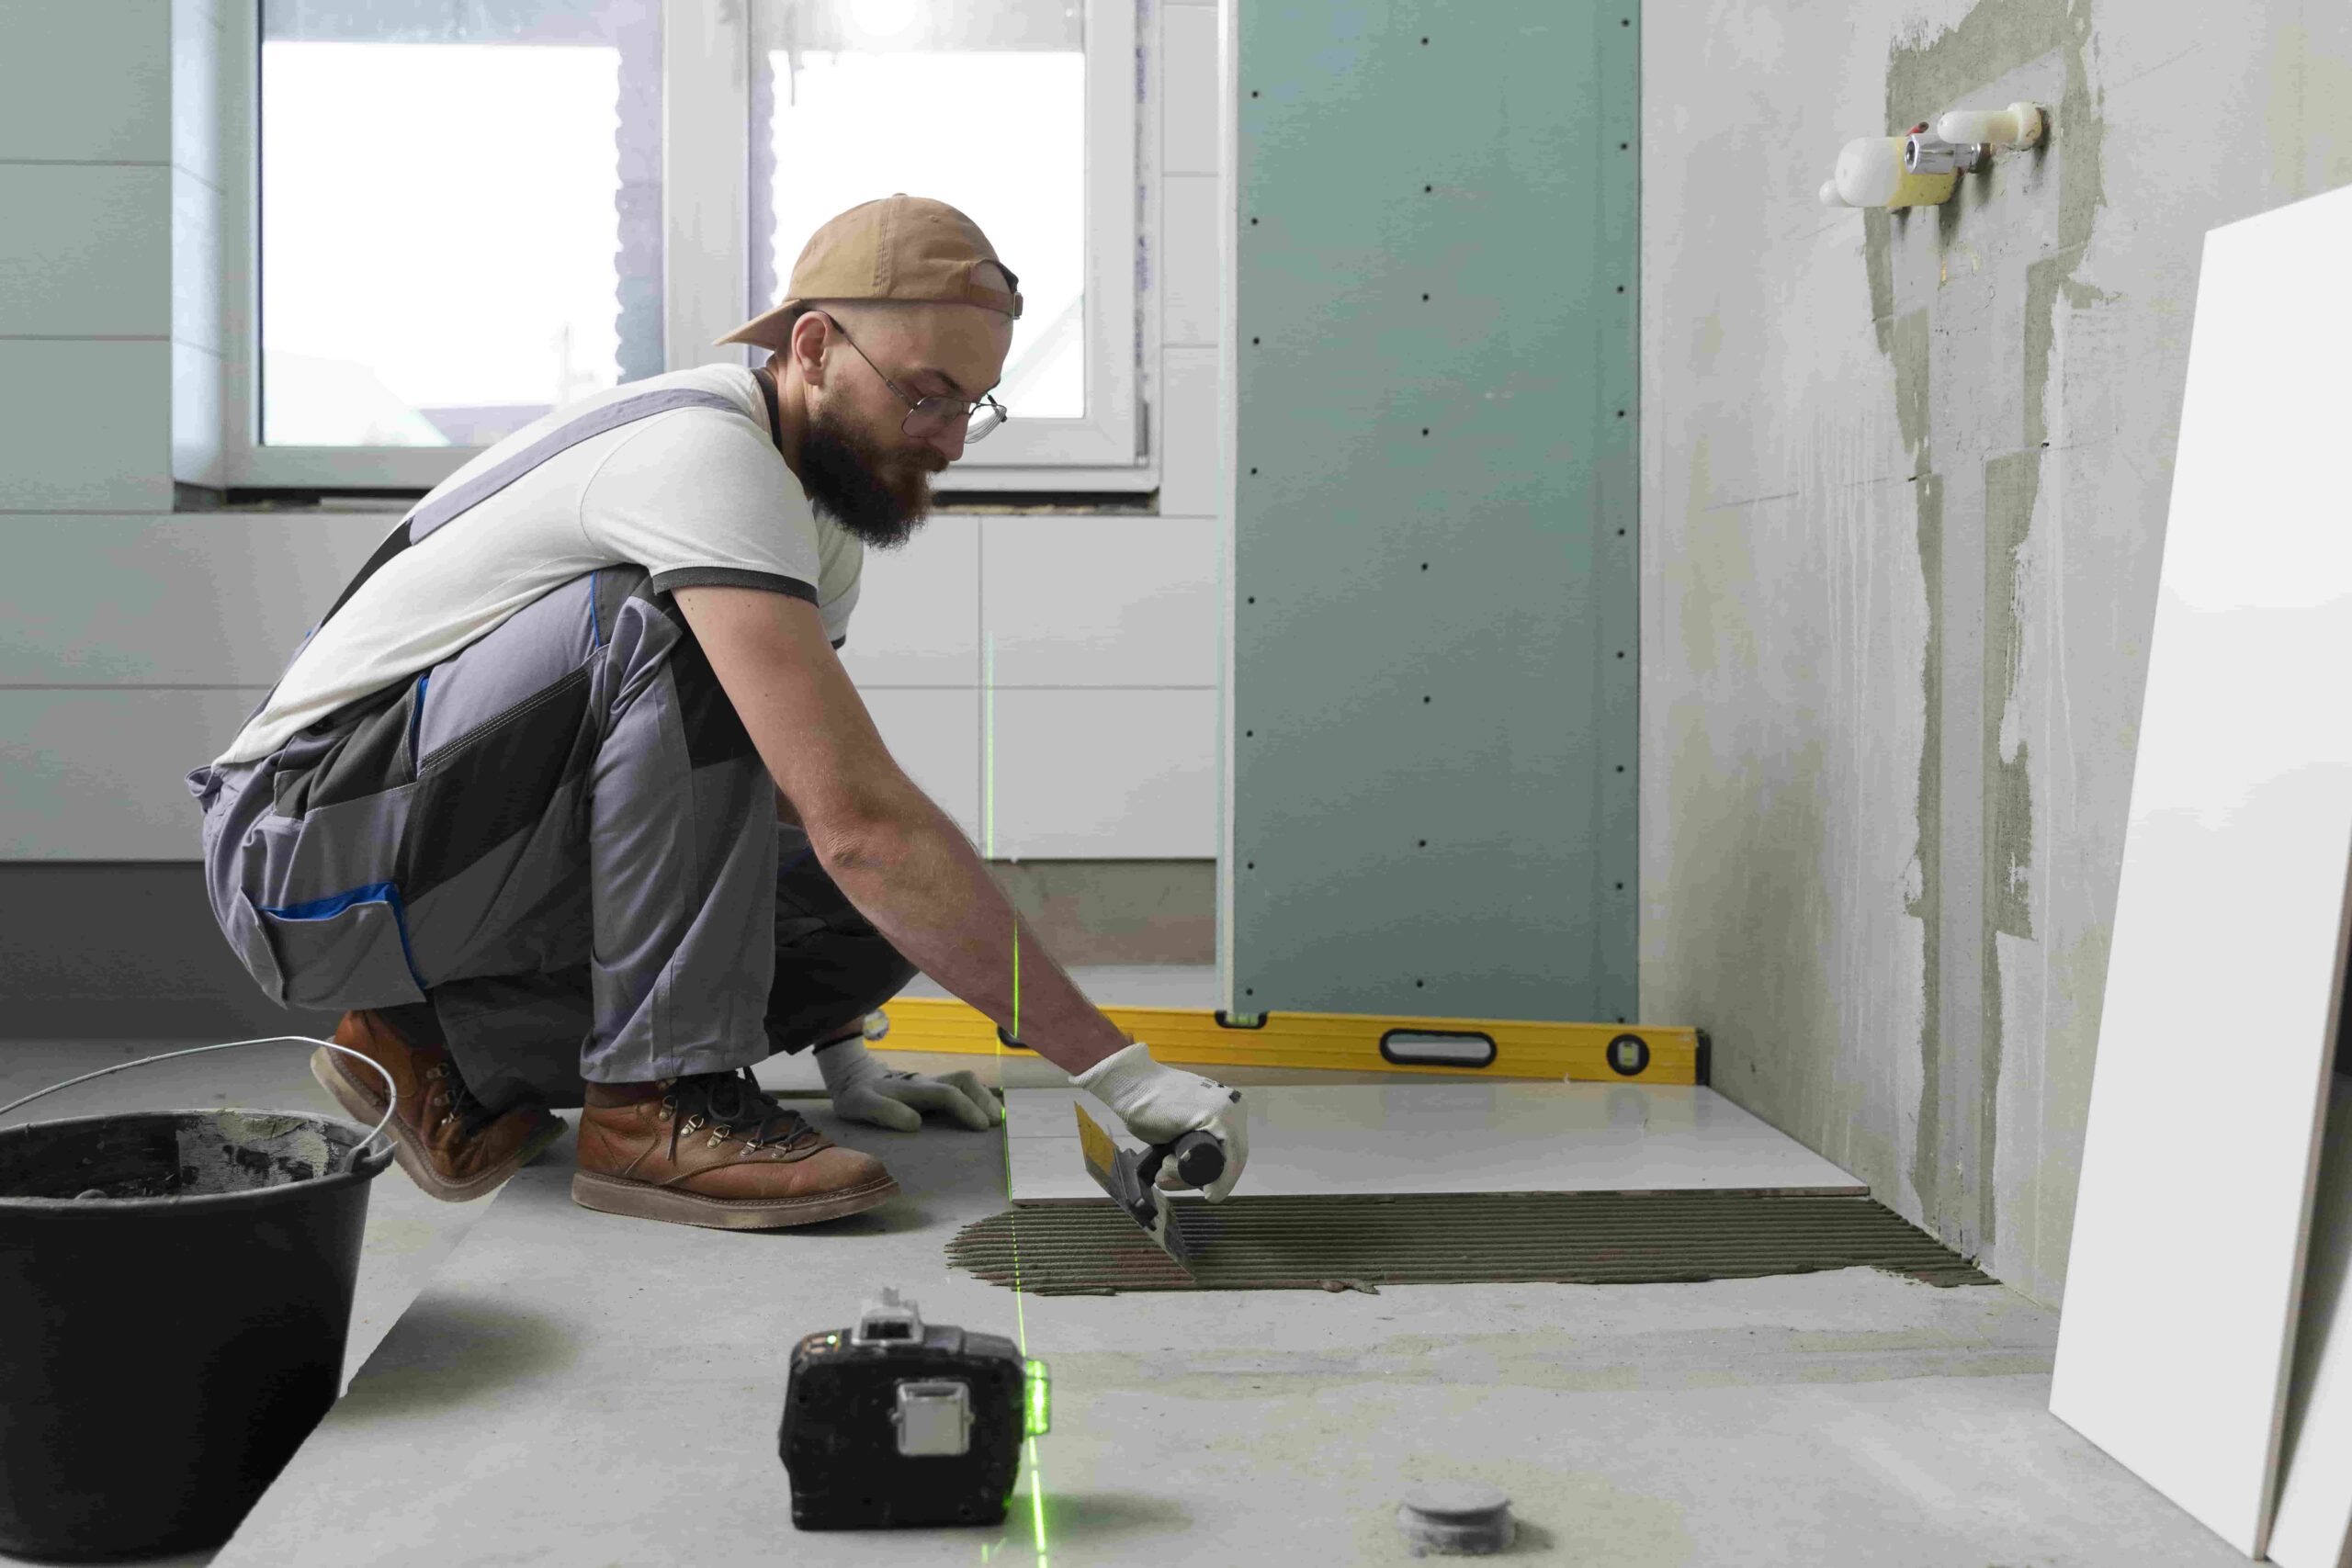
After ensuring the vinyl sheet fits perfectly in your bathroom, the next step in installing vinyl sheet flooring in a bathroom is to apply adhesive. Start by rolling half of the vinyl sheet back to expose the underfloor.
Use a notched trowel to spread a thin layer of a recommended adhesive on the floor, covering the entire area under half of the vinyl sheet. It’s crucial to follow the manufacturer’s instructions regarding the type and quantity of adhesive to use.
Ensure the adhesive is spread evenly with no clumps or bare spots. It’s also important to leave a small border of adhesive-free space around the edges of the room for adjustments.
Once you’ve applied the adhesive, carefully unroll the vinyl sheet back into place. Press it down firmly, starting from the center and moving towards the edges to eliminate any air bubbles and to ensure a good bond.
3. Place and Secure the Vinyl Sheet:
Placing and securing the vinyl sheet properly is the next vital step while installing vinyl sheet flooring in a bathroom.
Position the Vinyl Sheet
Start by positioning the vinyl sheet over the adhesive. Ensure that it aligns correctly with all cutouts and edges. It’s best to start from the center of the room and gradually unroll the sheet towards the edges, taking care to maintain alignment.
Press Down the Vinyl Sheet
Once the vinyl sheet is correctly positioned, begin pressing it down into the adhesive. Start from the center of the room and work your way outward. This technique helps to remove any air bubbles and ensures a smooth, flat surface.
Use a Floor Roller
For a secure bond, use a floor roller. The floor roller applies even pressure across the vinyl sheet, further eliminating air bubbles and securing the vinyl sheet firmly to the adhesive. Start in the center and move towards the edges, just as when pressing down the sheet.
Trim Excess and Seal Edges
Trim any excess vinyl using a utility knife. Be sure to cut as close to the walls as possible for a clean finish. After trimming, seal the edges of the vinyl sheet flooring with silicone caulk to prevent any water from creeping underneath.
Let the Adhesive Dry
Finally, let the adhesive dry for the amount of time specified by the manufacturer before you move any furniture back into the room. This period allows the adhesive to fully bond with the vinyl sheet, ensuring a durable and long-lasting finish.
Related Topics:
Post Installation Care and Maintenance
To keep your newly installed vinyl sheet flooring in top condition, a consistent cleaning and maintenance routine is essential. The advantage of vinyl sheet flooring is its ease of maintenance and resilience to water and stains, making it an ideal choice for bathrooms.
Regular Cleaning
Begin by sweeping or vacuuming your floor regularly to remove loose dirt and dust. Avoid using a beater bar attachment on your vacuum as it may damage the vinyl surface.
Deep Cleaning
For a thorough cleanse, mop the floor with a cleaning solution intended specifically for vinyl flooring. Never use abrasive cleaners, detergents, or “mop-and-shine” products, as these can leave a dull film on your vinyl sheet floor.
Spills and Stains
Treat spills and stains promptly. Liquid spills should be wiped up immediately to prevent slipping and staining. For stubborn stains, use a soft bristle brush and a non-abrasive cleaner to gently scrub the area.
Preventive Measures
Place non-rubber-backed mats at entrances to capture grit and moisture. Ensure that your bathroom has good ventilation to prevent the buildup of mold and mildew.
Conclusion
the decision to install vinyl sheet flooring in your bathroom proves to be a wise choice, offering a myriad of advantages that contribute to both practicality and aesthetics.
The water-resistant nature of vinyl makes it an ideal flooring option for high-moisture environments, providing a robust defense against potential water damage. Its durability and low-maintenance characteristics make it resistant to stains, dents, and scratches, ensuring a long-lasting and attractive flooring solution for heavily trafficked areas.
Moreover, the comfort underfoot adds a luxurious touch, creating a pleasant experience during daily routines. The cost-effectiveness and aesthetic versatility of vinyl sheet flooring further solidify its appeal, allowing you to customize your bathroom’s look without exceeding your budget.
As you revel in the successful completion of your DIY bathroom upgrade, the installation of vinyl sheet flooring stands as a testament to the fusion of practicality and style, enhancing both the functionality and visual appeal of this essential space.
FAQs
1. Can I install vinyl sheet flooring over existing floorings?
Yes, you can install vinyl sheet flooring over most existing hard surface floors, such as concrete, wood, or ceramic tile. However, make sure the current flooring is in good condition and free of any contaminants that could affect the adhesive bond.
2. Can vinyl sheet flooring be installed in a bathroom with a bathtub or shower?
Yes, vinyl sheet flooring is an excellent choice for bathrooms with bathtubs and showers due to its water-resistant properties. Just make sure the edges are properly sealed and caulked to prevent any moisture from seeping underneath the flooring.


1 thought on “Installing Vinyl Sheet Flooring in A Bathroom: DIY Bathroom Upgrade”