Keeping your vinyl flooring in pristine condition not only enhances the beauty of your space but also extends the lifespan of your floors. With the right care and maintenance, vinyl floors can look new for years.
In this guide, we’ll explore 9 essential hacks for maintaining and cleaning your vinyl flooring, ensuring it remains spotless and durable.
Whether you’re dealing with everyday dust or more stubborn stains, these tips will help you keep your floors shining.
Maintaining clean floors in a home is more than just about aesthetics; it’s vital for health and safety reasons. A clean floor reduces the risk of allergies by minimizing dust and other irritants.
Additionally, it prevents accidents, such as slips and falls, by keeping the surface free of spills and debris. Regular cleaning of your floors, particularly with materials like vinyl flooring, ensures a healthier living environment and preserves the quality and appearance of your flooring investment over time.
1. Preventive Measures
Place Doormats at Every Entrance

Placing doormats at every entrance of your home serves as the first line of defense against dirt and debris, essentially acting as a barrier that reduces the amount of grime that comes into contact with your vinyl floors.
This simple yet effective strategy can significantly lessen the frequency of cleaning required and protect your floors from unnecessary wear and tear. Opt for doormats with a textured surface to effectively scrape off dirt from shoes, and consider mats both inside and outside the doorway for double protection.
Regularly shaking out or vacuuming the doormats will ensure they continue to perform their job effectively, keeping your vinyl flooring clean and maintaining its pristine appearance for longer.
Use Furniture Pads to Avoid Scratches
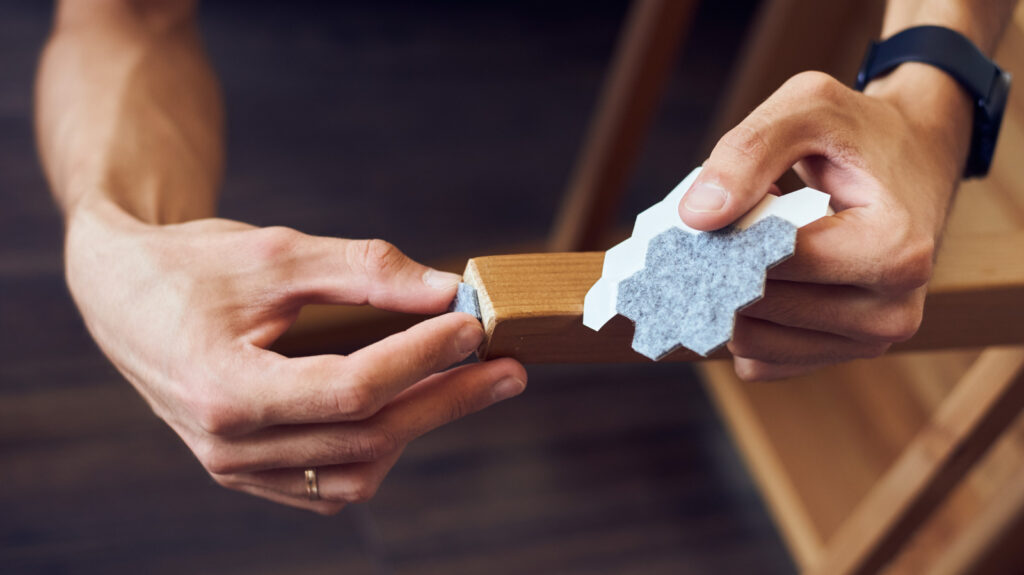
An imperative step in preserving the integrity and aesthetics of vinyl flooring is to use furniture pads on the legs of chairs, tables, and other heavy furnishings.
These soft, protective coverings act as a cushion between your furniture and the floor, distributing weight more evenly and preventing the sharp edges of furniture legs from scratching, denting, or otherwise damaging the surface.
When selecting furniture pads, opt for felt or rubber materials, as they provide excellent traction and are gentle on vinyl surfaces. It’s also advantageous to choose pads that can be securely attached to furniture legs, ensuring they stay in place and offer consistent protection.
Regular inspections of these pads for wear and tear are essential; replacing them as needed will perpetually safeguard your floors.
By integrating furniture pads into your vinyl flooring maintenance routine, you not only extend the life of your floors but also maintain their sleek, unblemished appearance over time.
2. Daily Cleaning Tips
Sweeping with a Soft Broom
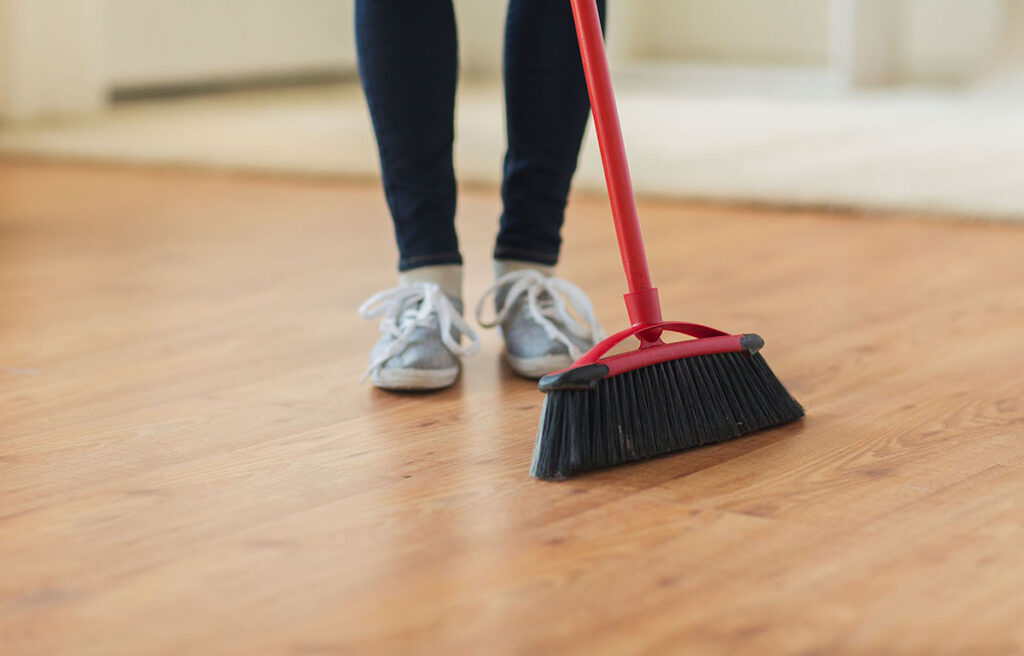
For daily upkeep, sweeping your vinyl flooring with a soft bristle broom is a fundamental yet effective method to remove surface dust, dirt, and hair.
Unlike harsher brooms, a soft broom is gentle on the vinyl’s surface, ensuring that you don’t inadvertently scratch or mar the finish. It’s crucial to sweep in the direction of the planks or tiles to efficiently collect and remove debris.
This simple, daily practice helps maintain the cleanliness of your floors and prevents the buildup of grit that can wear down the finish over time.
Using a Dust Mop for Regular Surface Cleaning
In addition to sweeping, a regular pass with a dry dust mop can significantly enhance your vinyl flooring’s cleanliness and appearance.
Dust mops, preferably those made with microfiber, attract and trap fine particles, pet hair, and dust more effectively than traditional mops.
For the best results, lightly glide the mop across the floor in a smooth, figure-eight motion, paying extra attention to corners and under furniture where dust tends to accumulate.
This method is exceptionally beneficial for maintaining larger areas where a broom might not reach every nook and cranny. Like sweeping, using a dust mop regularly is key to keeping your floors in pristine condition, ensuring they look as good as new for as long as possible.
3. Spot Cleaning
Immediate Action on Spills
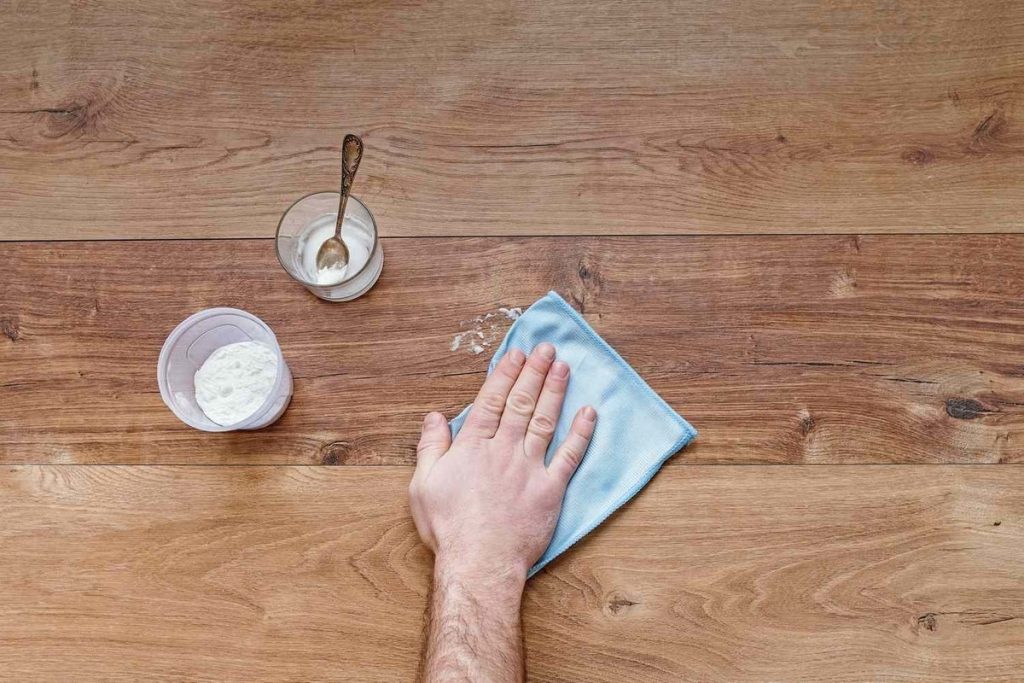
To prevent spills from setting into the vinyl and causing stains, it’s crucial to address them immediately. The first step is to gently blot the spill with a clean, dry cloth, avoiding rubbing, which can spread the liquid and make the stain worse.
For water-soluble spills, such as juice, wine, or sauces, a second clean cloth dampened with water should be used to dab the area clean after blotting.
For oil-based spills, applying a small amount of dish soap to the damp cloth can help break down the grease.
Regardless of the type of spill, it’s essential to ensure the area is completely dry afterward by patting it with another dry cloth, preventing moisture from seeping into the seams of the flooring.
Recommended Cleaning Solutions
For stains that are more challenging to remove, specific cleaning solutions can be employed. However, it’s vital to use products that are safe for vinyl flooring to avoid causing damage.
For general tough stains, a solution of one part apple cider vinegar and one part water can be effective. The acidity in the vinegar helps to break down the stain without harming the floor’s finish.
Apply the solution with a cloth, gently rubbing the stained area, and then rinse with a clean, wet cloth. For more stubborn stains, like ink or permanent marker, isopropyl alcohol can be used.
Dampen a cloth with the alcohol and gently rub the stain until it lifts, followed by a rinse with water.
Always test these solutions on a small, inconspicuous area of your floor before applying them to the stain to ensure they do not cause discoloration or damage.
4. Deep Cleaning Strategies
Monthly Mopping Routine
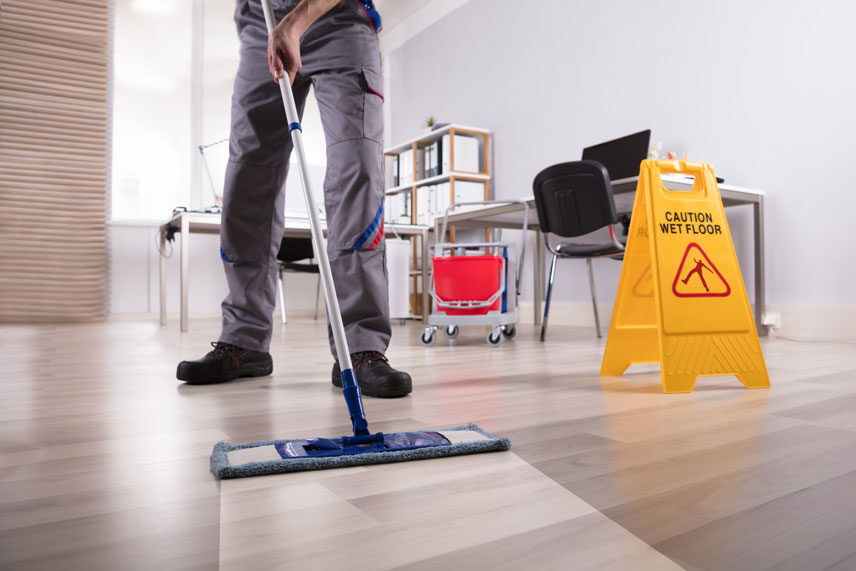
For maintaining the pristine condition of vinyl floors, engaging in a monthly mopping routine is highly recommended. Utilize suitable floor cleaners labeled safe for use on vinyl surfaces. These specialized cleaners help preserve the floor’s sheen while ensuring it remains free from dust, dirt, and grime build-up.
When mopping, use a soft mop or cloth to apply the cleaner, and ensure to follow the manufacturer’s dilution recommendations to avoid leaving a residue that could attract more dirt or degrade the flooring’s appearance.
Rinsing the floor with clean water after mopping will remove any leftover cleaning solution, leaving your floor sparkling clean.
Avoiding Harsh Chemicals
It is crucial to avoid using harsh chemicals and abrasive tools on vinyl flooring, as they can damage the surface and diminish the floor’s longevity.
Products containing ammonia, bleach, or any abrasive scrubbers should be strictly avoided as they can strip the floor of its finish and cause discoloration. Instead, opt for pH-neutral cleaners that are gentle yet effective for cleaning without causing harm.
If you’re unsure about a product’s safety, consulting the flooring manufacturer’s recommendations can provide specific guidance, ensuring that the integrity and appearance of your vinyl floors are maintained over time.
5. Scratch and Scuff Treatment
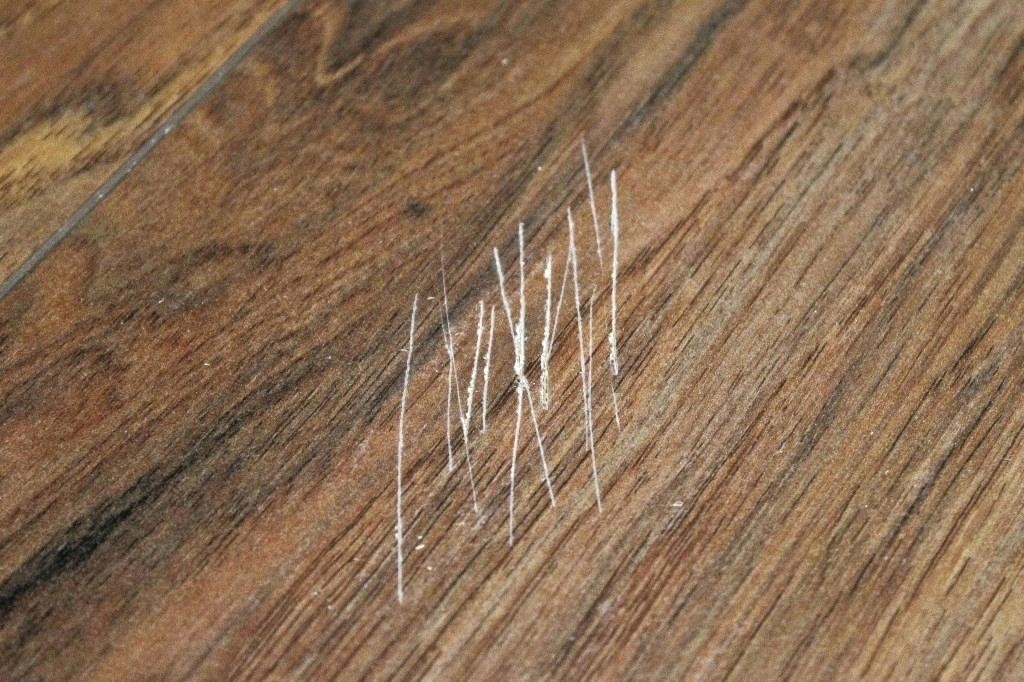
DIY Solutions for Minor Scratches
For minor scratches on your vinyl flooring, a DIY approach can often be effective in making them less noticeable. One simple solution involves the use of a baking soda paste. You can create this paste by mixing baking soda with water until it forms a poultice consistency.
Using a soft cloth, gently rub the paste over the scratch in a circular motion. After applying, rinse the area with clean water and dry thoroughly. Another method is to use WD-40 or a similar lubricant.
A small amount sprayed directly onto the scratch and buffed gently with a clean cloth can diminish the appearance of light scratches.
However, it’s important to test these solutions on an inconspicuous area first to ensure they do not cause further damage or discoloration.
When to Seek Professional Help
While DIY solutions can effectively treat minor scratches, more significant damages require professional attention. Deep scratches or gouges that penetrate the wear layer of the vinyl flooring may not be repairable with simple home remedies.
These types of damages can compromise the flooring’s structural integrity and water resistance, potentially leading to further deterioration over time.
If scratches are accompanied by lifting or separation at the seams, it’s also advisable to consult a professional.
Flooring specialists have the tools and expertise necessary to assess the damage accurately and recommend the best course of action, whether it involves repair or partial replacement of your vinyl flooring.
6. Shine Enhancement
Products to Make Your Vinyl Floor Shine
To enhance the natural shine of your vinyl flooring, you can turn to several commercial products specifically designed for this purpose. High-quality floor polish or “finish” products can add a sparkling, protective layer to the floor, making it look new and more resistant to scratches and wear.
Look for products that are labeled as safe for luxury vinyl flooring to ensure compatibility. Applying a thin layer according to the manufacturer’s instructions can significantly elevate the appearance of your floors.
Frequency of Use to Avoid Buildup
To maintain the optimal shine without causing buildup, it’s crucial to use these products sparingly and only as recommended. Overuse can lead to a sticky, dull residue that attracts dirt and diminishes the floor’s appearance. For most homes, applying a floor polish or finish once every six months is sufficient.
However, this may vary based on the amount of foot traffic and the specific requirements of the product being used.
Always refer to the manufacturer’s guidelines for the best results and to ensure the longevity of your vinyl flooring.
7. Safe Cleaning Products
Listing of Vinyl-Friendly Cleaners
Selecting the right cleaning products is essential for maintaining the integrity and appearance of your vinyl flooring. Look for pH-neutral cleaners that are specifically labeled as safe for use on luxury vinyl tiles (LVT) and planks (LVP).
Avoid using abrasive scrubbers or cleaners that contain ammonia, bleach, or any harsh chemicals, as these can damage the flooring’s surface and cause discoloration. Some recommended brands include Bona, Armstrong Flooring Once ‘n Done, and Rejuvenate Luxury Vinyl Floor Cleaner.
Always follow the directions on the cleaning product and perform a spot test in an inconspicuous area before full application.
Natural Homemade Cleaning Solution Recipes
For those preferring eco-friendly and cost-effective cleaning solutions, homemade recipes can be equally effective for cleaning vinyl flooring without the risk of damaging it.
1. Vinegar Solution:
Mix one cup of apple cider vinegar with a gallon of hot water. The acidity in the vinegar helps remove dirt without leaving a residue. Adding a few drops of essential oil, such as lemon or lavender, can provide a fresh, natural fragrance.
2. Dish Soap Solution:
Combine a teaspoon of mild dish soap with a gallon of warm water for a gentle cleaning solution. This mixture is particularly effective for cleaning up spills and sticky residues. After mopping with the solution, go over the floor with clean water to remove any soap residue.
8. Protection from Water Damage
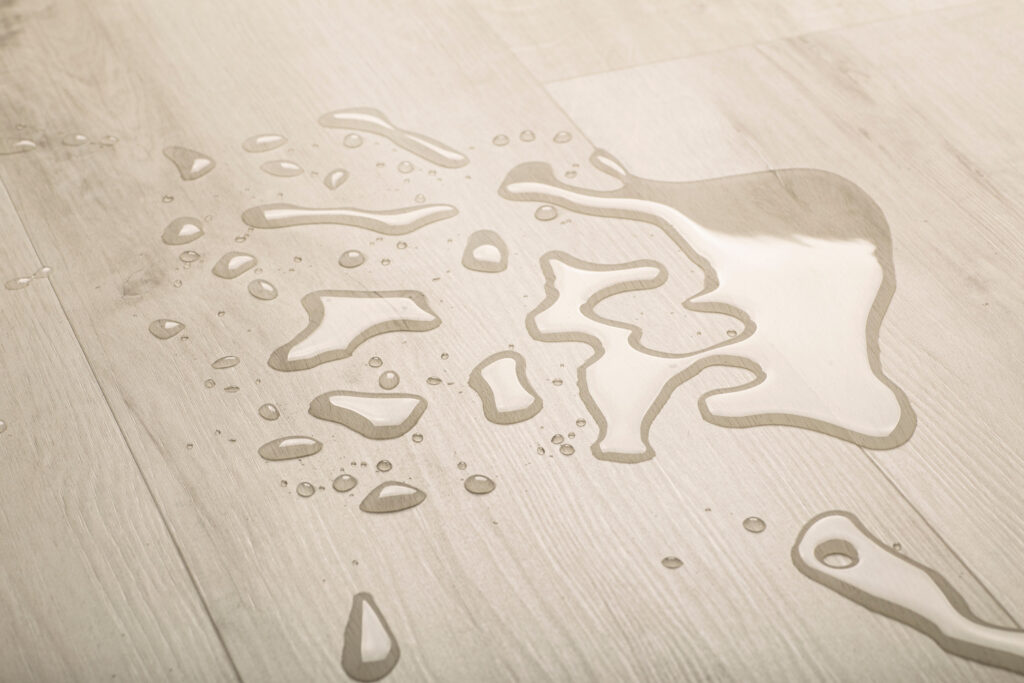
Tips to Prevent Water Seepage
Water damage can be a major concern for vinyl flooring, despite its reputation for being water-resistant. To prevent water from seeping into the seams and underlayment, it’s crucial to maintain a proactive approach towards moisture management.
Ensure that all spills are wiped up immediately, and avoid allowing standing water to remain on the surface. Regularly inspect the areas around appliances, sinks, and toilets for leaks, and promptly address any signs of moisture.
Proper installation is critical too; make sure that seams are tightly sealed to create a barrier against water penetration.
Importance of Immediate Water Cleanup
Promptly addressing spills and water accumulation is key to protecting vinyl flooring from water damage. Water left on the surface can seep through the seams or edges, leading to mold, mildew, or the breakdown of the adhesive bonds that hold the flooring in place.
Swiftly wiping up any water ensures the longevity and appearance of the flooring, minimizing the risk of costly repairs or replacements.
Using microfiber mops or cloths can be particularly effective for quick absorption and preventing water from lingering on the surface.
9. Maintenance and Care
Regular Inspection for Signs of Wear
Regularly inspecting your vinyl flooring for signs of wear and damage is crucial in maintaining its appearance and longevity. Look out for scratches, discoloration, and lifting at the edges or seams, which can indicate the need for repair or replacement.
Early detection of these issues allows for timely interventions, reducing the likelihood of extensive damage that could necessitate more significant repairs or complete replacement.
A simple walk-through, focusing on high-traffic areas and spots exposed to direct sunlight or potential moisture, can be highly effective in identifying problems early on.
Replacing Sections vs. Full Flooring
When wear or damage is detected during regular inspections, deciding between replacing sections of your vinyl flooring or opting for a full-flooring replacement depends on the extent of the damage.
Small, localized issues often can be addressed by replacing just the affected sections, a cost-effective approach that maintains the overall look and integrity of the flooring.
However, extensive or widespread damage, significant discoloration from sunlight exposure, or severe wear in high-traffic areas might necessitate a complete flooring replacement.
The decision should factor in both aesthetic considerations and the long-term functionality of the flooring.
Related Topics:
Conclusion
Keeping your vinyl flooring in optimal condition is a testament to the effectiveness of diligent maintenance and the right cleaning strategies.
The nine hacks outlined above, from preventive measures like doormats and furniture pads to daily cleaning tips and deep cleaning strategies, offer comprehensive guidance for maintaining the beauty and durability of your vinyl floors.
Remember, maintaining clean floors is crucial not only for the aesthetic appeal of your home but also for health and safety reasons. A clean floor minimizes the risk of allergies and accidents, contributing to a healthier living environment.
Whether you’re tackling everyday dust or confronting stubborn stains, these hacks provide you with the knowledge and tools necessary to keep your vinyl flooring maintenance manageable and effective.
FAQs
Can I use steam mops on my vinyl flooring?
It’s generally advised against using steam mops on vinyl flooring as the intense heat and moisture can cause warping, peeling, and loss of adhesion.
How often should I deep clean my vinyl floors?
Deep cleaning of your vinyl floors should occur every 6 to 12 months, depending on the level of foot traffic and exposure to dirt. Regular maintenance will minimize the need for more intensive cleaning.
Are there any specific cleaners I should avoid using on vinyl flooring?
Yes, avoid using abrasive cleaners, ammonia-based cleaners, or any cleaning tools that may scratch the surface. These can damage the wear layer of the vinyl, reducing its lifespan and appearance.

2 thoughts on “9 Hacks To Keep Your Vinyl Flooring Clean”